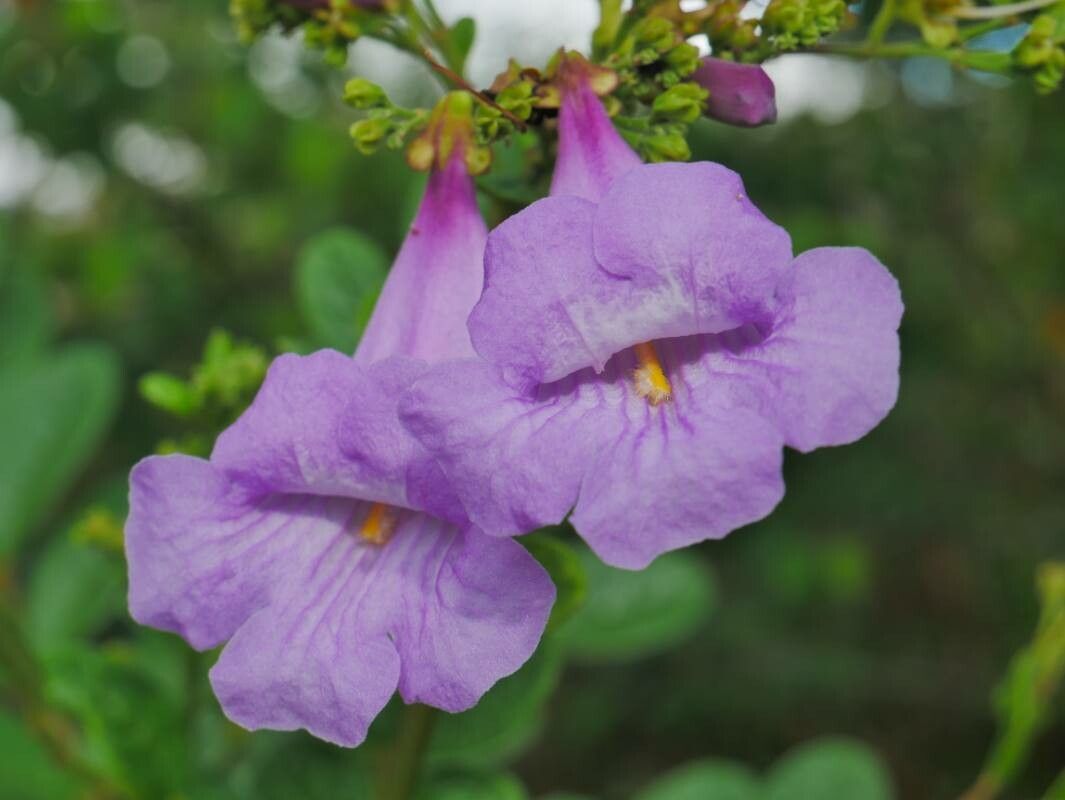
Oh, hello there! Pull up a chair and let’s chat about one of my absolute favorite trees: the Jacaranda (specifically, Jacaranda brasiliana, though many of us affectionately call them all Jacarandas!). Those stunning, vibrant purple blooms are simply breathtaking, aren’t they? There’s something truly magical about witnessing that explosion of color. And the best part? Growing your own Jacaranda from scratch is a wonderfully rewarding endeavor. While it might seem a bit daunting at first, with a few tips, it’s definitely achievable, even for those newer to the gardening scene. It’s a journey that’s well worth the effort!
The Best Time to Start
For Jacarandas, the sweet spot for propagation is definitely during their active growing season. Think late spring or early summer. This is when the plant has plenty of energy to put into developing new roots. Trying to propagate when the plant is stressed or dormant just won’t yield the best results. You want to work with a healthy, vigorous specimen.
Supplies You’ll Need
You won’t need a ton of fancy equipment. Here’s what I always have on hand:
- Sharp Pruning Shears or a Craft Knife: Clean cuts are crucial.
- Rooting Hormone: This is a powder or gel that significantly increases your chances of success.
- Potting Mix: A well-draining mix is key. I like a blend of peat moss or coco coir with perlite or coarse sand. About a 50/50 ratio usually does the trick.
- Small Pots or Seedling Trays: Clean pots are a must to prevent disease.
- Plastic Bags or a Greenhouse: To maintain humidity around your cuttings.
- Water: For misting and watering.
- Gloves: Optional, but nice to keep your hands clean.
Propagation Methods
Let’s get our hands a little dirty! Stem cuttings are generally the most reliable way to go with Jacarandas.
Stem Cuttings:
- Select Your Cuttings: Look for healthy, semi-hardwood stems. These are stems that are no longer bright green and flexible, but not yet woody and stiff. You want pieces that are about 4-6 inches long. Try to find stems with at least a few sets of leaves.
- Make the Cut: Using your clean shears or knife, make a clean cut just below a leaf node. Leaf nodes are those little bumps where leaves emerge from the stem – this is where roots are most likely to form.
- Prepare the Cutting: Gently remove the lower leaves, leaving just the top two to four leaves. If the remaining leaves are very large, I’ll often snip them in half to reduce water loss.
- Apply Rooting Hormone: Dip the cut end of the stem into your rooting hormone, ensuring it’s coated generously. Tap off any excess.
- Plant the Cuttings: Fill your clean pots with your prepared potting mix. Make a small hole in the center with your finger or a pencil. Insert the cutting so that at least one leaf node is buried in the soil. Gently firm the soil around the cutting.
- Moisten and Cover: Water the soil thoroughly until it’s evenly moist but not waterlogged. Cover each pot with a clear plastic bag or place them in a mini-greenhouse. This creates a humid environment that helps prevent the cuttings from drying out.
The “Secret Sauce” (Pro Tips)
Here are a few things I’ve learned over the years that can really help you out:
- Bottom Heat is Your Friend: If you can, place your pots on a seedling heat mat. This gentle warmth from below encourages root development much faster than ambient room temperature alone. It’s like giving your cuttings a cozy, warm bed to grow roots in!
- Don’t Let Leaves Touch Water (If Water Propagating): While I prefer soil for Jacarandas, if you try water propagation, make sure the leaves never touch the water. Any submerged foliage will rot, and that’s a quick way to lose your cutting.
- Fresh Cuttings, Fresh Start: Always use cuttings from actively growing, healthy plants. Avoid any stems that look stressed, have signs of disease, or are covered in pests. A good starting point makes all the difference.
Aftercare & Troubleshooting
Once your cuttings are planted, give them a bright, indirect light spot. Keep the soil consistently moist – not soggy, but never dry. Check under the plastic bag daily for condensation; if there’s none, give them a light mist.
You’ll know your Jacaranda has rooted when you see new leaf growth or feel a gentle tug when you lightly pull on the stem. This can take anywhere from 4-8 weeks, or even longer.
The biggest enemy at this stage is rot. If you see your cuttings turning black and mushy, it’s a sign of too much moisture and poor air circulation. Ensure your soil is well-draining, and if you’re covering them, try to vent them for a few hours each day. If a cutting rots, sadly, it’s usually best to discard it to prevent it from affecting others.
A Little Patience Goes a Long Way
Propagating Jacarandas is a wonderful way to connect with nature and multiply the beauty of these incredible trees. Don’t get discouraged if your first few attempts aren’t perfect. Gardening is a continuous learning process. Be patient, keep your cuttings happy with consistent care, and celebrate each tiny sprout. Happy growing, and I hope you’re soon surrounded by your very own purple blossoms!
Resource: