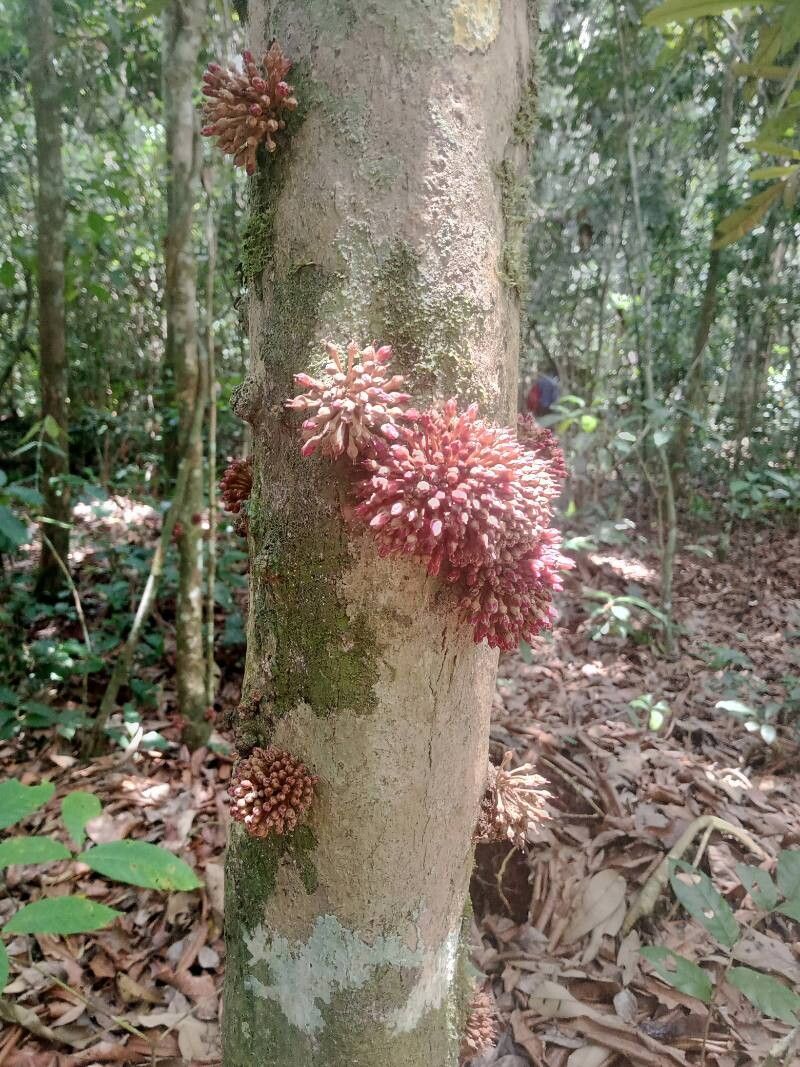
Hey there, fellow plant lovers! If you’ve ever come across the sheer elegance of Manilkara mabokeensis, you know it’s a plant that truly catches the eye. With its glossy, dark green leaves and the promise of eventual fruit, it’s a real gem to have in your garden or conservatory. And the joy of coaxing a new life from a piece of your existing plant? Well, that’s a feeling like no other!
Now, I won’t sugarcoat it – Manilkara mabokeensis can be a little bit of a diva when it comes to propagation. It’s not necessarily the first plant I’d hand to a complete beginner, but with a bit of care and attention, it’s absolutely doable, and so incredibly rewarding. Think of it as learning to dance with a beautiful, slightly temperamental partner!
The Best Time to Start
For the highest chance of success with your Manilkara mabokeensis propagation, aim for the late spring to early summer. This is when the plant is in its active growing season. You’ll have more vigorous new growth, which translates to cuttings that are more likely to root. Avoid trying to propagate when the plant is dormant or stressed by extreme heat or cold.
Supplies You’ll Need
Here’s what you’ll want to gather before you get started:
- Sharp Pruning Shears or a Clean Knife: For taking clean cuts.
- Rooting Hormone: A powdered or liquid form will help stimulate root development.
- Well-Draining Potting Mix: A blend of perlite, coarse sand, and peat moss works wonderfully. You can also find specific succulent or cactus mixes.
- Small Pots or Seedling Trays: With drainage holes, of course!
- Plastic Bags or Humidity Domes: To create a mini-greenhouse environment.
- Watering Can with a Fine Rose: For gentle watering.
- Optional: Heating Mat: Especially useful if your room tends to be on the cooler side.
Propagation Methods
Let’s dive into the most reliable ways to get your Manilkara mabokeensis to put down roots.
Stem Cuttings
This is my go-to method for many woody plants, and it works well here.
- Select Your Cutting: Look for healthy, non-flowering stems that are about 4-6 inches long. The best ones will be semi-hardwood – meaning they’re not brand new and flimsy, but not old and woody either. You can often tell because if you bend a new stem, it snaps; if you bend an old one, it bends without snapping. Semi-hardwood is somewhere in between.
- Make a Clean Cut: Using your sharp shears or knife, make a cut just below a leaf node (where a leaf attaches to the stem). This is where roots are most likely to form.
- Prepare the Cutting: Gently remove the lower leaves. You want to expose about an inch of stem. If the leaves are large, you can even cut them in half to reduce water loss.
- Apply Rooting Hormone: Dip the cut end of the stem into your rooting hormone, tapping off any excess.
- Plant Your Cutting: Fill your small pot with your prepared potting mix. Make a pilot hole with a pencil or your finger, and then firmly insert the cutting into the soil. Ensure the nodes where you removed the leaves are buried.
- Water Gently: Water the soil until it’s evenly moist but not waterlogged.
- Create a Humid Environment: Cover the pot with a plastic bag, securing it around the rim with a rubber band, or place a humidity dome over it. Make sure the leaves don’t touch the plastic.
- Find a Suitable Spot: Place the pot in a bright location, but out of direct, harsh sunlight. A little gentle warmth from a heating mat underneath can also be very beneficial.
Water Propagation (For Very Young Shoots)
While not my absolute favorite for Manilkara mabokeensis, you might have success with very young, softer shoots using this method.
- Take a Small Cutting: Locate a short, tender new shoot.
- Remove Lower Leaves: Just like with stem cuttings, remove any leaves that would be submerged.
- Place in Water: Put the cutting in a clean jar or glass of filtered or distilled water.
- Change Water Regularly: Replace the water every few days to keep it fresh and prevent bacterial growth.
- Location is Key: Place the jar in bright, indirect light.
- Wait for Roots: You’re looking for small, white roots to appear. Once you have roots about an inch long, you can then attempt to pot it up into soil. This step is crucial, as water roots are different from soil roots and need to transition.
The “Secret Sauce” (Pro Tips)
Here are a few things I’ve learned over the years that can really give you an edge:
- Don’t Drench, Just Moisten: The biggest killer of cuttings is often rot. Your soil should feel like a wrung-out sponge, not a swimming pool. If you’re ever in doubt, err on the side of slightly too dry rather than too wet.
- Embrace Bottom Heat: My Manilkara mabokeensis cuttings love a bit of warmth from below. A heating mat mimics the conditions of warmer soil that encourages root development. This is one of the most impactful things you can do.
- Be Patient with the Sap: Manilkara species can sometimes ooze a milky sap when cut. Don’t panic! You can try swishing the end in cool water for a minute or two to rinse it off before applying hormone, but it’s usually not a deal-breaker.
Aftercare & Troubleshooting
Once you see signs of new growth – like tiny leaves unfurling or the stem looking plumper – you know roots are starting to form!
- Gradual Acclimation: Start by peeking under the humidity dome for a few hours each day, gradually increasing the time until you can remove it completely.
- Gentle Watering: Continue to water when the top inch of soil feels dry.
- Indoors vs. Outdoors: Once rooted, you can keep your new plant indoors in a bright spot or acclimate it to outdoor conditions if your climate is suitable. Remember to transition it slowly to avoid shock.
If things aren’t going as planned, here are common issues:
- Rotting: This is almost always due to overwatering or poor drainage. Your cutting will turn mushy and dark, often at the soil line. If you catch it early, you might be able to salvage it by trimming away the rotten bits and repotting in fresh, dry soil, but it’s tough.
- Wilting: This can be a sign of underwatering, but also of root rot (the roots are dying, so they can’t take up water). Check the soil moisture. If it’s dry, water. If it’s wet and the plant is wilting, it’s likely rot.
- No Root Development: This can happen if the cutting isn’t viable, conditions are too cool, or you didn’t use rooting hormone. Sometimes, you just have to try again!
Happy Propagating!
Growing new plants from cuttings is a journey, and with Manilkara mabokeensis, it’s a particularly satisfying one. Don’t get discouraged if your first attempt isn’t a resounding success. Think of each try as a learning experience. Enjoy the process, celebrate every tiny success, and soon you’ll have more of these beautiful plants to admire! Happy gardening!
Resource:
https://identify.plantnet.org/k-world-flora/species/Manilkara%20mabokeensis%20Aubrév./data