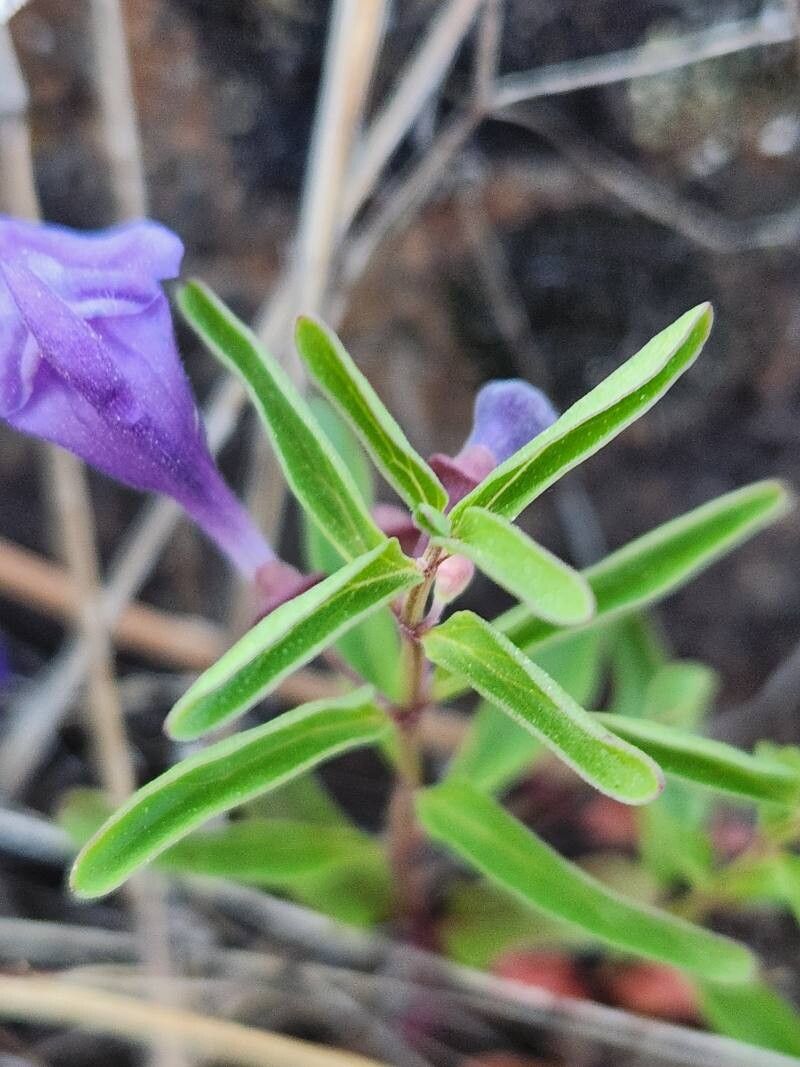
Oh, hello there! I’m so glad you stopped by. Today, we’re going to delve into the wonderful world of propagating Scutellaria angustifolia, or as some of us affectionately call it, the Narrow-leaf Skullcap. If you’ve ever admired its delicate, blue-violet flowers cascading artfully in a border, or appreciated its hardy nature, you’re in for a treat. Propagating this beauty is a truly rewarding experience, and I’m here to guide you through it. It’s surprisingly forgiving, making it a fantastic choice even if you’re just starting your propagation journey!
The Best Time to Start
For the highest success rate with Scutellaria angustifolia, I always recommend starting in late spring or early summer. This is when the plant is actively growing and has plenty of healthy, tender energy to put into developing new roots. You’re looking for stems that are firm but still a bit pliable, not woody.
Supplies You’ll Need
Gathering your supplies beforehand makes the whole process so much smoother. Here’s what I like to have on hand:
- Sharp pruning shears or a clean knife: For making precise cuts.
- Rooting hormone (optional but recommended): A good quality powder or gel can give your cuttings a significant boost.
- Well-draining potting mix: A blend of peat moss, perlite, and a bit of sand works wonders. Or, you can buy a seed-starting mix.
- Small pots or seedling trays: With drainage holes, of course!
- Plastic bags or a clear propagator: To create a humid environment for your cuttings.
- Watering can or spray bottle: For gentle watering.
- Labels or markers: To keep track of your projects!
Propagation Methods
Let’s get our hands dirty! The most common and successful method for Scutellaria angustifolia is by stem cuttings.
Stem Cuttings
- Take your cuttings: On a bright, but not scorching hot, day, select healthy stems from your plant. Using your clean shears, make a cut just below a leaf node (where a leaf attaches to the stem). You want cuttings that are about 3-4 inches long. Remove the lower leaves, leaving only two or three at the top.
- Apply rooting hormone: Dip the cut end of your stem into rooting hormone, tapping off any excess. This step isn’t strictly essential, but it really does help speed things up.
- Plant the cuttings: Fill your small pots or trays with your moist potting mix. Make a small hole in the center with your finger or a pencil. Gently insert the cut end of the stem into the hole, and firm the soil around it.
- Create humidity: Water the soil gently. Then, cover the pots or trays with a clear plastic bag or place them inside a propagator. This creates the humid environment those little cuttings crave.
- Find a bright spot: Place your cuttings in a location that receives bright, indirect light. Avoid direct sun, which can scorch those tender new baby plants.
The “Secret Sauce” (Pro Tips)
Here are a couple of things I’ve learned from years of trying and tinkering that make a real difference:
- Don’t let the leaves touch the water: If you opt to root some cuttings in water first (which is also possible, though I find soil works best for Skullcap), make absolutely sure that no leaves are submerged. Rot loves to set in on those damp leaves!
- Bottom heat is your friend: If you have a heating mat designed for seedlings, placing your pots on it can significantly speed up root development. It mimics the warmth of spring and encourages those roots to form faster.
Aftercare & Troubleshooting
Once your cuttings are happily settled in, keep the soil consistently moist but not waterlogged. This is key! You can tell if the humidity is good if you see condensation on the inside of your plastic cover.
You’ll know you have success when you see new leaf growth, or when you gently tug on a cutting and feel resistance – that’s the sign of developing roots! This usually takes anywhere from 3 to 6 weeks.
The most common problem you’ll encounter is rot. If a cutting turns black and mushy, it’s usually a sign that it’s too wet or not getting enough air circulation. Sadly, if rot sets in, it’s best to discard that cutting and start fresh. It’s all part of the learning process!
A Encouraging Closing
See? Not so daunting, right? Propagating Scutellaria angustifolia is a lovely way to expand your garden and share your passion with friends. Be patient with your little green babies, celebrate each success, and don’t be discouraged by the occasional setback. The joy of watching a tiny cutting transform into a flourishing plant is truly one of gardening’s greatest pleasures. Happy propagating!
Resource:
https://identify.plantnet.org/k-world-flora/species/Scutellaria%20angustifolia%20Pursh/data