Grow More of That Gorgeous Spiny Beauty: Propagating Stenocereus alamosensis
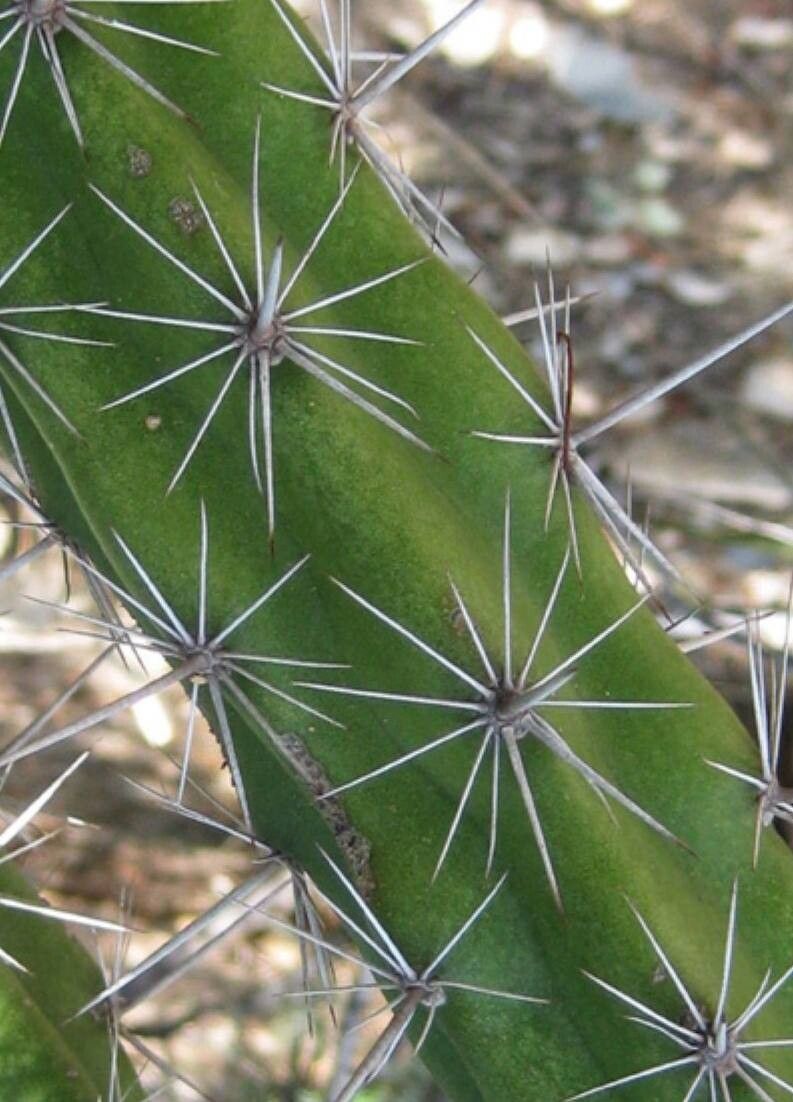
Oh, Stenocereus alamosensis! Isn’t she a stunner? With those rugged arms reaching for the sky and those beautiful, though admittedly prickly, spines, this cactus brings a real touch of the desert-scape to our gardens. If you’ve got one and are dreaming of more, or perhaps want to share this unique fellow with a friend, propagating your own is incredibly rewarding. You know that satisfying feeling when a little piece of your plant takes root and starts to grow into its own? It’s pure gardening joy! Now, as for beginners tackling this one, I’d say it’s moderately easy. It’s not as fussy as some of the delicate succulents out there, but it does appreciate a little know-how to get it going.
When to Get Your Hands Dirty
The sweet spot for propagating Stenocereus alamosensis is undoubtedly the active growing season, which for most of us means late spring through summer. This is when the plant has plenty of energy to put into growing new roots and is much more likely to establish itself successfully. Waiting until the plant is actively pushing out new growth is your best bet.
Gather Your Gardening Arsenal
Before we dive in, let’s make sure you have everything you need. A little preparation goes a long way!
- Sharp, clean pruning shears or a stout knife: For making clean cuts. Sterilize them with rubbing alcohol beforehand!
- Rooting hormone (optional but recommended): A powder or gel that encourages root development.
- Well-draining potting mix: Think cactus or succulent mix. You can also create your own by mixing equal parts potting soil, perlite, and coarse sand.
- A clean pot or container: Terracotta pots are great for cacti as they allow the soil to dry out more quickly.
- Gravel or small stones: For the bottom of the pot, if desired, to improve drainage.
- Watering can with a gentle rose nozzle or a spray bottle.
- Newspaper or thick gloves: To handle those spines safely!
Let’s Get Propagating: Stem Cuttings are King!
For Stenocereus alamosensis, stem cuttings are by far the most successful and straightforward method. This cactus readily forms new arms, so taking a cutting is a natural process.
- Choose Your Cutting: Select a healthy, mature stem section. Look for one that’s at least 6-12 inches long and has a few distinct segments. It should feel firm and not mushy.
- Make the Cut: Using your sterilized pruning shears or knife, make a clean cut through the stem. Try to cut just above a joint or a place where a new offset might naturally emerge.
- Let it Callus: This is crucial! For a cactus, you absolutely must let the cut end dry out and form a callus. Place the cutting in a bright, dry spot away from direct sun for at least 5-7 days, or even up to two weeks. You’ll see the cut end start to turn a dry, leathery texture. This prevents rot when you plant it.
- Apply Rooting Hormone (Optional): Once callused, dip the cut end into your rooting hormone powder or gel. Tap off any excess.
- Planting the Cutting: Fill your pot with your well-draining cactus mix. You can add a layer of gravel at the bottom for extra drainage if you like. Make a small hole in the soil with your finger or a pencil, and gently insert the callused end of the cutting. You want to plant it deep enough so it stands upright on its own, usually about an inch or two.
- Patience is Key: For the first week or two, do NOT water. Let the cutting settle in. After that, water very sparingly. You want the soil to dry out completely between waterings.
The “Secret Sauce”: My Go-To Tips
Here are a few things I’ve learned over the years that really help boost propagation success:
- Bottom Heat Magic: If you can, placing your potted cutting on a gentle heating mat designed for seedlings can make a world of difference. This warm soil encourages roots to form much faster. Just ensure the mat isn’t scorching hot; it should feel just slightly warm to the touch.
- Don’t Overwater – Ever! I cannot stress this enough. Most cactus propagation fails due to overwatering. It’s much better to underwater and let the cutting get a little thirsty than to drown it. Wait until the soil is bone dry before giving it a good soak, then let it dry out again completely.
- Air Circulation is Your Friend: Make sure the area where your cuttings are is not stagnant. Good airflow helps prevent fungal issues and encourages healthy growth. If you’re propagating indoors, a small fan on a low setting can be beneficial.
Aftercare and When Things Go Awry
Once you start to see signs of growth – perhaps a slight plumpness in the stem or even a tiny new bud – it’s a good indication that roots are forming. You can gently tug on the cutting; if there’s resistance, you likely have roots!
When you see those first signs, you can gradually increase watering frequency to whenever the soil is completely dry. Keep it in bright, indirect light. Avoid direct, scorching sun until the plant is well established.
The most common sign of failure is rot. If your cutting starts to look mushy, discolored, or smells funky, it’s likely succumbing to rot. Unfortunately, if rot sets in, it’s very hard to save. The best course of action is usually to discard the infected cutting to prevent it from spreading and start again. Sometimes, if you catch rot very early, you can cut away the rotted section, let the healthy part callus again, and re-attempt propagation.
Keep Growing and Enjoy the Journey!
Propagating Stenocereus alamosensis might take a little patience, but the reward of growing your own spiny beauty is so worth it. Don’t be discouraged if your first attempt isn’t perfect; gardening is all about learning and trying again. Just enjoy the process of nurturing a new life from a piece of your existing plant. Happy propagating!
Resource: