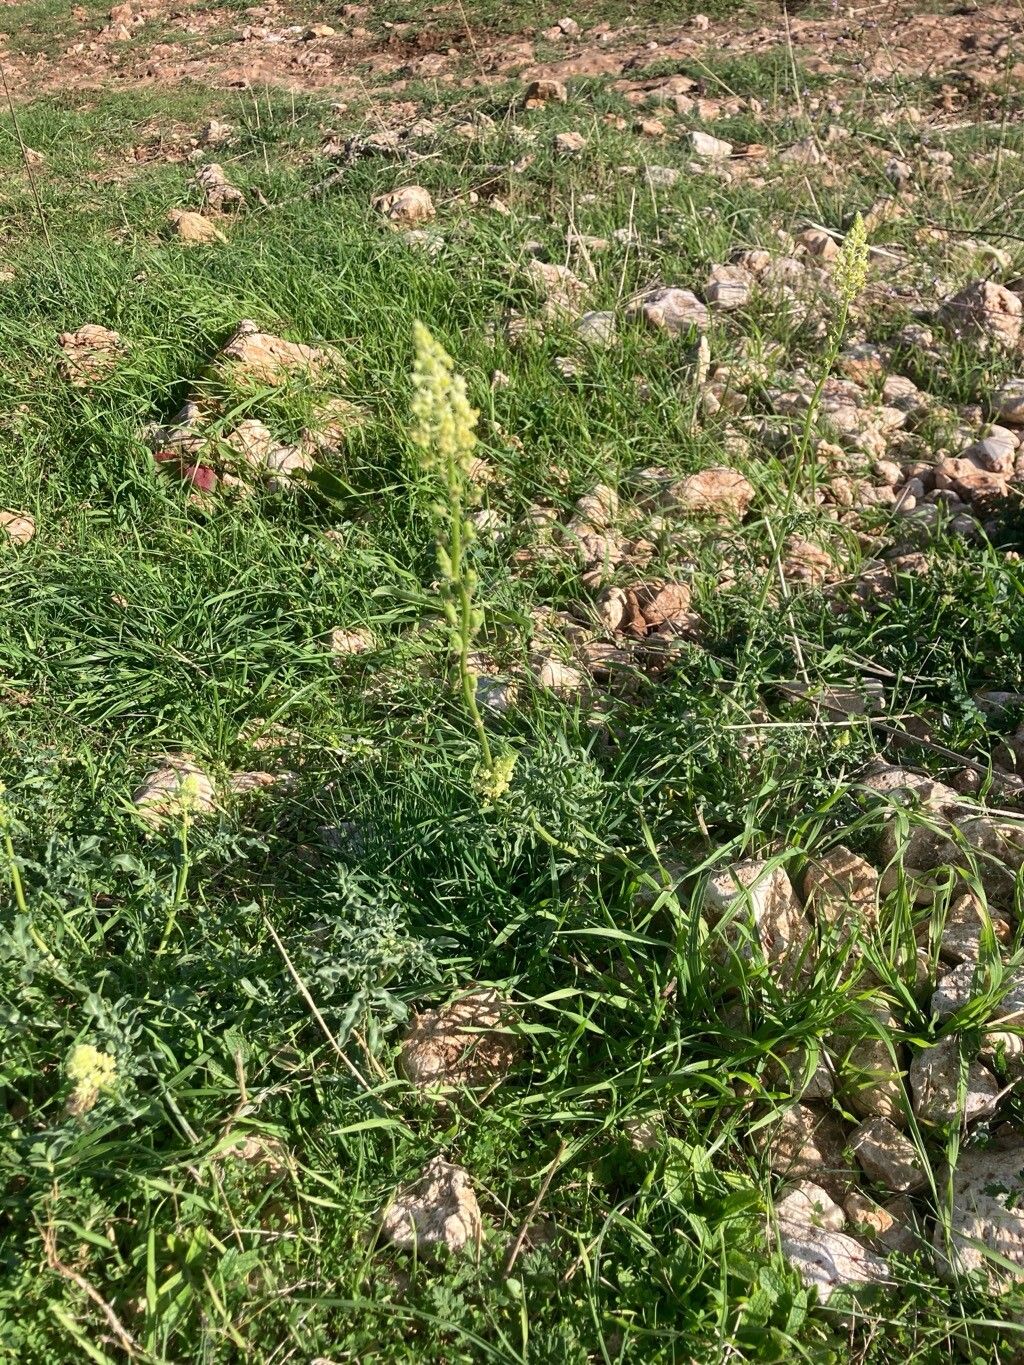
Hello there, fellow garden enthusiasts! I’m so glad you’re here. Today, we’re going to talk about a plant that often gets overlooked but brings such a delightful charm to any garden: Reseda lutea, also known as Weld or Yellow Mignonette. It’s got these lovely, airy spikes of creamy yellow flowers that are fabulous for cutting and scenting the air with a subtle, sweet fragrance. Plus, pollinators adore it! The best part? Propagating it is a genuinely rewarding experience, and you’ll be pleased to know it’s quite beginner-friendly!
The Best Time to Start
For the highest success rate, I always recommend starting your Reseda lutea propagation from seed in early spring. Think late February to March here in most of the Northern Hemisphere, just as the days start to lengthen and the soil begins to warm. You can also try sowing seeds directly outdoors after the last frost for a more naturalized look. If you’re thinking about vegetative propagation, like cuttings, late spring or early summer, when the plant is actively growing, is your best bet.
Supplies You’ll Need
Gathering your tools before you begin is half the battle won! For Reseda lutea, you won’t need anything too fancy, but a few key items will make the process much smoother:
- Seed-starting mix: A light, well-draining mix is ideal.
- Small pots or seed trays: Clean ones, of course!
- Plastic wrap or a propagator lid: This helps maintain humidity.
- Watering can with a fine rose: For gentle watering.
- Labels and a permanent marker: To keep track of what’s what.
- Pruning shears or a sharp knife: If you’re attempting cuttings.
- Rooting hormone (optional): While not strictly necessary for Reseda lutea, it can give cuttings a little boost.
- A warm location: A sunny windowsill or a heated propagator.
Propagation Methods
Let’s get our hands dirty! Reseda lutea is wonderfully amenable to propagation, primarily through seeds, but I’ve had success with cuttings too.
From Seed (The Easiest Route!)
- Fill your containers: Lightly fill your seed pots or trays with your seed-starting mix. Don’t pack it down too firmly.
- Sow the seeds: Scatter the Reseda lutea seeds thinly over the surface of the soil. They’re quite small, so a little goes a long way.
- Lightly cover: Give them a very light dusting of more seed-starting mix, just enough to cover them.
- Water gently: Use your watering can with the fine rose to gently moisten the soil. You want it damp, not waterlogged.
- Provide warmth and humidity: Cover the pots with plastic wrap or a propagator lid. Place them in a warm spot, ideally around 18-21°C (65-70°F). A sunny windowsill works perfectly.
- Be patient: Germination can take anywhere from 10 to 21 days. Keep the soil consistently moist.
From Stem Cuttings (A Bit More Advanced)
- Take cuttings: In late spring or early summer, select healthy, non-flowering shoots from a mature plant. Using your sharp pruning shears or knife, take cuttings that are about 4-6 inches long.
- Prepare the cuttings: Remove the lower leaves from the cutting, leaving just a few at the top. If you’re using rooting hormone, dip the cut end into it now.
- Pot them up: Insert the cut end of each cutting into small pots filled with a well-draining potting mix or a sand/peat moss blend.
- Water and cover: Water them gently and then cover the pots with a plastic bag or propagator lid to create a humid environment.
- Provide indirect light and warmth: Place them in a bright spot but out of direct sunlight. A little bottom heat can really speed things up.
The “Secret Sauce” (Pro Tips)
Here are a couple of little tricks I’ve learned over the years that can make a real difference:
- Don’t overcrowd your seedlings: When you sow seeds, resist the urge to sow too densely. It’s much easier to thin out weak seedlings later than to have them all competing for resources, leading to leggy, unhealthy young plants.
- Bottom heat is a game-changer for cuttings: While not essential, if you’re keen on propagating from cuttings, popping them onto a heated propagator mat provides consistent warmth to the roots, encouraging them to develop much faster and more reliably. It’s a little investment that pays off!
Aftercare & Troubleshooting
Once your seeds have germinated or your cuttings have rooted (you’ll see new growth appearing!), it’s time for a little extra attention.
- Hardening off: If you started seeds indoors, before planting them out, you need to harden them off. This means gradually exposing them to outdoor conditions over a week or two. Start with a few hours in a sheltered spot and slowly increase the time and exposure to sun and wind.
- Transplanting: Once your seedlings are a few inches tall and have a couple of sets of true leaves, they can be gently transplanted into larger pots or their final garden position.
- Watering: Keep the soil consistently moist but not soggy. Overwatering is the most common culprit for rot and damping off, which can cause young seedlings to collapse at the soil line.
- Watch for rot: If your seedlings look limp and discolored at the base, or if cuttings suddenly wilt and turn black and mushy, it’s usually a sign of too much moisture and poor air circulation. You might need to reduce watering, improve drainage, or increase ventilation.
And there you have it! Propagating Reseda lutea is a simple joy that brings more beauty and life to your garden. Don’t be discouraged if your first attempt isn’t perfect; nature is forgiving, and every gardener learns through doing. Embrace the process, enjoy the little successes, and before you know it, you’ll have drifts of this beautiful plant gracing your space. Happy gardening!
Resource:
https://identify.plantnet.org/k-world-flora/species/Reseda%20lutea%20L./data