Hello, fellow garden lovers! I’m so glad you’re here. Today, we’re going to dive into one of my absolute favorite subjects: bringing more beauty into our gardens by propagating plants ourselves. And our star today is the enchanting Linum perenne, the perennial flax.
Why Grow Perennial Flax?
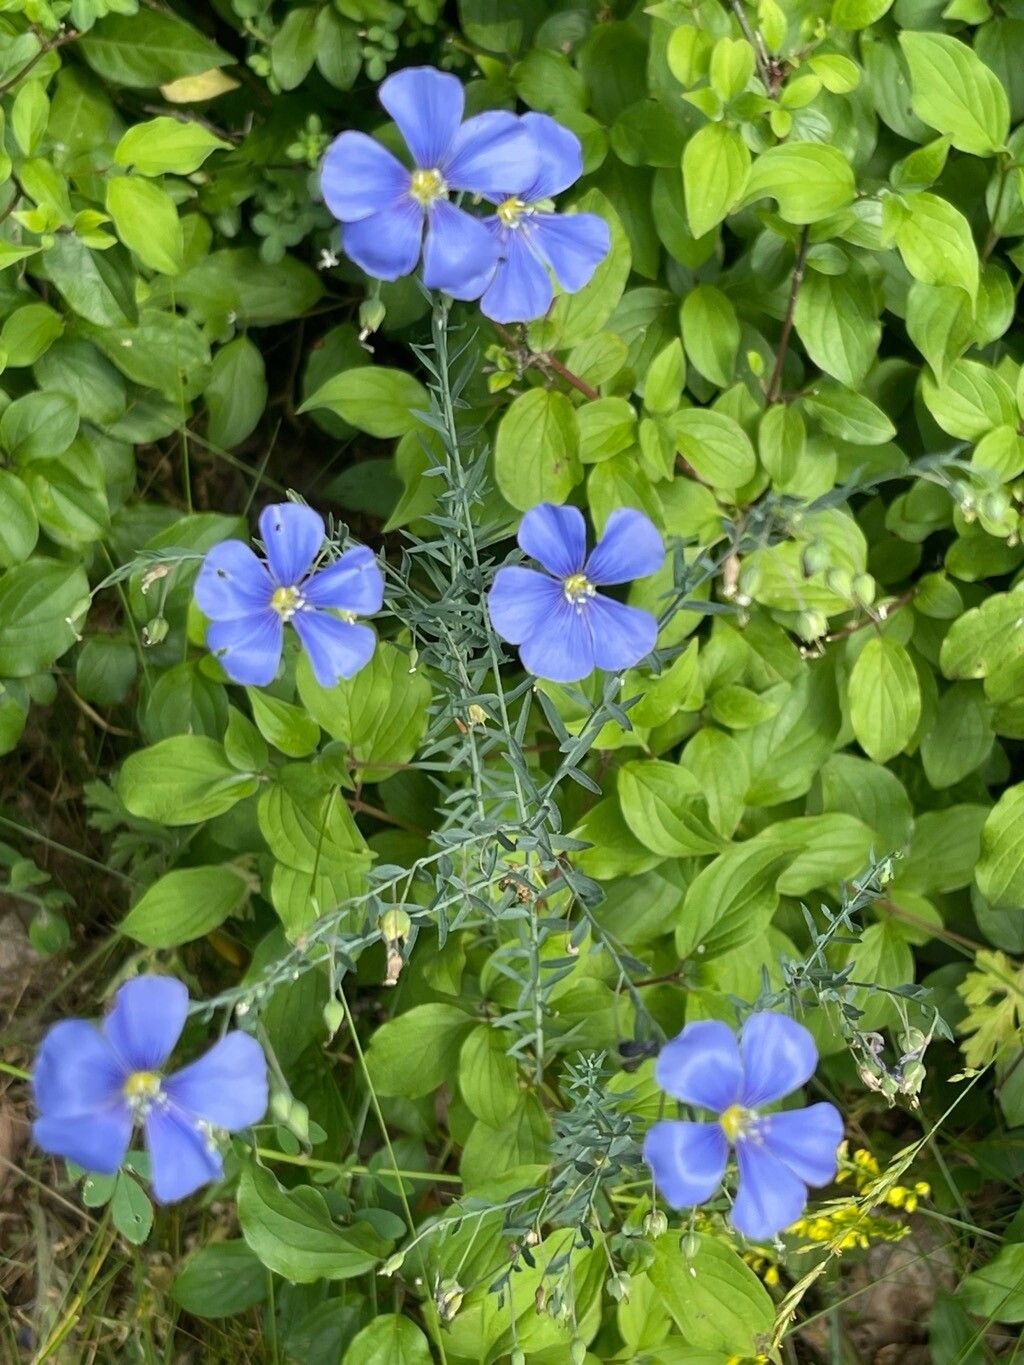
There’s something so effortlessly elegant about perennial flax. Those delicate, sky-blue flowers dancing on slender stems create a whisper of color that can transform a border or meadow planting. It’s a plant that brings a sense of airy charm and a delightful surprise each blooming season. And guess what? Propagating it is a wonderfully rewarding experience, a chance to multiply that beauty and share it with friends. If you’re new to the gardening game, have no fear! Linum perenne is generally quite forgiving, making it a fantastic plant to try your hand at propagation.
The Best Time to Start
Timing is everything in the garden, and for perennial flax, the sweet spot for propagation is late spring to early summer. This is when the young, vigorous shoots are actively growing, meaning they have plenty of energy to put into developing roots. Waiting until after the initial flush of spring growth has settled in is key.
Supplies You’ll Need
Before we get our hands dirty, let’s gather our tools. You won’t need anything too fancy, I promise!
- Clean, sharp pruning shears or a sharp knife: For making clean cuts.
- A well-draining potting mix: A good blend for this is 50% perlite and 50% peat moss or coco coir. You can also find pre-made seed starting mixes that work beautifully.
- Small pots or seed trays: Clean ones are essential to prevent introducing disease.
- Rooting hormone (optional but recommended): This can give your cuttings a helpful boost.
- A spray bottle: For misting your cuttings.
- A clear plastic bag or propagator lid: To create a humid environment.
- Labels: So you don’t forget what you’ve planted where!
- A tray of lukewarm water: For stem cuttings.
Propagation Methods
Perennial flax is quite amenable to propagation by stem cuttings. It’s straightforward and generally yields good results.
Stem Cuttings: My Go-To Method
- Select Your Cuttings: Head out on a mild morning, after the dew has dried. Look for healthy, non-flowering stems that are about 4-6 inches long. You want stems that are firm but not woody – think pencil-thickness, or slightly less. Gently twist or cut a stem from the mother plant.
- Prepare the Cuttings: Once you have your stems, it’s time to prep them. Remove the lower leaves from the bottom 2-3 inches of the stem. This is important because any leaves that are buried in the soil or water will likely rot. You can leave the top few leaves intact. If your leaves are quite large, you can even cut them in half horizontally to reduce water loss through transpiration.
- Apply Rooting Hormone (Optional): If you’re using rooting hormone, dip the cut end of each stem into it. Give it a gentle tap to remove any excess.
- Potting Up: Fill your clean pots or trays with your prepared potting mix. Moisten the mix thoroughly by watering it until water drains from the bottom.
- Planting the Cuttings: Make a hole in the soil with a pencil or your finger, just deep enough to accommodate the leafless part of the stem. Gently insert the cutting into the hole and firm the soil around it. Don’t pack it too tightly; the roots need to breathe!
- Create a Humid Environment: Water everything thoroughly again, very gently. Then, cover the pots with a clear plastic bag or propagator lid. This keeps the humidity high, which is crucial for cuttings to form roots before they dry out. Place them in a bright location out of direct sunlight.
Water Propagation (A Fun Alternative)
Some gardeners find success with stem cuttings in water. If you’d like to try this:
- Follow steps 1 and 2 above for selecting and preparing your cuttings.
- Place the prepared cuttings in a clean jar or vase filled with lukewarm water.
- Crucially, ensure none of the leaves are submerged in the water. You might need to remove more lower leaves for this.
- Place the jar in a bright spot, but out of direct sun.
- Change the water every few days to keep it fresh and prevent rot.
- You should see tiny white roots emerging within a few weeks.
The “Secret Sauce” (Pro Tips)
Here are a couple of tricks I’ve learned over the years that can really tip the scales in your favor:
- Bottom Heat is Your Friend: If you can, placing your pots on a gentle seedling heat mat can significantly speed up root formation. Perennial flax loves a bit of warmth from below to get those roots going. Just set it to a low, consistent temperature.
- Think Hygiene, Hygiene, Hygiene: Seriously, cleanliness is paramount. Anything that touches your cuttings – pots, tools, even your hands – should be as sterile as possible. A quick wash with soapy water and a rinse with diluted bleach solution for pots and tools works wonders. This prevents fungal infections and rot, which are the biggest enemies of new cuttings.
Aftercare & Troubleshooting
Once you see new growth emerging from the base of your cuttings, or roots poking through the drainage holes (if you’ve used clear pots), it’s a good sign that your propagation efforts are paying off!
- Gradual Acclimatization: It’s time to start weaning your new plants off their humid environment. Gradually open the plastic bag or propagator lid over a week or two, increasing the ventilation each day. This helps them adjust to the drier air.
- Continued Bright Light: Keep them in a bright spot, but still avoid harsh, direct sun, especially during the hottest part of the day.
- Watering: Water when the top inch of soil feels dry. Avoid overwatering, as this is a common cause of root rot. Let the water drain away freely.
- Transplanting: Once your new plants are strong enough to handle, and the roots are well-developed, you can transplant them into their own individual pots or directly into their final garden location, depending on the season.
Troubleshooting: If your cuttings wilt and turn yellow or develop mushy, black stems, it’s usually a sign of too much moisture and not enough air circulation, leading to rot. If this happens, try to increase ventilation and ensure your soil is draining well. Sometimes, even with the best care, a cutting just won’t make it. Don’t be discouraged! Gardening is all about learning, and every attempt teaches you something new.
Happy Propagating!
There you have it – a simple guide to multiplying your beautiful perennial flax. Remember, patience is key in gardening. Don’t be disheartened if your first attempt isn’t perfect. Enjoy the process, celebrate the small victories, and soon you’ll have a garden overflowing with these delightful blue blooms! Happy growing!
Resource:
https://identify.plantnet.org/k-world-flora/species/Linum%20perenne%20L./data