Oh, hello there, fellow garden enthusiast! I’m so happy you’ve stumbled upon this little corner of the internet. Today, we’re going to dive into the wonderful world of propagating Chersodoma antennaria. If you’ve ever admired those sunshine-yellow blooms, like tiny edible daisies carpeting your garden, you’re in for a treat. Bringing more of this cheerful plant into your life is incredibly rewarding, and I promise, with a little guidance, you can do it!
Why Grow More Chersodoma Antennaria?
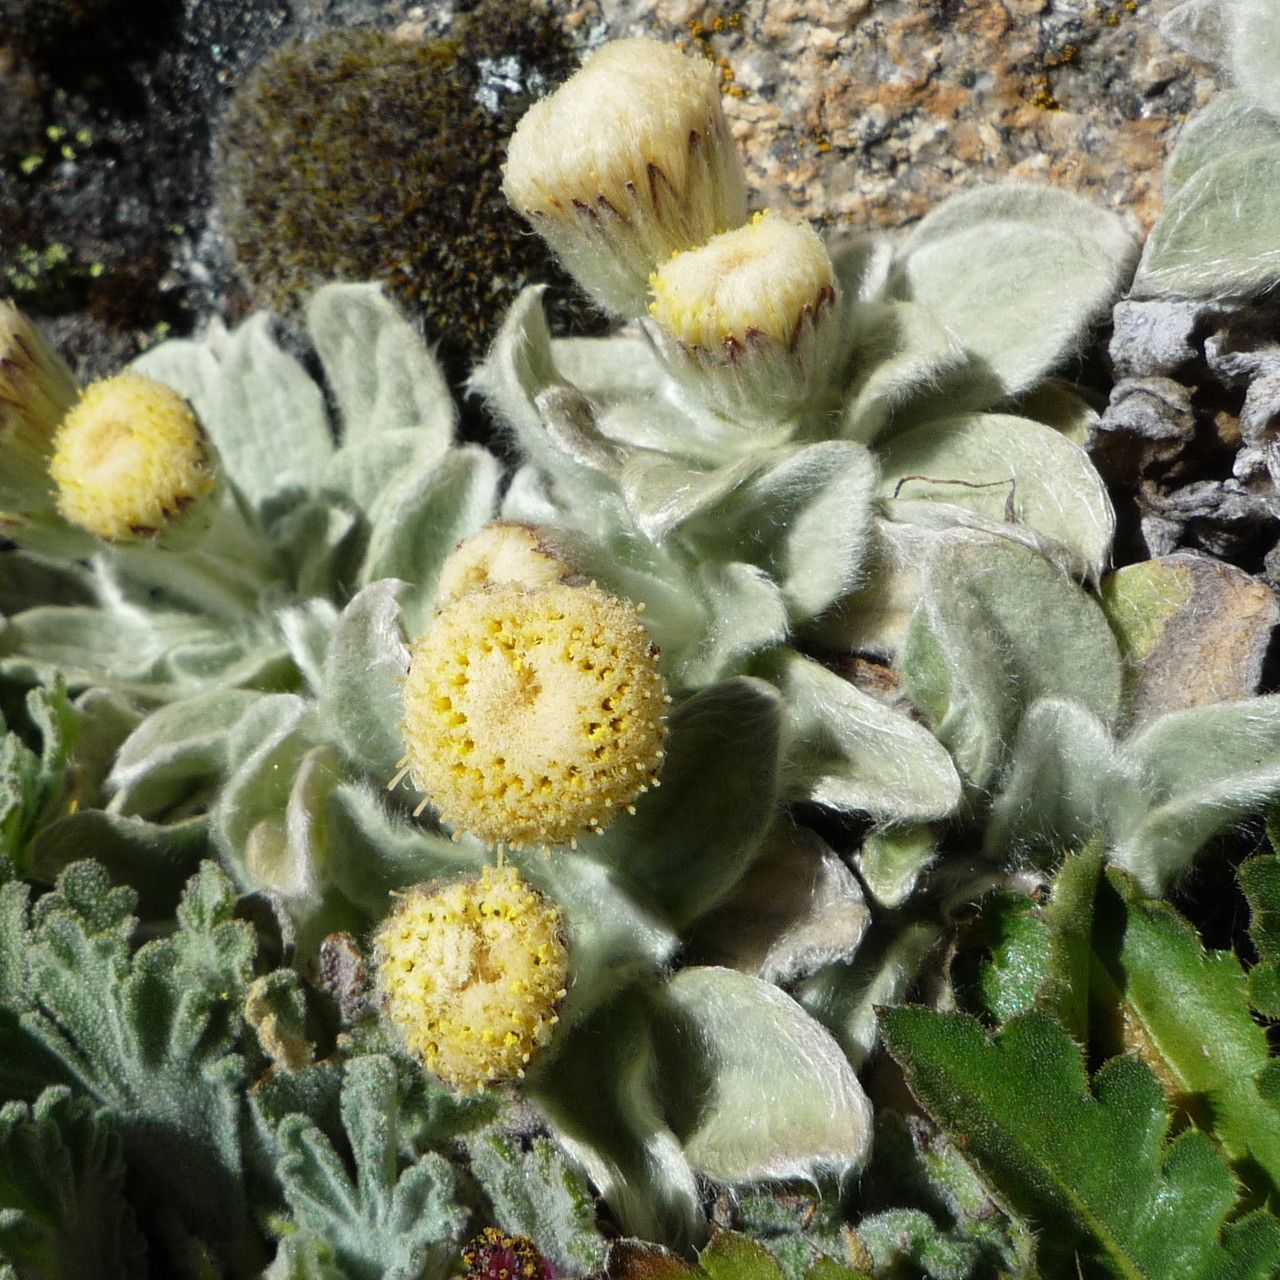
Let’s be honest, Chersodoma antennaria, often called Argentine Dandelion or similar, is just pure joy. Those sunny faces brighten any space, and they’re so unfussy once established. Propagating them isn’t just about getting more plants; it’s about sharing that happiness, filling in those bare spots, or even gifting a little piece of sunshine to a friend. For beginners looking to dip their toes into propagation, I’d say Chersodoma antennaria is a moderately easy plant to work with. It’s forgiving, and with the right approach, you’ll likely have success.
When is the Best Time to Strike?
The golden rule for most plant propagation is to work with active growth. For Chersodoma antennaria, the sweet spot is typically late spring to early summer, after the initial flush of spring growth has occurred and before the intense heat of mid-summer sets in. You’re looking for healthy, non-flowering stems. If you miss that window, don’t fret too much; you can often get away with it in early autumn, provided you have enough time before the first hard frost.
Your Propagation Toolkit: What You’ll Need
Gathering your supplies beforehand always makes the process smoother. Here’s what I reach for:
- Sharp Pruning Shears or a Craft Knife: Clean cuts are crucial.
- Rooting Hormone (Optional but Recommended): Helps speed things up. I like the powder form for stem cuttings.
- Well-Draining Potting Mix: A blend of peat moss or coco coir, perlite, and a bit of compost works wonders.
- Small Pots or Trays: Clean pots are a must to prevent disease.
- Watering Can with a Fine Rose or Spray Bottle: Gentle watering is key.
- Labels and a Marker: So you don’t forget what you planted and when!
- Plastic Bag or Propagator Lid: To maintain humidity.
Let’s Get Our Hands Dirty: Propagation Methods
Chersodoma antennaria is pretty versatile and can be propagated in a couple of ways. We’ll focus on the most reliable methods.
Method 1: Stem Cuttings (My Favorite!)
This is usually my go-to for Chersodoma. It’s efficient and gives you a good chance of success.
- Select Your Cuttings: Look for healthy, non-flowering stems that are about 4-6 inches long. Gently bend a stem. If it snaps cleanly, it’s likely the right maturity. If it’s too bendy and floppy, it might be too soft.
- Take Your Cuttings: Using your clean, sharp shears or knife, make a cut just below a leaf node (where a leaf attaches to the stem). Remove any leaves from the bottom half of the cutting, leaving just one or two at the very top.
- Apply Rooting Hormone: Dip the cut end into your rooting hormone, tapping off any excess.
- Pot Them Up: Fill your small pots with your well-draining potting mix. Make a small hole with your finger or a pencil.
- Insert and Firm: Gently place the cutting into the hole and lightly firm the soil around it to ensure good contact.
- Water Gently: Give the soil a good, but gentle, watering. You don’t want to dislodge the cutting.
- Create a Humid Environment: Place the potted cuttings inside a clear plastic bag, or cover them with a propagator lid. Make sure the leaves don’t touch the plastic. You can prop up the bag with a few sticks if needed.
- Find a Suitable Spot: Place the pots in a bright location but out of direct sunlight. Warmth is beneficial, so a windowsill is often perfect.
Method 2: Division (For Established Plants)
If you have a larger, well-established clump of Chersodoma, dividing it is a simple and effective way to multiply your plants.
- Dig Up the Clump: In the spring or early autumn, carefully dig up the entire plant. You might need to use a garden fork to loosen the soil around it first.
- Separate the Roots: Gently shake off excess soil to expose the root ball. You should see distinct crowns or sections.
- Divide: Using your hands or a spade, gently pull or cut the clump apart into smaller sections. Each section should have healthy roots and at least one or two shoots.
- Replant Immediately: It’s best to replant your divisions as soon as possible. Prepare a new planting spot or pots with your regular garden soil or potting mix.
- Water Thoroughly: Give your newly planted divisions a good soak to help settle the soil and reduce transplant shock.
The “Secret Sauce” – My Insider Tips
After years of pottering around, I’ve picked up a few tricks that really seem to make a difference!
- Bottom Heat is Your Friend: For stem cuttings, placing your pots on a heat mat can significantly speed up root development. It mimics the warmth of spring soil and encourages those roots to get going.
- The “Air Gap” Trick: When using a plastic bag for humidity, ensure there’s a decent air gap between the leaves of your cuttings and the plastic. This prevents moisture from building up directly on the leaves, which can lead to fungal issues.
- Don’t Over-Water, Ever! This is probably the most common mistake. While humidity is good, waterlogged soil is a death sentence for cuttings. Allow the top layer of soil to dry out slightly between waterings.
Aftercare & Troubleshooting: Nurturing Your New Sprouts
Once you start seeing signs of rooting – usually new growth appearing at the top of the stem – you’re on the home stretch!
- Acclimatization: Gradually reduce the humidity after roots have formed. Open the plastic bag a little each day for a few days, then remove it entirely.
- Transplanting: Once the new plants have a decent root system (you can often tell by gently tugging on them – they should resist), you can transplant them into larger pots or their final garden location.
- Watering: Continue to water regularly, but again, don’t let them sit in soggy soil.
Troubleshooting:
- Wilting: This can be a sign of underwatering or shock. Check the soil moisture. If it’s dry, water gently. If the soil is wet and the plant is wilting, it might be root rot.
- Rotting: If the stem turns mushy and black, this is usually rot, often caused by overwatering or poor drainage. Sadly, these cuttings are usually lost. Make sure your soil drains well and you’re not overdoing the water.
- No Growth: Be patient! Some plants take longer than others. Ensure your cuttings are in a warm, bright spot. If after several weeks you see absolutely no signs, it might be time to try again.
Keep Growing, Keep Experiencing
Propagating plants like Chersodoma antennaria is such a satisfying part of gardening. It’s a way to connect with nature, a bit of magic in the making. Don’t be discouraged if your first attempt isn’t perfect; every gardener has experienced losses. Just be patient with your new sprouts, keep observing them, and most importantly, enjoy the journey of bringing more beauty into your world. Happy propagating!
Resource:
https://identify.plantnet.org/k-world-flora/species/Chersodoma%20antennaria%20(Wedd.)%20Cabrera/data