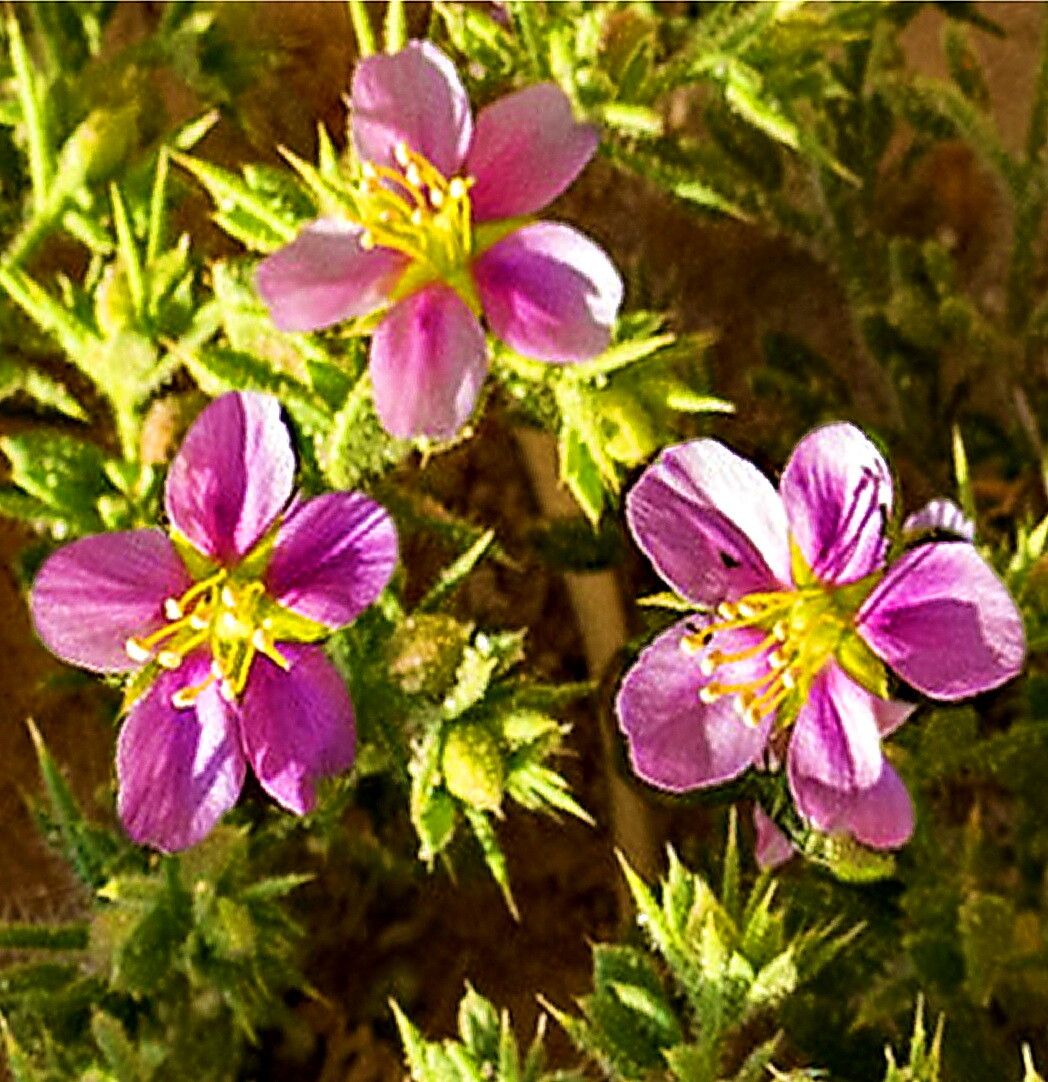
Hey there, fellow plant lovers! I’m so excited to talk to you today about a little gem in my garden: Zygophyllum molle. If you haven’t encountered it yet, imagine a plant that’s just as happy soaking up the sun as it is weathering a bit of dryness, with lovely, almost succulent-like foliage. It’s a fantastic choice for rock gardens, xeriscapes, or even just as a hardy, attractive addition to your collection. And the best part? Propagating it is incredibly rewarding. For those just dipping their toes into the propagation waters, I’d say Zygophyllum molle is a wonderfully approachable plant to start with. It’s quite forgiving!
The Best Time to Start
My favorite time to get my propagation game going with Zygophyllum molle is in late spring to early summer. This is when the plant is actively growing, and its stems are nicely mature but not yet woody. You’ll find it’s much more receptive to taking root during this vibrant period. Think of it as capturing the plant at its peak energy!
Supplies You’ll Need
Here’s what I usually gather before I start:
- Sharp, clean pruning shears or a sterile knife: We want clean cuts to prevent disease.
- Rooting hormone (optional but recommended): This gives your cuttings a little boost. Look for one that suits herbaceous or slightly woody cuttings.
- Well-draining potting mix: A good blend might be equal parts potting soil, perlite, and coarse sand. You can even use a specialized cactus and succulent mix.
- Small pots or seed trays: Make sure they have drainage holes.
- Watering can or spray bottle: For gentle watering.
- Clear plastic bags or a propagator: To create a humid environment.
- Labels and a marker: To keep track of your precious new plant babies!
Propagation Methods
For Zygophyllum molle, the most reliable and straightforward method is stem cuttings.
-
Take Your Cuttings: On a bright, not-too-hot day, select a healthy stem from your mature Zygophyllum molle. Cut a piece about 4-6 inches long, making sure it has at least two sets of leaves. Use clean shears for a nice, clean cut. Try to harvest cuttings in the morning after the dew has dried.
-
Prepare the Cuttings: Gently remove the lower leaves from the cutting. This is important because any leaves that end up buried in the soil will likely rot. You want to expose the nodes where roots will form.
-
Apply Rooting Hormone (Optional): If you’re using rooting hormone, dip the cut end of the stem into the powder or gel. Tap off any excess. This really does give them a better chance.
-
Plant the Cuttings: Fill your pots or trays with your well-draining potting mix. Make a small hole in the center with your finger or a pencil. Insert the prepared cutting into the hole, ensuring the leaf nodes are buried in the soil. Gently firm the soil around the stem.
-
Water Gently: Give the soil a light watering. You want it moist but not soggy. A spray bottle is great for this stage to avoid disturbing the cuttings.
-
Create Humidity: Cover the pots loosely with a clear plastic bag or place them in a propagator. This creates a mini-greenhouse effect, keeping the humidity high, which is crucial for cuttings to root. You can prop the bag up with a few stakes if needed.
-
Provide Light and Warmth: Place your propagating pots in a bright spot with indirect sunlight. Avoid direct sun, which can scorch the tender cuttings. A little warmth can also help, but it’s not usually essential for Zygophyllum molle in the right season.
The “Secret Sauce” (Pro Tips)
- Don’t Overcrowd: Give your cuttings a bit of elbow room in their pots. Overcrowding can lead to poor air circulation and increase the risk of fungal issues. Trust me, it’s better to have a few well-rooted plants than a pot full of sad, struggling ones.
- Bottom Heat (If Available): While Zygophyllum molle isn’t super fussy, if you do have a heat mat designed for propagation, using it can really speed things up. It encourages root growth from below without cooking the foliage above.
- Water the Soil, Not the Leaves: This is a big one! When watering, always aim to water the soil directly. Letting water sit on the leaves, especially in a humid environment, can invite fungal diseases.
Aftercare & Troubleshooting
Once your cuttings have started to show signs of new growth – tiny leaves unfurling or a gentle tug revealing some resistance – that’s a good indicator they’re rooting! This usually takes anywhere from 3-6 weeks.
Once roots are established, you can slowly acclimate them to normal conditions. Gradually remove the plastic bag over a few days. Continue to water them when the top inch of soil feels dry.
What if things go wrong? The most common issue is rot. If you see your cutting looking mushy, dark, or falling over, it’s likely rotting. This is usually down to too much moisture and poor drainage. If caught early, you might be able to salvage a healthy section and try again, ensuring better aeration and less water. Sometimes, cuttings just don’t make it, and that’s part of the learning process! Don’t get discouraged.
A Encouraging Closing
Propagating plants is all about patience and observation. Watching a tiny cutting transform into a vibrant new plant is one of the most satisfying experiences in gardening. So, embrace the process, learn from every attempt, and enjoy the journey of growing more of these lovely Zygophyllum molle plants. Happy propagating!
Resource: