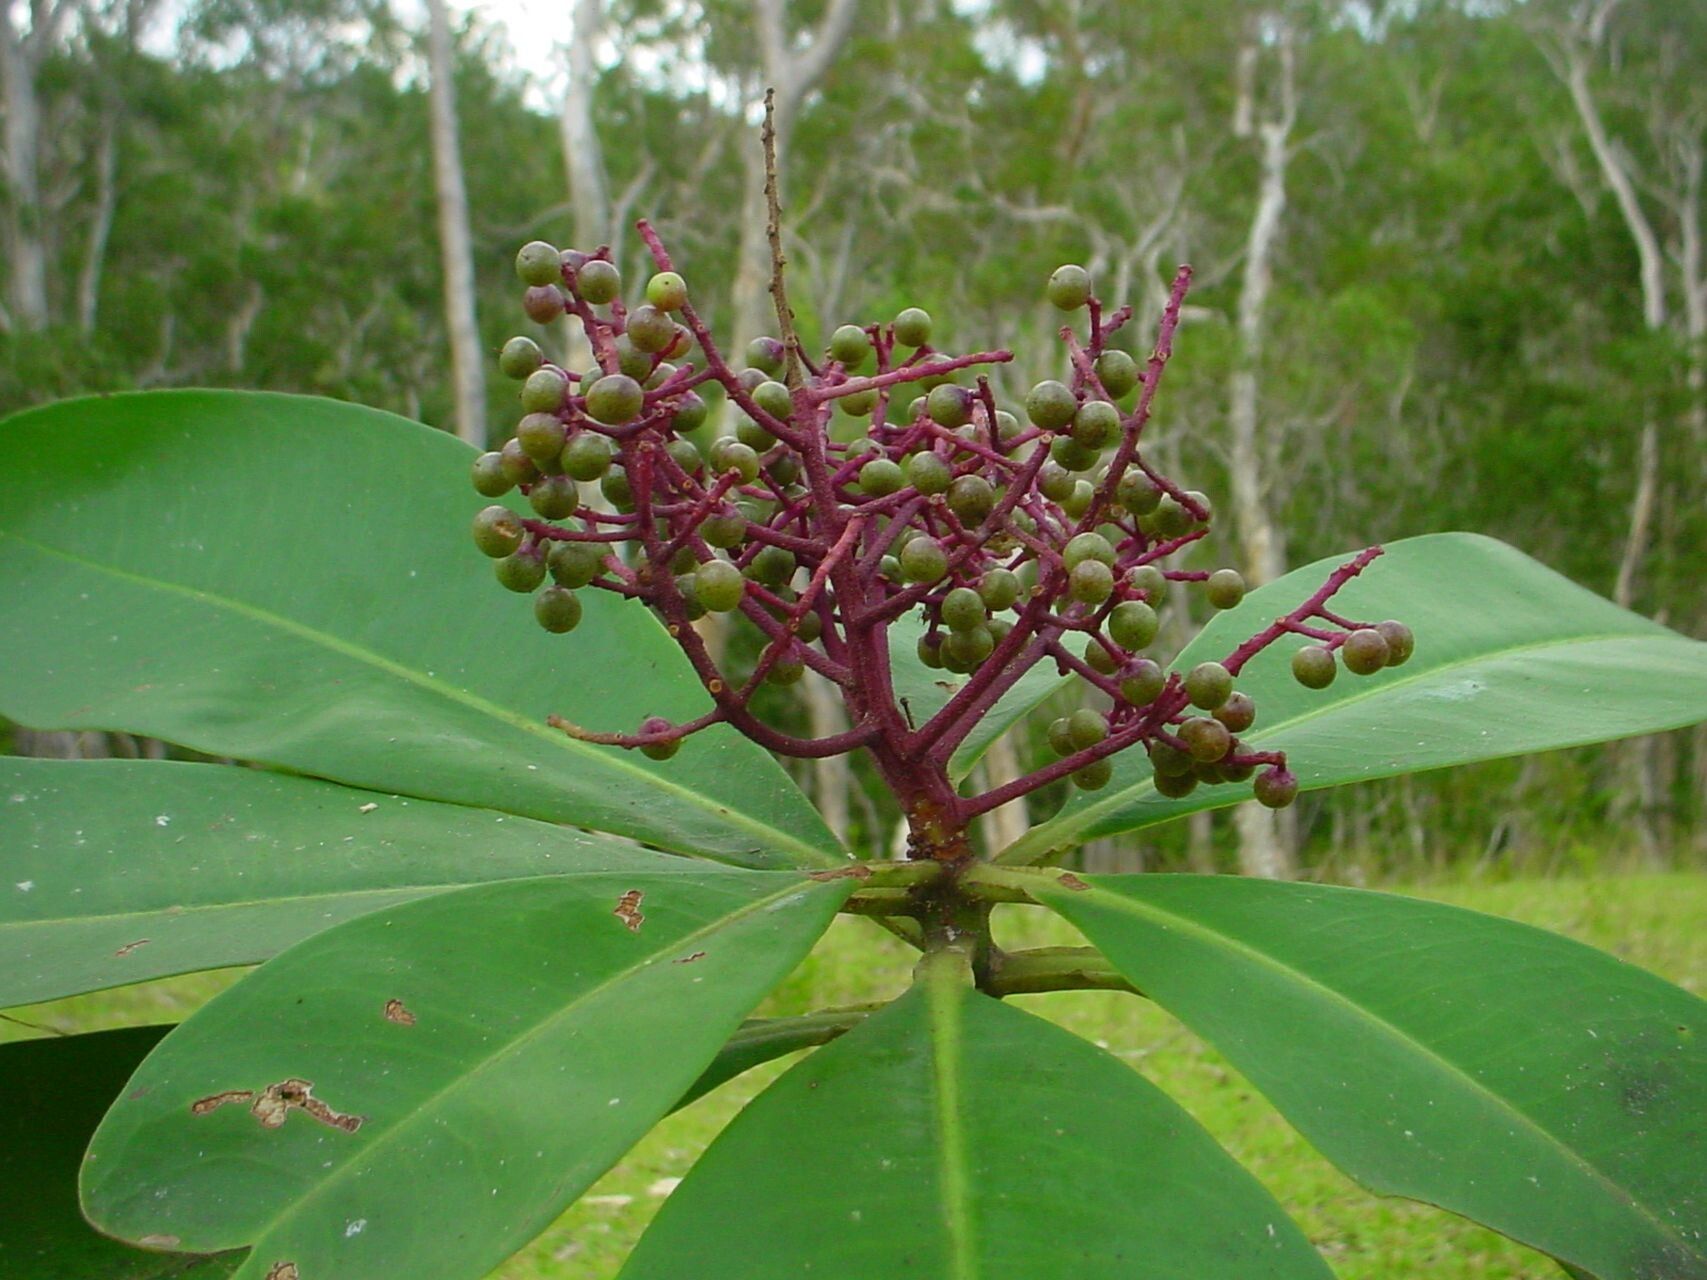
Hello fellow plant enthusiasts! Today, we’re diving into the delightful world of Tapeinosperma nitidum. If you’ve ever admired its glossy, emerald leaves and elegant form, you’re in good company. This beauty brings such a refined touch to any indoor space. And the best part? It’s surprisingly rewarding to create more of them from a single plant. Now, I’ll be honest, Tapeinosperma nitidum isn’t always the easiest plant for absolute beginners to propagate. It likes a bit of specific attention, but with a little patience and these tips, you’ll be well on your way to success!
The Best Time to Start
For the highest success rates, I find that late spring through early summer is absolutely golden for propagating Tapeinosperma nitidum. This is when the plant is actively growing and has the energy to push out new roots. You want to be taking cuttings from healthy, vigorous stems that aren’t flowering. Think of it as tapping into the plant’s peak vitality!
Supplies You’ll Need
Gathering your supplies before you begin makes the whole process much smoother. Here’s what I usually have on hand:
- Sharp, clean pruning shears or a sharp knife: Essential for making clean cuts to prevent disease.
- Propagation pots or small containers: Make sure they have drainage holes!
- Well-draining potting mix: A good blend of regular potting soil with perlite or coarse sand works wonders. I often mix about 50/50.
- Rooting hormone (optional but recommended): This can significantly speed up root development. Look for one with IBA (indole-3-butyric acid).
- A spray bottle: For misting cuttings to maintain humidity.
- A clear plastic bag or propagation dome: To create a mini-greenhouse effect.
- A heat mat (optional but helpful): Provides gentle warmth from below, which encourages root growth.
Propagation Methods
Tapeinosperma nitidum is most happily propagated through stem cuttings. It’s a tried-and-true method that usually yields fantastic results.
Stem Cuttings:
- Select your cutting: Look for a healthy stem that is at least 4-6 inches long. You want to see at least two or three sets of leaves.
- Make the cut: Using your sterilized shears or knife, make a clean cut just below a leaf node (where a leaf meets the stem). This is where roots are most likely to form.
- Prepare the cutting: Gently remove the lower leaves, leaving just the top 2-3 leaves intact. If the remaining leaves are very large, you can cut them in half horizontally to reduce water loss, but for Tapeinosperma nitidum, I often leave them as is.
- Apply rooting hormone (if using): Dip the cut end of the stem into the rooting hormone, tapping off any excess.
- Plant your cutting: Fill your propagation pot with your prepared, moist potting mix. Make a small hole with your finger or a pencil and insert the cutting about an inch or two deep, ensuring the leaf nodes are buried. Gently firm the soil around the stem.
- Water gently: Water the soil lightly to settle it around the cutting.
- Create a humid environment: Place the pot inside a clear plastic bag, or cover it with a propagation dome. Ensure the leaves don’t touch the sides of the bag if possible, as this can lead to rot.
- Provide bright, indirect light: Place your little cuttings in a spot that receives plenty of bright, filtered light but no direct sun, which can scorch them.
The “Secret Sauce” (Pro Tips)
Here are a couple of things I’ve learned over the years that really make a difference:
- Bottom Heat is Your Friend: If you have a heat mat, place your pots on it. This gentle warmth from below mimics ideal soil temperatures and gives those roots a real kickstart. It’s one of the best ways to boost success with cuttings.
- Don’t Overwater (or Underwater): This is a delicate balance. You want the soil to remain consistently moist, but not soggy. Stick your finger about an inch into the soil. If it feels dry, give it a light watering. If it feels wet, hold off. Checking the soil is far more reliable than just watering on a schedule.
Aftercare & Troubleshooting
Once your cuttings have rooted, you’ll see a wonderful sign: new leaf growth! This is your cue that they’ve established themselves.
- Transition Care: Once you see those first signs of new growth, you can gradually acclimate your new plant to slightly less humid conditions. You can start by opening the plastic bag or dome for a few hours each day.
- Repotting: After a few more weeks, when the roots are filling the pot (you might see them peeking out of the drainage holes), it’s time to pot them up into their own small pots with regular potting soil. Continue to provide bright, indirect light and keep the soil consistently moist.
- Troubleshooting: The most common issue you’ll face is rot. This usually happens due to overwatering or poor air circulation. If a cutting looks mushy, black, or starts losing its leaves quickly, it’s likely succumbed to rot. If you see this, you can try to salvage any healthy parts of the stem to start again, but don’t be discouraged if a few don’t make it. Also, watch for wilting – this can be a sign that the cutting hasn’t rooted yet and is drying out, or it could be a sign of rot if combined with softness.
A Encouraging Closing
Propagating Tapeinosperma nitidum is a journey of observation and patience. Don’t be discouraged if your first attempts aren’t perfect. Each cutting you try is a learning experience. Enjoy the process of watching new life emerge, and soon you’ll have a collection of these lovely plants to share or to fill your home with lush greenery. Happy propagating!
Resource:
https://identify.plantnet.org/k-world-flora/species/Tapeinosperma%20nitidum%20Mez/data