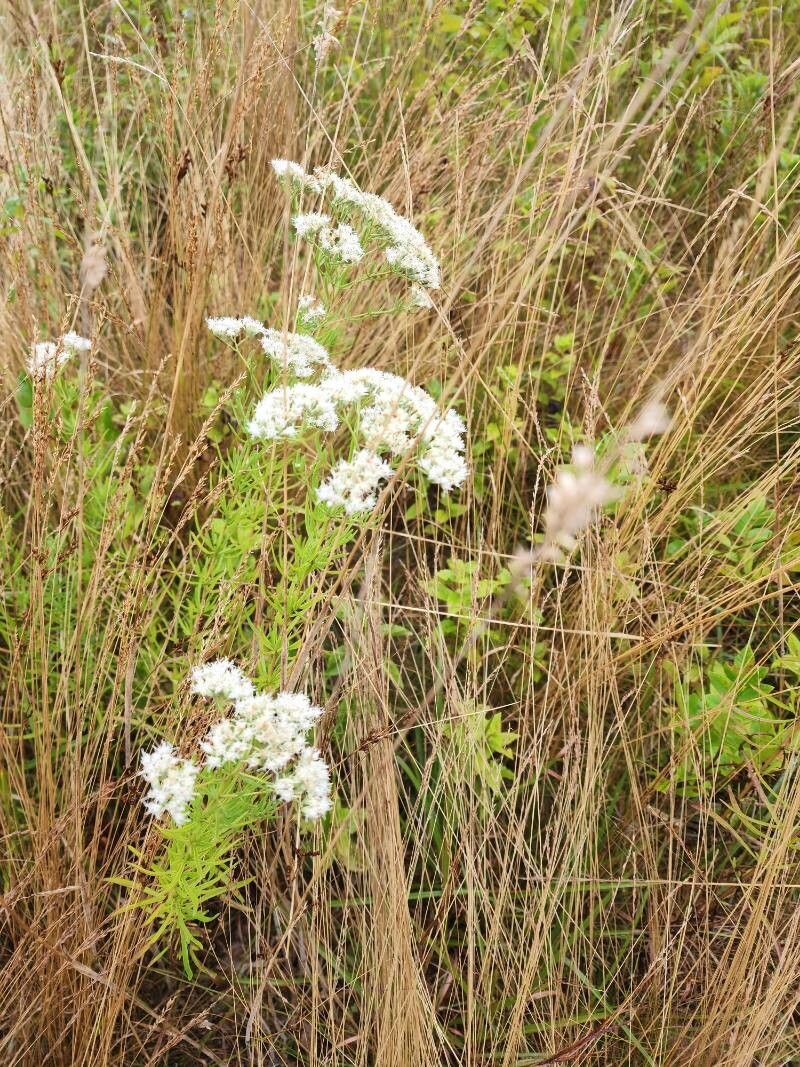
Hello there, fellow garden enthusiasts! I’m so excited to chat with you today about a plant that truly brings a buzz to my garden – Eupatorium mohrii, or as I like to call it, the delicate prairie coneflower. Its airy clouds of wispy pink to lavender blooms are an absolute magnet for pollinators. Watching bees and butterflies flit among them brings me so much joy. And the best part? Propagating these beauties is surprisingly rewarding, and I’m here to tell you it’s quite doable, even for those of you just dipping your toes into the world of plant propagation.
The Best Time to Start
For Eupatorium mohrii, I find the late spring to early summer is your sweet spot. This is when the plant is in its active growth phase. You’re looking for non-woody, young stems – think of them as the energetic newcomers of the season. Waiting until the stems have started to firm up a bit, but before they set flower buds, gives you the best chance of success.
Supplies You’ll Need
Before we dive in, let’s gather our tools:
- Sharp Pruning Shears or a Clean Knife: For taking clean cuttings.
- Rooting Hormone (Optional but Recommended): This can give your cuttings a little boost.
- Small Pots or Seed Starting Trays: With drainage holes, of course!
- A Well-Draining Potting Mix: I love a blend of peat moss, perlite, and a little compost. You can also use a store-bought seed starting mix.
- Watering Can or Spray Bottle: For gentle watering.
- Plastic Bags or a Propagator: To create a humid environment.
- Labels: To keep track of your precious propagations!
Propagation Methods
Let’s get our hands dirty! For Eupatorium mohrii, I find stem cuttings are the most reliable and easiest method.
Stem Cuttings:
- Take Your Cuttings: In late spring or early summer, select healthy, vigorous stems. Using your clean shears, cut pieces that are about 4-6 inches long. Make your cut just below a leaf node (where a leaf attaches to the stem).
- Prepare the Cuttings: Gently remove the lower leaves, leaving just a few at the top. This prevents them from rotting in the soil. If you’re using rooting hormone, dip the cut end into it according to the product’s instructions.
- Plant Your Cuttings: Fill your pots or trays with your prepared potting mix. Make a small hole in the center with your finger or a pencil. Carefully insert the cut end of the stem into the hole. Gently firm the soil around the stem.
- Water Gently: Water the soil thoroughly but gently. You don’t want to dislodge your cuttings. A spray bottle is great for this initial watering.
- Create Humidity: Cover the pots or trays with a clear plastic bag or place them in a propagator. This traps moisture and creates a mini-greenhouse effect, which is crucial for cuttings to root without drying out. Make sure the leaves don’t touch the sides of the plastic if possible.
The “Secret Sauce” (Pro Tips)
Here are a few tricks I’ve learned over the years that can really boost your success:
- Don’t Be Afraid to Get a Little Aggressive: When taking your cuttings, trim off any tempting flower buds that might form. The plant’s energy needs to go into growing roots, not into making flowers at this stage.
- Bottom Heat is Your Friend: If you have access to a seedling heat mat, place your pots on it. This gentle bottom warmth encourages root development and can make a significant difference, especially in cooler environments.
- The “Wiggle Test”: After a few weeks, you can gently tug on a cutting. If you feel a bit of resistance, that’s a good sign roots are forming!
Aftercare & Troubleshooting
Once you see new leaf growth, that’s your exciting indicator that roots have formed!
- Wean Off Humidity: Gradually introduce your new plants to the open air. Start by opening the plastic bag a bit each day for a week, then remove it entirely.
- Continue Watering: Keep the soil consistently moist but not waterlogged. You’ll notice your little plants will perk up after watering.
- Potting Up: Once your cuttings are robust enough to handle, you can transplant them into slightly larger individual pots.
- Common Signs of Failure: The most common culprit is rot. If your cuttings turn mushy or black, or if the leaves droop severely and don’t recover after watering, it’s likely rot. This often stems from overwatering or poor drainage. Too much direct sun on fragile cuttings can also cause them to wilt and fail. Don’t be discouraged if a few don’t make it – that’s part of the learning process!
A Little Patience Goes a Long Way
Propagating Eupatorium mohrii is a beautiful way to share these delightful plants and fill your garden with even more of their charm. Be patient, enjoy the small victories, and remember that every little sprout is a sign of nature’s resilience. Happy propagating!
Resource:
https://identify.plantnet.org/k-world-flora/species/Eupatorium%20mohrii%20Greene/data