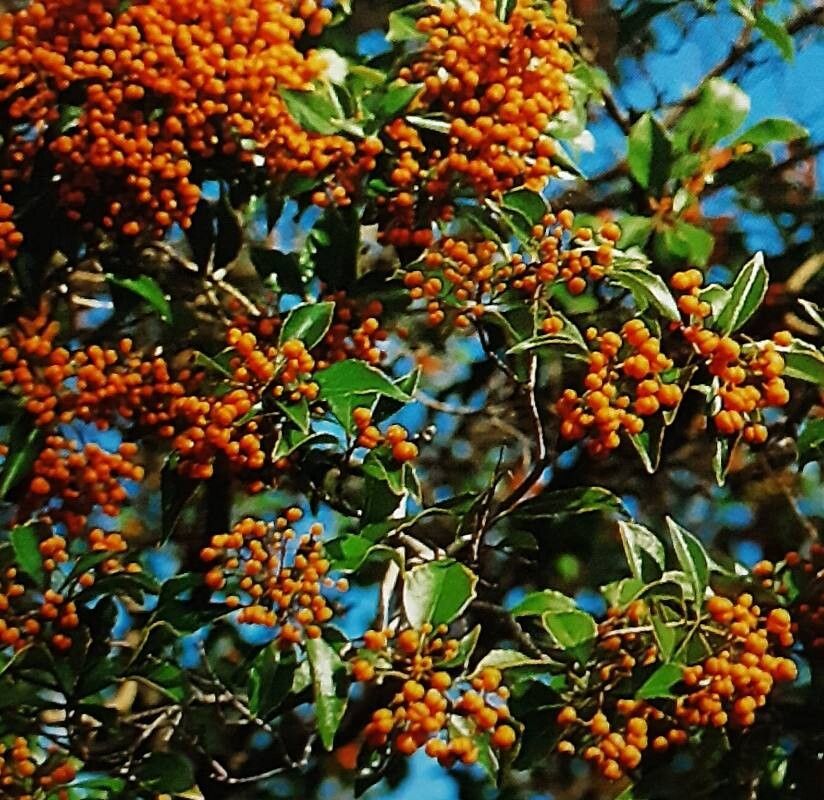
Oh, Auranticarpa rhombifolia, isn’t she a beaut! Those clusters of delicate white flowers, often followed by those lovely, almost translucent berries – it’s a real showstopper in any garden or sunroom. And the best part? You can easily multiply this joy yourself! Propagating plants like this is one of my favorite garden rituals. It’s a little bit magical, watching a tiny piece of a parent plant transform into a whole new, thriving individual.
Now, I know some folks can be a bit intimidated by propagation, but here’s a little secret: Auranticarpa rhombifolia is actually quite forgiving, even for beginners. You’ve got this!
The Best Time to Start
When do you want to catch this little wonder at its peak for propagation? My sweet spot is late spring to early summer. This is when the plant is actively growing, full of vigor, and has plenty of energy to put into rooting. Look for new growth that’s firm but not yet woody – we call this “semi-hardwood.” It’s a bit like a firm pencil. Avoid anything too soft and floppy, or too old and brittle.
Supplies You’ll Need
Gathering your tools before you begin makes the whole process smoother. Here’s my go-to list:
- Sharp Pruning Shears or a Knife: Clean cuts prevent disease and help the plant heal.
- Rooting Hormone (Optional but Recommended): This little powder or gel really gives your cuttings a boost. Look for one containing IBA (indole-3-butyric acid).
- Small Pots or Seed Trays: Whatever you have will do, as long as they have drainage holes.
- Well-Draining Potting Mix: A good quality seed-starting mix or a blend of equal parts peat moss, perlite, and vermiculite works wonders. You want something light and airy.
- Plastic Bags or a Clear Dome: To create a humid environment for your cuttings.
- Watering Can with a Fine Rose: For gentle watering.
- Marker Pen: To label your pots! Trust me on this one.
Propagation Methods
For Auranticarpa rhombifolia, I find stem cuttings to be the most reliably successful method.
Stem Cuttings – The Tried and True Way
- Take Your Cuttings: On a bright morning, select a healthy stem from your mature plant. Using your sharp secateurs or knife, make a clean cut just below a leaf node (where a leaf attaches to the stem). Aim for cuttings that are about 4-6 inches long. Remove the lower leaves, leaving just 2-3 at the top.
- Prepare the Cutting: If you’re using rooting hormone, dip the cut end into the powder or gel, tapping off any excess. This helps seal the wound and encourages root development.
- Plant the Cuttings: Fill your small pots with your prepared potting mix. Make a hole in the center of each pot with your finger or a pencil. Gently insert the prepared cutting into the hole, ensuring the leaf nodes are buried. Firm the soil gently around the base of the cutting.
- Create a Humid Environment: Water the soil thoroughly, but gently. Then, cover the pot with a plastic bag, securing it around the rim with a rubber band, or place it under a clear plastic dome. This traps moisture, which is crucial for the cuttings as they haven’t developed roots yet to take up water.
- Find the Right Spot: Place the pots in a bright location but out of direct, harsh sunlight. A windowsill that gets bright, indirect light is perfect.
The “Secret Sauce” (Pro Tips)
Here are a few little tricks I’ve picked up over the years that can really tip the scales in your favor:
- Don’t Overcrowd: When taking cuttings from a single stem, it’s tempting to get as many as possible. But give them space! Each cutting needs enough light and air circulation. I usually aim for one or two cuttings per pot, or space them several inches apart in a tray.
- Bottom Heat is Your Friend: If you have a heat mat, placing your pots on it can significantly speed up root formation. This mimics the warmth of spring soil and gives those little root cells a real kickstart. Don’t make it too hot, just a gentle warmth.
- When in Doubt, Mist: While the plastic bag keeps humidity high, I often give the inside of the bag a light misting with water every few days, especially if the air in my house is particularly dry. This keeps the leaves from wilting before they have a chance to root.
Aftercare & Troubleshooting
Once your cuttings have settled in, keep the soil consistently moist but not soggy. Remember that plastic bag (or dome)? Keep it on for the first few weeks.
You’ll know your cutting is taking off when you see new leaf growth. This is a wonderful sign! It usually takes anywhere from 4 to 8 weeks for roots to develop. You can gently tug on the cutting – if there’s resistance, roots are forming. Once you see good new growth and feel that resistance, you can start to gradually acclimate them to drier air by opening the plastic bag a little more each day over a week.
Now, what if things go south? The most common culprit is rot. If your cutting turns black and mushy, it’s usually a sign of too much moisture and poor air circulation. If you see this, remove the affected cutting immediately to prevent it from spreading to others. Sometimes, even with the best care, a cutting just won’t root. Don’t get discouraged! It’s a natural part of the process. Just try again!
A Little Patience Goes a Long Way
So there you have it – a simple guide to bringing more of that Auranticarpa rhombifolia beauty into your life. Propagation is a journey, and each plant is a little experiment. Be patient, enjoy the process, and celebrate every tiny bit of progress. Happy propagating!
Resource: