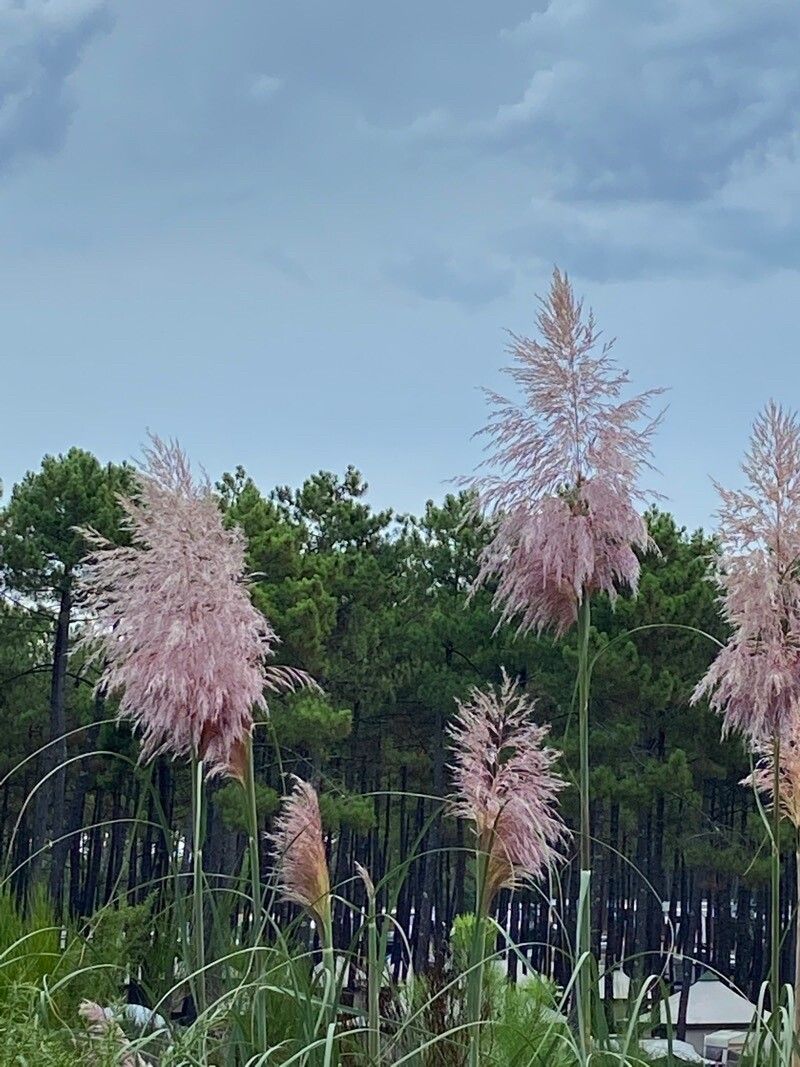
Oh, Cortaderia jubata! That gorgeous Pampas grass cousin with those wonderfully soft, arching plumes. It’s truly a showstopper in any garden, isn’t it? Watching those feathery feathery displays emerge is such a thrill, and propagating your own? Well, that’s a whole other level of garden joy. You get to share that beauty, fill out your own landscape, or even gift a piece of your gardening success to friends. If you’re new to the game, you might find it a smidge challenging at first, but with a little know-how and patience, you’ll be well on your way.
The Best Time to Start
For Cortaderia jubata, spring is absolutely your best bet. As the plant starts waking up after winter and putting on new growth, it’s full of vigor. Aim for when the days are getting longer and the temperatures are starting to warm up consistently. You want healthy, new shoots to work with, not something that’s stressed from heat or cold.
Supplies You’ll Need
Here are the essentials for your propagation adventure:
- Sharp Pruning Shears or a Knife: Clean cuts are crucial.
- Rooting Hormone: This is a fantastic booster, especially when you’re just starting out.
- Potting Mix: A well-draining mix is key. I like a blend of coarse sand, perlite, and peat moss. You could also use a seed-starting mix.
- Small Pots or Trays: Clean pots or seed trays with drainage holes are a must.
- Plastic Bags or a Propagator: To create a humid environment.
- Watering Can with a Fine Rose: To water gently.
- Labels and a Marker: Don’t forget to label your creations!
Propagation Methods: The Magic of Division
For Cortaderia jubata, division is generally the most reliable and straightforward method for home gardeners. Pampas grass and its relatives form dense clumps, and you can simply split these apart into smaller, viable sections.
Here’s how I do it:
- Dig Up the Clump: In early spring, before new flower stalks shoot up, carefully dig around the entire plant. Try to get as much of the root ball as you can. You might need a sturdy spade for this.
- Clean Off Excess Soil: Gently shake off some of the soil so you can see where the individual shoots are growing from the root system.
- Divide the Clump: This is where the work comes in! You can use your pruning shears, a sharp spade, or even your hands to carefully pull apart sections of the clump. Each section should have its own set of healthy roots and at least a few growing shoots. Don’t be afraid to get a little firm; these plants are tough!
- Prepare Your Divisions: Once you have your divisions, you can trim off any dead or damaged leaves or roots. If you’re using rooting hormone, dip the cut ends of the roots into the powder.
- Pot Them Up: Plant each division into its own pot, using your well-draining potting mix. Make sure the base of the plant is about level with the soil surface. Water gently but thoroughly.
The “Secret Sauce” (Pro Tips)
- Think “Air Circulation,” Not “Drowning”: When you cover your newly potted divisions with a plastic bag or put them in a propagator, make sure there’s a little bit of air exchange. You want humidity, yes, but not stagnant, damp air that can encourage rot. Occasionally lifting the bag or opening vents does wonders.
- Bottom Heat is Your Friend: If you can, placing your pots on a heated propagator mat can significantly speed up root development. It mimics the warmth of the soil in spring and gives those roots the encouragement they need to grow.
- Don’t Rush the Outdoors: Even after you see new growth, be patient. New divisions are vulnerable. Acclimatize them slowly to outdoor conditions by gradually exposing them to increasing amounts of sun and wind before planting them out permanently.
Aftercare & Troubleshooting
Once your divisions are potted, keep them in a bright, sheltered spot. Water regularly, but don’t let them sit in soggy soil. You should start to see new leaf growth within a few weeks if all goes well.
The most common issue you might encounter is rot. If you see leaves turning yellow and mushy, or the base of the plant seems soft and dark, it’s likely rot. This usually means there’s too much moisture and not enough drainage or air circulation. If you catch it early, you can try repotting into drier soil, but sometimes it’s hard to recover from. Keep an eye out for healthy, green growth – that’s your best indicator of success!
A Bit More Patience, A Lot More Beauty
Propagating Cortaderia jubata takes a bit of effort, but seeing those new plants establish and grow is incredibly rewarding. Be patient with the process; gardening is all about nurturing and waiting. Enjoy every step, and soon you’ll be surrounded by even more of that magnificent feathery foliage! Happy gardening!
Resource:
https://identify.plantnet.org/k-world-flora/species/Cortaderia%20jubata%20(Lemoine)%20Stapf/data