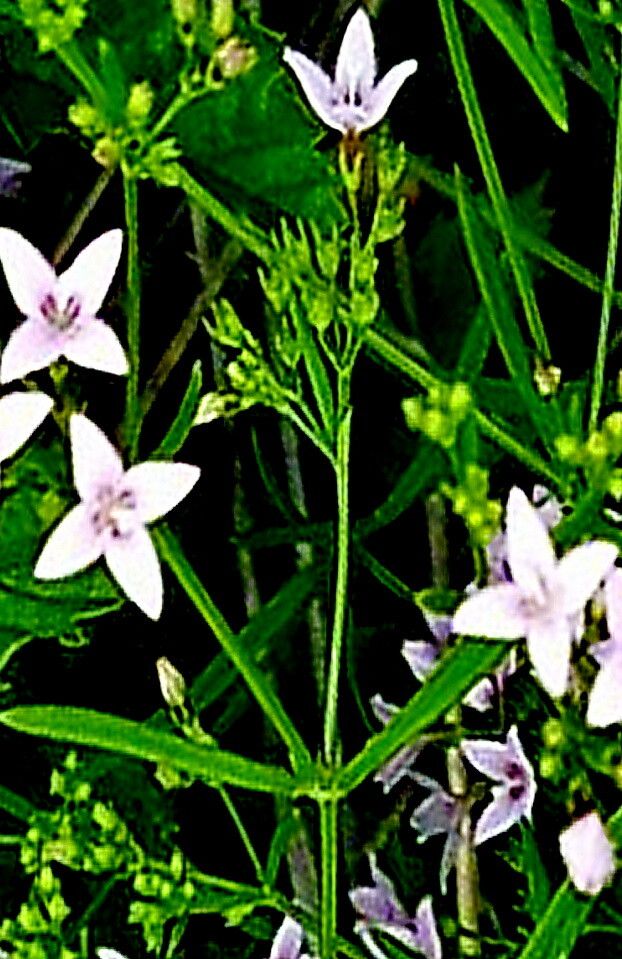
Hello fellow plant lovers! It’s so lovely to have you join me. Today, we’re diving into the wonderful world of Stenaria nigricans. If you’re drawn to its elegant, dark foliage and delicate, star-shaped flowers, you’re in good company. Growing these beauties indoors adds such a sophisticated touch. And the best part? You can easily multiply your own plant stock, which is incredibly satisfying. I’ve found Stenaria nigricans to be a pretty forgiving plant when it comes to propagation, making it a great candidate even if you’re just starting out on your plant-parenting journey.
The Best Time to Start
For the highest success rate with Stenaria nigricans, spring and early summer are your golden seasons. This is when the plant is actively growing, making it more robust and energetic to put out new roots. You’re essentially tapping into its natural vigor.
Supplies You’ll Need
Gathering your supplies beforehand makes the whole process much smoother. Here’s what I usually have on hand:
- Sharp Pruning Shears or a Clean Knife: For making clean cuts. A dull tool can bruise stems, making them more susceptible to problems.
- Propagation Potting Mix: A well-draining mix is crucial. I like to use a blend of perlite, coco coir, and a bit of peat moss. You can also buy pre-made succulent or cactus mixes.
- Rooting Hormone (Optional but Recommended): This isn’t strictly necessary, but it gives cuttings a helpful boost. Look for one specifically formulated for stem cuttings.
- Small Pots or Propagation Trays: Clean containers are a must!
- Plastic Bag or Humidity Dome: To create a mini-greenhouse effect.
- Watering Can with a Fine Rose or Spray Bottle: For gentle watering.
Propagation Methods
Stenaria nigricans is quite adaptable, and I’ve found stem cuttings to be the most reliable method for this plant.
Stem Cuttings:
- Select a healthy stem: Look for a mature stem that isn’t flowering. It should be firm and free of any signs of disease or pests.
- Make the cut: Using your clean shears or knife, make a cut just below a leaf node. A leaf node is where a leaf emerges from the stem. This is where new roots will form. Aim for cuttings that are about 4-6 inches long.
- Remove lower leaves: Gently strip off the leaves from the bottom half of your cutting. You want to expose the nodes so they can make contact with the soil.
- Dip in rooting hormone (if using): Lightly dip the cut end of the stem into your rooting hormone powder or gel, tapping off any excess.
- Plant the cuttings: Fill your small pots or trays with your propagation mix. Make a small hole in the center of the mix with your finger or a pencil. Insert the cut end of the stem into the hole, ensuring the nodes you cleared are buried. Gently firm the soil around the stem.
- Water gently: Water the soil thoroughly but carefully. You don’t want to dislodge the cuttings.
- Create humidity: Cover the pots loosely with a plastic bag or place them under a humidity dome. This helps keep the moisture levels high around the cuttings, which is essential for root development. To prevent the leaves from touching the bag (and potentially rotting), you can insert a few small stakes or skewers into the soil to support the plastic.
The “Secret Sauce”
Here are a couple of tricks I’ve learned over the years that can really make a difference for Stenaria nigricans propagation:
- Let them callus: Before you even plant your cuttings, it’s a good idea to let the cut end dry out and form a callus for a day or two in a dry, airy spot. This essentially seals the wound and helps prevent rot when you stick them in soil.
- Bottom heat is your friend: If you have a seedling heat mat, place your propagation pots on it. This gentle warmth from below encourages root development much faster than just ambient room temperature. It’s like giving those new roots a cozy greenhouse to grow in.
Aftercare & Troubleshooting
Once your cuttings are potted, place them in a location that receives bright, indirect light. Avoid direct sun, which can scorch delicate new growth. Keep the soil consistently moist but not waterlogged. You can check the moisture by gently poking your finger into the soil.
You’ll know your cuttings have rooted when you see new growth appearing, or if you gently tug on the cutting and feel resistance. This usually takes anywhere from 4-8 weeks, but be patient!
The most common problem you might encounter is rot. This happens when the cuttings are too wet or the air circulation is poor. If you see mushy, dark stems or leaves, it’s a sign of rot. Unfortunately, you can’t save a rotten cutting. It’s best to discard it and try again, ensuring you’re using well-draining soil and not overwatering. Another sign of failure is if the cutting simply shrivels up and turns brown. This can happen if it’s too dry, or if it just wasn’t a viable cutting to begin with.
A Little Encouragement
Propagating plants is a journey, and each cutting is an experiment. Don’t get discouraged if a few don’t make it. Those that do will be a testament to your care and patience. Enjoy the process of nurturing new life from your beloved Stenaria nigricans. Happy propagating!
Resource:
https://identify.plantnet.org/k-world-flora/species/Stenaria%20nigricans%20(Lam.)%20Terrell/data