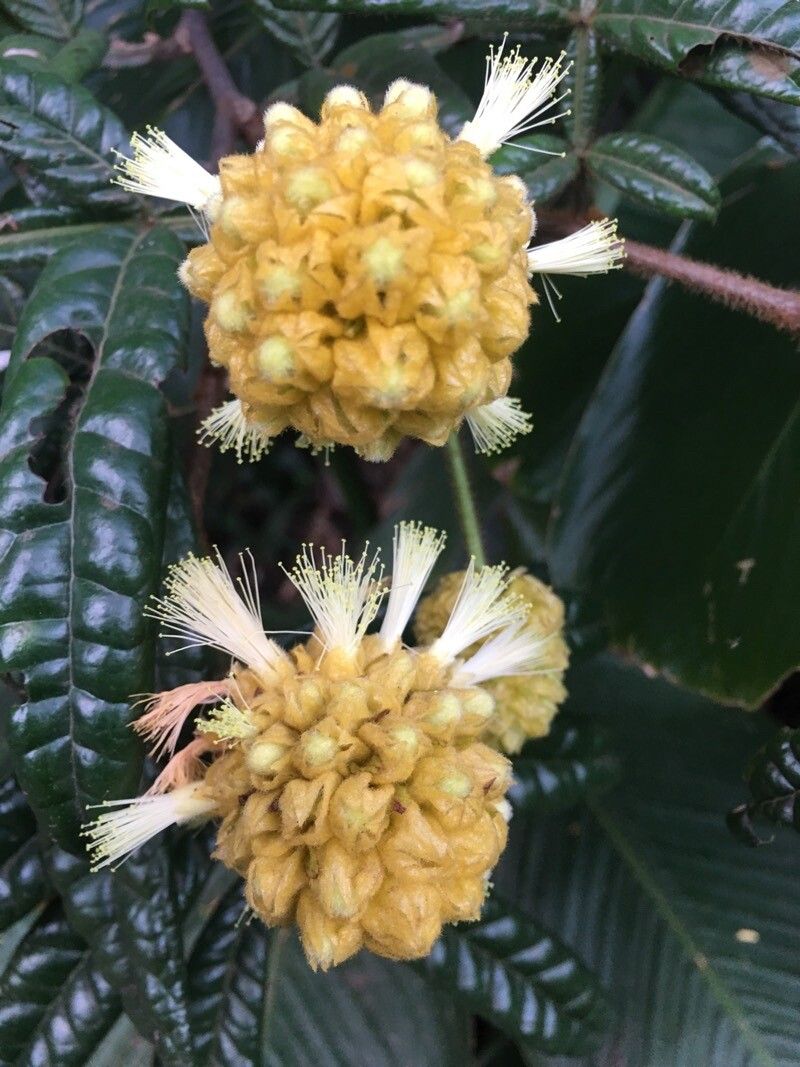
Hello, fellow plant enthusiasts! It’s so lovely to have you join me today. We’re diving into the wonderful world of propagating Inga congesta, a truly delightful plant. If you’ve admired its lush foliage and that unique, almost cluster-like bloom, you’re in for a treat. Sharing your love for plants by creating new ones from existing specimens is one of the most rewarding journeys a gardener can take. And the good news? Inga congesta is surprisingly forgiving, making it a fantastic choice even if you’re new to the propagation game.
The Best Time to Start
When it comes to getting the best results with Inga congesta, spring and early summer are your golden ticket. This is when the plant is actively growing and has the most energy to put into rooting. You want to look for new, healthy growth that’s firm but not yet woody. Think of it as capturing the plant at its peak vigor – it’s like giving your cuttings the best possible start in life!
Supplies You’ll Need
Before we get our hands dirty, let’s gather our toolkit:
- Sharp pruning shears or a clean knife: Essential for making clean cuts.
- Rooting hormone (optional but recommended): This can significantly boost your success rates.
- Well-draining potting mix: A good blend of peat moss, perlite, and a touch of compost works wonders. You can also buy a specialized seed-starting or cutting mix.
- Small pots or propagation trays: Clean pots with drainage holes are a must.
- Plastic bag or propagation dome: To create a humid environment.
- Watering can or spray bottle: For gentle watering.
- Labels and a marker: To keep track of your projects!
Propagation Methods
For Inga congesta, stem cuttings are your most reliable and straightforward method. It’s much easier than trying to divide an established plant, and you’ll have more success getting new life from a healthy stem.
- Select Your Cuttings: Choose a healthy stem that has at least two or three sets of leaves. You want to make your cut just below a leaf node (where a leaf attaches to the stem). This is crucial because that’s where the magic of root development happens! Aim for cuttings between 4-6 inches long.
- Prepare the Cuttings: Gently remove the lower leaves from your cutting, leaving just the top set or two. This prevents leaves from rotting when they are buried in the soil or submerged in water. If the leaves are very large, you can even cut them in half horizontally to reduce water loss.
- Apply Rooting Hormone (Optional): Dip the cut end of the stem into your rooting hormone powder or gel. Tap off any excess. This step is particularly helpful for encouraging faster and stronger root growth.
- Plant Your Cuttings: Fill your small pots or trays with your well-draining potting mix. Make a small hole in the center with your finger or a pencil. Gently insert the prepared cutting into the hole, ensuring the nodes where you removed the leaves are covered by the soil. Firm the soil lightly around the stem.
- Create a Humid Environment: If you’re using pots, water the soil gently and then cover the pot with a clear plastic bag, securing it at the rim with a rubber band or string. If you have a propagation dome, place it over your tray. This traps humidity, which is key to preventing the cuttings from drying out before they can root.
The “Secret Sauce” (Pro Tips)
Here are a couple of little tricks I’ve picked up over the years that make a big difference:
- Bottom Heat is Your Best Friend: Inga congesta absolutely loves a bit of warmth from below. Placing your pots or trays on a heat mat designed for seedlings can dramatically speed up root formation. It mimics the warmth of the soil in its natural growing season.
- Be Patient with Watering: While humidity is vital, avoid waterlogged soil at all costs. It’s better to let the potting mix dry out slightly between waterings than to keep it perpetually soggy. Overwatering is the fastest way to invite rot. I like to feel the weight of the pot; if it feels light, it’s time for a drink.
Aftercare & Troubleshooting
Once your cuttings are happily nestled in their humid environment, keep them in a bright spot but out of direct, harsh sunlight. You’ll want to check them periodically. If the soil feels dry, give it a gentle watering or misting.
The first sign of success? You’ll start to see new leaf growth appearing from the top of the cutting. This is your signal that roots are forming! You can also gently tug on the cutting; if there’s resistance, it means roots have taken hold. Once you see significant new growth and feel good root development, you can gradually acclimate your new plant by opening the plastic bag or dome for increasing periods over a week or two. Then, it’s time to move it into its own small pot with regular potting soil.
The most common sign of failure is wilting and eventual dieback of the cutting. This is often due to insufficient humidity, being planted in soil that’s too wet, or being kept in too much direct sun. If your cutting starts to look limp, check the humidity and ensure the soil isn’t waterlogged. Sometimes, a cutting just doesn’t take, and that’s okay too! Don’t be discouraged; just try again.
A Little Patience Goes a Long Way
Propagating Inga congesta is a beautiful way to connect with nature and multiply your green treasures. It takes a bit of patience, a keen eye, and a sprinkle of love. Enjoy the process, celebrate every little sign of progress, and remember that even seasoned gardeners have cuttings that don’t make it. That’s part of the adventure! Happy growing!
Resource:
https://identify.plantnet.org/k-world-flora/species/Inga%20congesta%20T.D.Penn./data