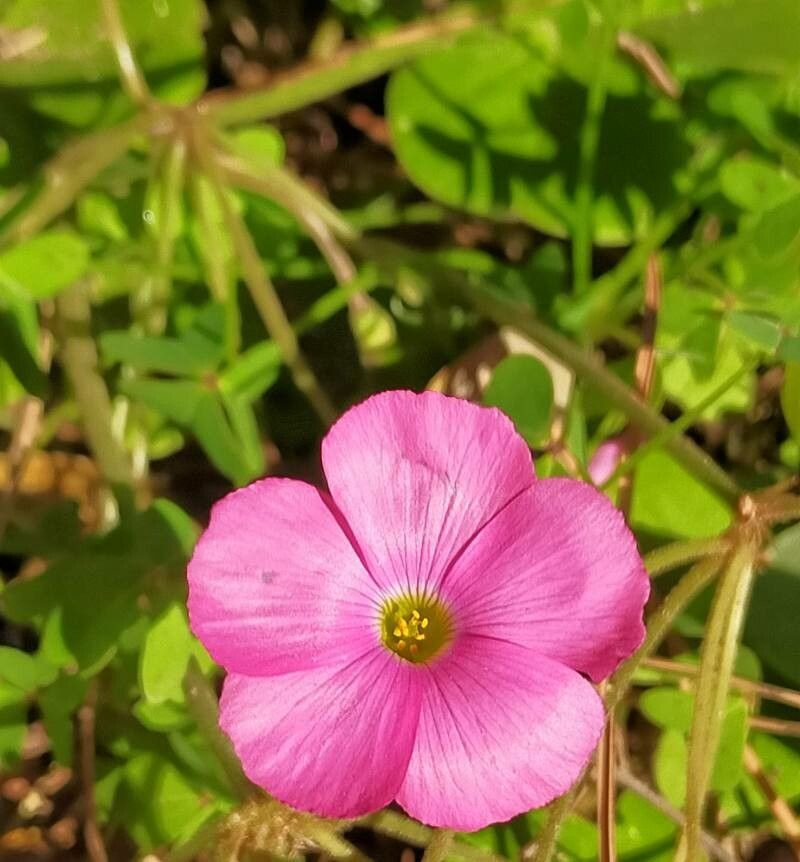
Hey there, fellow plant lovers! Today, I want to talk about a little gem that’s captured my heart over the years: Oxalis hispidula, also known as creeping woodsorrel. If you’re a fan of delicate, often shamrock-like foliage and those charming little white or pinkish flowers, you’re in for a treat. And the best part? Bringing more of these beauties into your life through propagation is surprisingly rewarding. For beginners, I find Oxalis hispidula to be a rather welcoming plant to propagate. It’s not overly fussy, which is always a plus in my book!
The Best Time to Start
When it comes to getting the most bang for your propagation buck, I’ve found the spring and early summer to be your sweet spot. This is when the plant is in its active growth phase, full of vigor and ready to put out new shoots. You’ll see a lot more readily available material to work with, and the warmth of the season really encourages roots to form quickly. Waiting until after the plant has finished its main flowering flush in late spring or early summer also works well.
Supplies You’ll Need
Gathering your tools beforehand makes the whole process a breeze. Here’s what I usually have on hand:
- Sharp pruning shears or scissors: Cleanliness is key to prevent disease.
- Well-draining potting mix: A good starting point is a mix of potting soil with perlite or cactus mix.
- Small pots or trays: For your cuttings to root in.
- Watering can or spray bottle: For gentle watering.
- Rooting hormone (optional but helpful): A rooting powder or gel can give your cuttings a little boost.
- A clear plastic bag or dome: To create a mini-greenhouse effect for cuttings.
- A small trowel or dibber: For making holes in the soil.
Propagation Methods
Now for the fun part! Oxalis hispidula is quite amenable to a few different methods.
Division: The Easiest Approach
This is, hands down, the simplest way to go if you have an established plant.
- Gently remove your Oxalis hispidula from its pot. You might need to loosen the soil around the edges.
- Locate the fleshy rhizomes or root clumps. These are the plant’s underground stems.
- Carefully separate these clumps with your fingers or a clean knife. Look for sections that have a good amount of roots and at least a few leafy shoots.
- Repot the separated divisions into their own small pots with fresh, well-draining soil. Water them in gently.
Stem Cuttings: A Great Way to Expand
This method is perfect when you see those lovely trailing stems.
- Select a healthy stem that is about 3-4 inches long and has several leaves. Using your clean pruning shears, make a cut just below a leaf node (where a leaf attaches to the stem).
- Remove the lower leaves from the cutting, leaving just a couple of sets at the top.
- Dip the cut end into rooting hormone, if you’re using it. Tap off any excess.
- Insert the cutting into a small pot filled with your prepared moist potting mix. Make a little hole with your dibber or finger first to avoid rubbing off the hormone.
- Water gently to settle the soil around the cutting.
- Cover the pot with a clear plastic bag or place it under a dome to maintain humidity. Make sure the bag doesn’t touch the leaves!
- Place the pot in a bright spot that gets indirect light. Keep the soil consistently moist but not waterlogged. You should see new growth or feel some resistance when gently tugging on the cutting within 3-4 weeks, indicating roots have formed.
The “Secret Sauce” (Pro Tips)
Over the years, I’ve picked up a few tricks that seem to make a real difference.
- Don’t let the leaves touch the water when using stem cuttings: This is a big one! If you’re doing a water propagation or if your cuttings are in a humid environment, make sure the foliage stays dry. Wet leaves are a magnet for rot and mildew.
- A touch of bottom heat can work wonders: If you’re propagating in cooler conditions, a gentle heat mat placed under your pots can significantly speed up root development. It mimics the warmth of spring soil and gives those roots a real “get up and go.”
- Be patient with leaf cuttings: Some varieties of Oxalis can be propagated from individual leaves, although Oxalis hispidula is less commonly done this way. If you try it, ensure there’s a small piece of the rhizome attached to the leaf stalk.
Aftercare & Troubleshooting
Once your cuttings have rooted or your divisions are happily potted up, it’s time for them to settle in.
Continue to keep the soil consistently moist but not soggy. As they grow, you can gradually acclimatize them to slightly less humidity if you were using a dome or bag. Think of it as a gentle transition back into the real world! Don’t rush to repot them into larger containers; let them establish a good root system first.
The most common issue you might encounter is rot. This usually happens due to overwatering or poor drainage. If you see stems or leaves turning mushy and yellowing, or a blackening at the base of the cutting, it’s a sign that things are too wet. Remove any affected parts immediately and allow the soil to dry out a bit more. If a whole cutting goes south, don’t despair! It’s just part of the learning process.
A Little Encouraging Closing
Propagating plants is such a wonderful way to connect with nature and expand your green collection. Be patient with your new Oxalis hispidula babies. They’ll let you know when they’re ready to thrive. Enjoy the journey, and happy propagating!
Resource:
https://identify.plantnet.org/k-world-flora/species/Oxalis%20hispidula%20Zucc./data