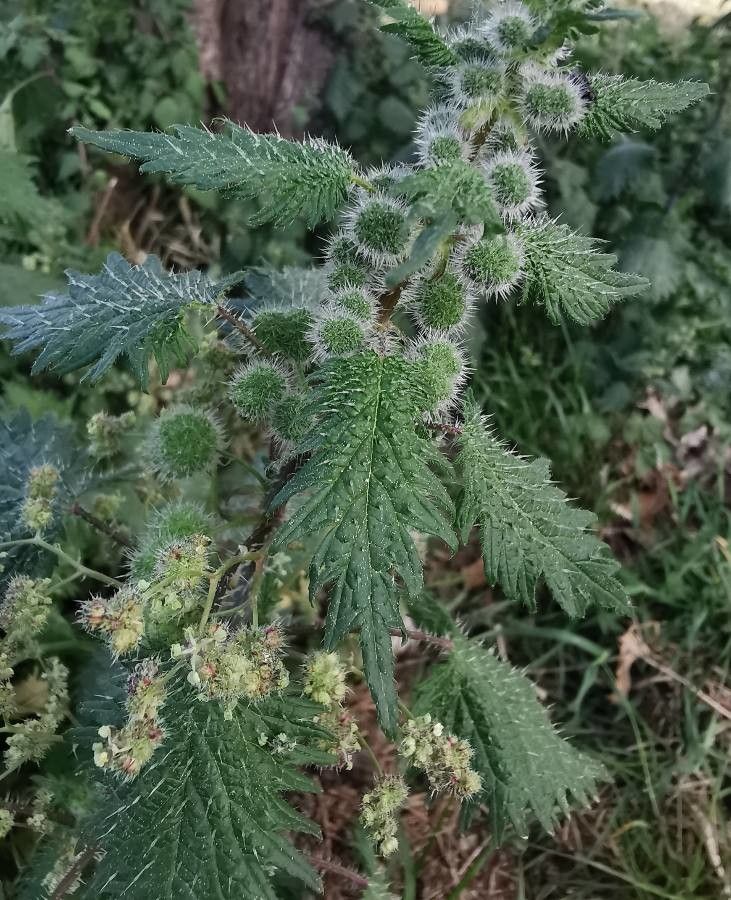
Oh, hello there! Come on in and pull up a chair. I have to tell you, I’ve got something truly fascinating to share with you today – a plant that’s often overlooked but holds a special place in my heart: Urtica pilulifera, or Roman Nettle. It’s not your average fuzzy houseplant, and that’s part of its charm. Its appeal lies in its vigorous growth, its unique stinging hairs (don’t worry, we’ll get to that!), and the slightly bittersweet flavor of its young leaves, which are surprisingly delicious in salads or cooked dishes. Propagating it is a wonderfully rewarding process, and I’m happy to say, it’s quite beginner-friendly! You’ll be amazed at how easily you can fill your garden or even a special corner indoors with this hardy fellow.
The Best Time to Start
For truly enthusiastic growth and the highest chance of success, I find that late spring to early summer is your sweet spot. That’s when the plant is really hitting its stride, producing plenty of healthy new shoots that are just begging to be turned into new plants. You can also have luck with cuttings in early autumn before things cool down too much, but spring propagation usually gives you stronger, more established plants come next year.
Supplies You’ll Need
Gathering your supplies makes the whole process so much smoother. Here’s what I usually have on hand:
- Sharp pruning shears or a clean knife: For taking clean, precise cuts.
- Rooting hormone powder or gel (optional but helpful): This really gives cuttings a boost.
- Small pots or trays: With drainage holes, of course!
- A good quality potting mix: I like a blend of peat moss or coir, perlite, and a little bit of compost. Something that drains well but retains a bit of moisture.
- Watering can or spray bottle: For gentle watering.
- Clear plastic bags or a propagator lid: To create a humid environment.
- Labels: Always important for keeping track of your creations!
Propagation Methods
I find the most successful and straightforward way to propagate Urtica pilulifera is through stem cuttings. It’s reliable and you can get quite a few new plants from just one healthy specimen.
Stem Cuttings:
- Select your cutting: Look for a healthy, non-flowering stem that’s about 4-6 inches long. You want it to be semi-hardwood – not too soft and floppy, but not woody either. Pinch or cut just below a leaf node. A leaf node is where a leaf grows from the stem, and it’s where roots are most likely to form.
- Prepare the cutting: Gently remove the lower leaves. You want to leave about 2-3 sets of leaves at the top. This reduces moisture loss while still allowing for photosynthesis.
- Apply rooting hormone (optional): If you’re using rooting hormone, dip the cut end of the stem into the powder or gel. Tap off any excess.
- Plant your cuttings: Fill your small pots or trays with your prepared potting mix. Make a small hole with your finger or a pencil. Insert the cut end of your stem cutting into the hole, making sure it’s firm enough to stand on its own. Gently firm the soil around the base.
- Water gently: Water thoroughly but gently, so you don’t dislodge your cuttings. A spray bottle is great for this initial watering.
- Create humidity: Cover the pots with a clear plastic bag, a propagator lid, or place them in a humid environment. This keeps the humidity high around the cuttings, preventing them from drying out before they can root. You can secure the bag with a rubber band.
- Provide warmth and light: Place your cuttings in a bright spot but out of direct sunlight. A little gentle warmth from a heat mat can speed things up, but it’s not strictly necessary for Roman Nettle.
The “Secret Sauce” (Pro Tips)
Here are a couple of little tricks I’ve learned over the years that make a big difference:
- Don’t let the leaves touch the water if you attempt water propagation (though I prefer cuttings in soil for this plant). If you were to try rooting these in water, any leaves that dip below the surface are a breeding ground for rot. It’s much better to have those leaves reaching for the air.
- Use bottom heat judiciously. While Urtica pilulifera is pretty tough, giving your cuttings a gentle boost of warmth from below – think of a seedling heat mat set on low – really encourages root development significantly faster. Just don’t overheat them!
Aftercare & Troubleshooting
Once you see new growth appearing – tiny leaves unfurling or a gentle tug on the cutting meeting resistance – you know you’re on your way!
- Acclimatize gradually: Once roots have formed (you can gently check by giving a slight tug; if there’s resistance, they’ve rooted), start ventilating your cuttings. Gradually remove the plastic cover for longer periods each day over about a week. This helps them adjust to normal humidity levels.
- Watering: Water when the top inch of soil feels dry. Avoid letting them sit in soggy conditions, as this is a sure way to invite root rot.
- Repotting: Once your new plants are a few inches tall and have a good root system, you can transplant them into larger pots or directly into your garden beds.
- Troubleshooting: The most common issue you’ll encounter is rot. If you see your cuttings turning black and mushy, it’s usually a sign of too much moisture and not enough air circulation. Sadly, rotten cuttings are usually a lost cause, but don’t be discouraged! Just try again, focusing on better drainage and a lighter hand with the watering can. Other signs of trouble might be wilting or yellowing leaves, which could indicate they’re too dry, getting too much sun, or simply not happy with the conditions.
A Little Encouragement
See? It’s not so daunting at all! Propagating Urtica pilulifera is a simple joy, and the satisfaction of nurturing a plant from just a little snip of stem is immense. Be patient with them, trust the process, and remember that even experienced gardeners have their failures. The beauty of gardening is in the journey and the connection you build with these wonderful green things. Happy propagating!
Resource:
https://identify.plantnet.org/k-world-flora/species/Urtica%20pilulifera%20L./data