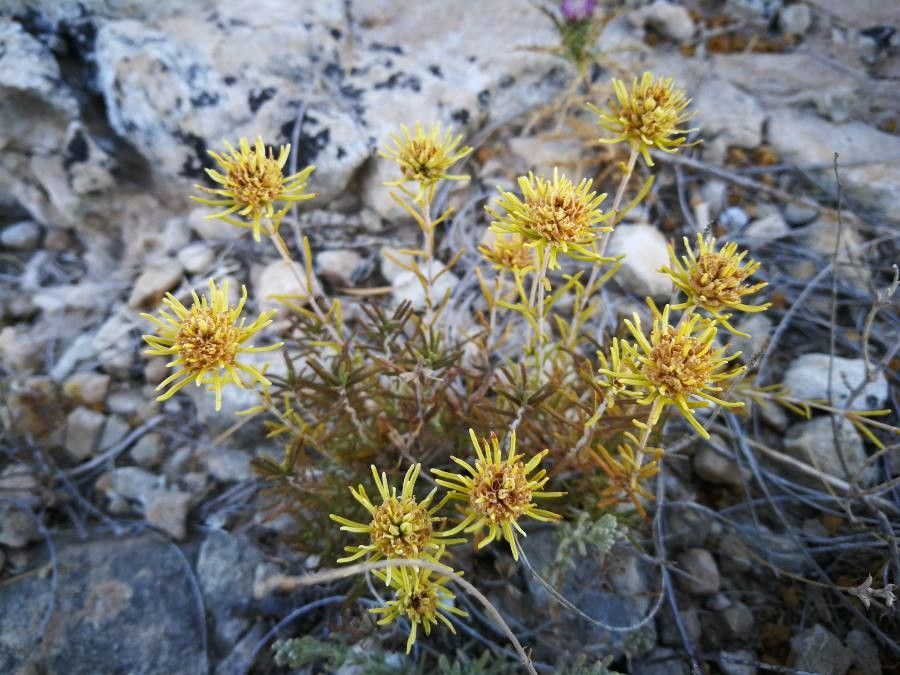
Oh, Castilleja nana, what a joy you are to have in the garden! Those delicate, vibrant blooms always bring a smile to my face, and the fact that you can easily share that joy with others makes propagating this beauty even more special. If you’re new to the gardening game, don’t shy away from this one. While it might not be the absolute easiest plant to start with, it’s certainly within reach for anyone willing to give it a little loving attention. Think of it as a rewarding challenge!
When is the Perfect Time to Get Started?
For Castilleja nana, I’ve found the sweet spot is generally late spring to early summer. This is when the plant is actively growing, meaning it has plenty of energy to put into developing new roots. You want to take cuttings or divide when the plant is healthy and vigorous, not when it’s stressed from extreme heat or cold. Watch for new, soft growth – that’s your cue!
What You’ll Need for Your Propagation Adventure:
- Sharp Pruning Shears or a Clean Knife: For taking clean cuts.
- Rooting Hormone (Optional but Recommended): Especially helpful for stem cuttings. Look for one formulated for herbaceous cuttings.
- Well-Draining Potting Mix: A mix of perlite, coco coir, and a little bit of compost is gold. Or, a commercial potting mix specifically for seedlings and cuttings.
- Small Pots or Seed Starting Trays: With drainage holes, of course!
- Watering Can with a Fine Rose: To water gently without disturbing your precious cuttings.
- Plastic Bag or Humidity Dome: To create a humid environment.
- Labels and a Marker: To keep track of what you’ve planted!
Let’s Get Propagating!
Castilleja nana can be a bit particular, but two methods typically yield the best results for me: stem cuttings and division.
1. Stem Cuttings: The Classic Approach
This is how I usually multiply my favorite specimens.
- Select Your Cuttings: Look for healthy, non-flowering stems that are about 4-6 inches long. You’re aiming for stems that are slightly woody at the base but still have some flexibility.
- Make the Cut: Using your clean shears or knife, make a clean cut just below a leaf node. This is a key spot where roots are eager to form.
- Prepare the Cutting: Gently remove the lower leaves, leaving just a few at the top. This prevents them from rotting in the soil.
- Apply Rooting Hormone (if using): Dip the cut end of the stem into the rooting hormone powder, tapping off any excess.
- Plant Your Cuttings: Fill your small pots with your well-draining mix. Make a hole with your finger or a pencil and gently insert the cut end of the stem. Press the soil gently around it to ensure good contact.
- Water and Cover: Water thoroughly but gently. Then, cover the pot with a plastic bag or humidity dome to keep the environment moist. You can prop up the bag with a few stakes if it touches the leaves.
2. Division: Sharing the Love from an Established Plant
If you have a mature Castilleja nana that’s looking a bit crowded, division is a wonderful way to get new plants.
- Gently Excavate: In late spring or early summer, carefully dig around the base of your established plant. You don’t want to be too rough!
- Separate the Crowns: Once you’ve loosened the root ball, you should be able to see natural divisions. Use your hands or a clean trowel to gently pull apart sections of the plant, ensuring each division has a good portion of roots and at least one or two leafy shoots.
- Replant Immediately: Get your new divisions into pots or back into the garden as soon as possible. Treat them just like you would a newly purchased plant, water them well, and keep them consistently moist until they establish.
My Little “Secret Sauce” for Success:
These are the little things I’ve learned over the years that make a difference.
- Bottom Heat is Your Friend: For stem cuttings, placing your pots on a gentle heat mat can really speed up root development. It mimics the warmth of spring without cooking your cuttings. Just a low setting is all you need.
- Airflow is Key, Even with Humidity: While we want to keep cuttings moist, stagnant air can lead to fungal issues. Even with a humidity dome, open it up for a few minutes each day to allow for some air circulation. This helps prevent mildew.
- Don’t Be Afraid to “Sacrifice” a Leaf: If a leaf on your cutting is touching the soil or looking a bit sad, prune it off. It’s better to lose a leaf than have it rot and potentially take down your whole cutting.
Keeping an Eye on Your New Sprouts:
Once you see new growth appearing on your cuttings – tiny leaves unfurling, or your divided plants looking perkier – that’s a fantastic sign that roots are forming!
- Gradual Acclimation: When you see these signs, slowly start to acclimate your cuttings to drier air. Gradually lift the humidity dome or poke a few more holes in your plastic bag over a week or two.
- Consistent Moisture: Keep the soil consistently moist, but never soggy. It should feel like a wrung-out sponge.
- Signs of Trouble: The most common pitfall is rot. If your cuttings turn black and mushy, it’s usually a sign of too much moisture and not enough air. Overwatering is the biggest culprit. Another sign of failure is wilting that doesn’t recover, which can indicate a lack of roots or extreme dryness. Don’t be too hard on yourself if you lose a few; it happens to all of us!
There you have it – a little guide to getting your own Castilleja nana clones. Remember, gardening is a journey, and propagation is an incredibly rewarding part of that. Be patient, observe your plants, and most importantly, enjoy the process of creating something new! Happy propagating!
Resource:
https://identify.plantnet.org/k-world-flora/species/Castilleja%20nana%20Eastw./data