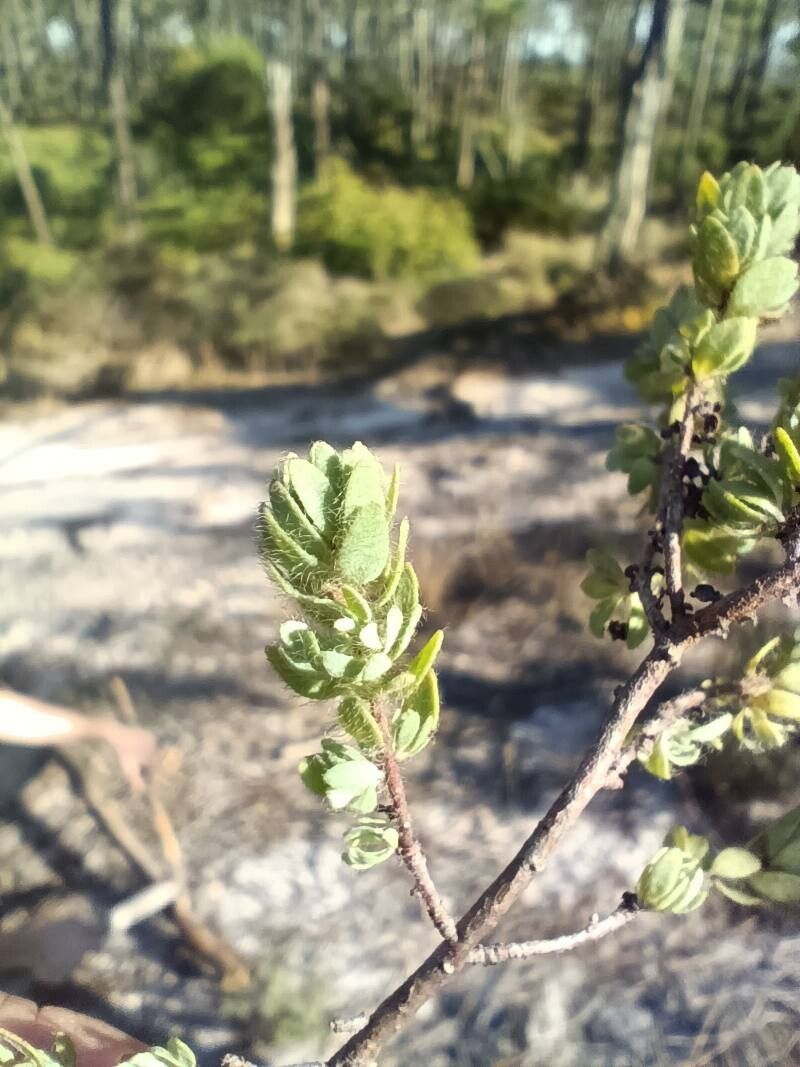
Oh, hello there, fellow garden lover! I’m so glad you’ve stopped by. Today, we’re going to dive into the wonderful world of propagating Thymelaea villosa. It’s a plant that always brings a smile to my face with its charming, fuzzy foliage and delightful (often fragrant!) flowers. Once you get your hands on this beauty, you’ll want more, and trust me, propagation is a fantastic way to achieve that! For beginners, I’d classify Thymelaea villosa as moderately easy to propagate. It’s not a weed that roots from a fallen leaf, but with a little patience and the right approach, you’ll be well on your way.
The Best Time to Start
For the highest success rate with Thymelaea villosa, I find that late spring to early summer is your prime time. This is when the plant is actively growing and has plenty of fresh, young stems that are eager to root. You’re looking for stems that are no longer soft and floppy, but not yet woody and brittle. Think of it as the “just right” stage – pliable enough to root, but firm enough to hold its shape.
Supplies You’ll Need
Here’s what I usually gather before I start:
- Clean, sharp pruning shears or a sharp knife: For taking clean cuts.
- Rooting hormone (optional, but helpful): A powder or liquid can significantly boost your success.
- A light, well-draining potting mix: I love a blend of equal parts perlite and coarse sand, or a good quality seed starting mix.
- Small pots or seedling trays: Clean ones are essential to prevent diseases.
- A spray bottle: For misting.
- A clear plastic bag or a propagator lid: To create a humid environment.
- Labels and a permanent marker: For keeping track of your cuttings.
Propagation Methods
While Thymelaea villosa can be a little particular, stem cuttings are usually my go-to method.
- Take Your Cuttings: Using your clean shears, select healthy, non-flowering stems. Aim for cuttings that are about 4-6 inches long. Make a clean cut just below a leaf node (where a leaf attaches to the stem).
- Prepare the Cuttings: Gently strip off the lower leaves from the cutting. Leave just a few leaves at the top, and if these remaining leaves are quite large, I’ll often cut them in half to reduce water loss.
- Apply Rooting Hormone (Optional): Dip the cut end of the stem into the rooting hormone, tapping off any excess.
- Plant Your Cuttings: Dip the treated end into your prepared potting mix. Make a small hole with a pencil or your finger and insert the cutting, firming the soil gently around it. Ensure the leaf nodes where you removed the leaves are covered by the soil.
- Create a Humid Environment: Water the mix gently with your spray bottle. Then, cover the pots or tray with a clear plastic bag or a propagator lid. This traps humidity, which is crucial for cuttings that can’t yet draw enough water through their (non-existent) roots.
- Placement: Place your pots in a bright location, but out of direct sun. A warm spot is ideal.
The “Secret Sauce” (Pro Tips)
Here are a few things I’ve learned over the years that make a big difference:
- Don’t let the leaves touch the water: If you decide to try water propagation (which can be hit-or-miss with Thymelaea villosa), ensure no leaves are submerged. Rot sets in very quickly if they are.
- Bottom warmth is king: If you have a heat mat, placing your propagator on it can dramatically speed up root development. Thymelaea villosa loves a bit of warmth from below to encourage those roots to form.
- Be patient with the wind tunnel: When you first place your cuttings in their humid environment, resist the urge to open it constantly. Let them settle in for a few days. Think of it like a mini-greenhouse – you want to maintain that microclimate.
Aftercare & Troubleshooting
Once your cuttings have been planted, keep the soil consistently moist but not waterlogged. You can check for roots by gently tugging on a cutting after about 4-6 weeks. If you feel resistance, you’ve got roots!
The new plantlets will need to be gradually acclimated to normal room humidity before you transplant them into their own pots. Start by opening the plastic bag or propagator lid for a few hours each day.
Signs of failure usually point to rot. If your cuttings turn black and mushy, it’s usually a sign of too much moisture and not enough air circulation, or perhaps that the cutting wasn’t healthy to begin with. Discard any rotted cuttings immediately to prevent the spread. If they just shrivel up and die without rotting, it might be a sign of them drying out too much.
A Bit of Patience is Rewarding
Propagating any plant, including our lovely Thymelaea villosa, is a journey. There will be successes, and there might be a few failures along the way, and that’s perfectly okay. Just keep trying, learn from each attempt, and celebrate those tiny roots when they appear. Happy gardening!
Resource:
https://identify.plantnet.org/k-world-flora/species/Thymelaea%20villosa%20(L.)%20Endl./data