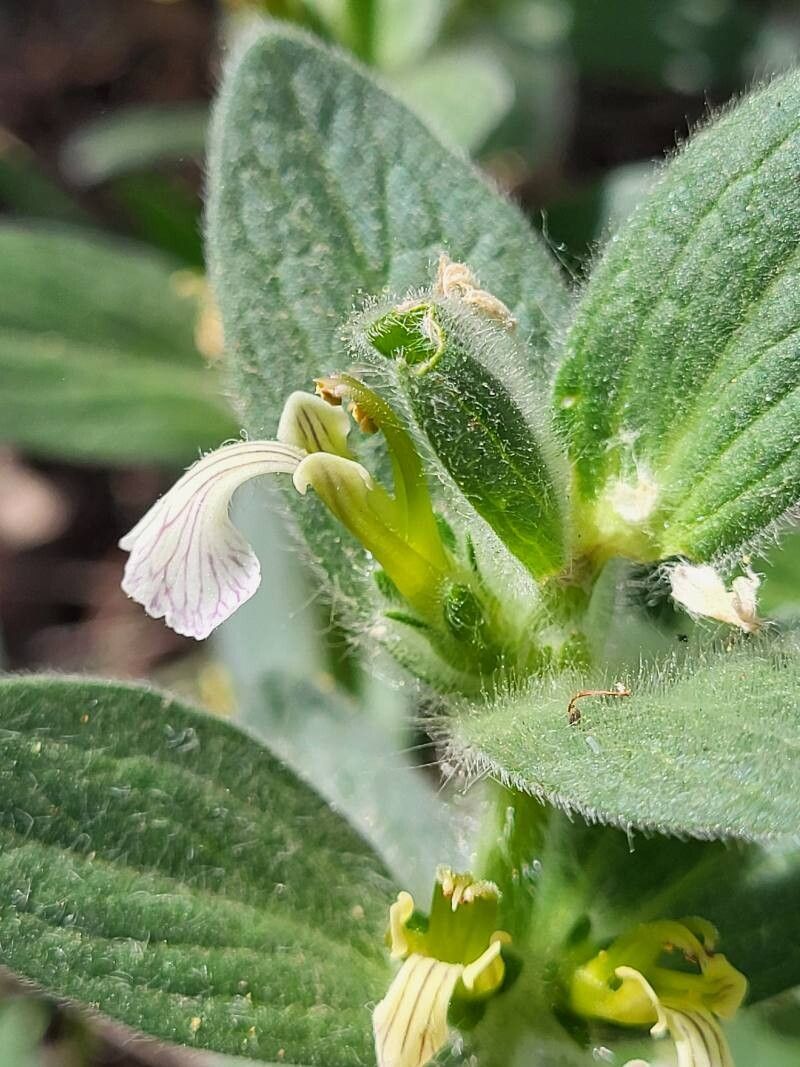
Hey there, fellow plant lovers! Today, we’re diving into the wonderful world of Ajuga laxmannii. If you’re not familiar, imagine a carpets of gorgeous foliage, often tinged with bronze or deep purple, topped with spikes of beautiful blue flowers in the spring. It’s a fantastic groundcover that adds so much life and color to shady spots or the edges of pathways. And the best part? It’s incredibly rewarding to multiply! For beginners, I’d say propagating Ajuga laxmannii is quite manageable. You’ll likely have a lot of success with a little patience and the right approach.
The Best Time to Start
My favorite time to get propagating is in late spring or early summer. This is when the plant is actively growing and has plenty of healthy shoots and stems to work with. You want to catch it after it’s finished its main bloom but before it starts to go into a more dormant phase. Think of it as working with a happy, energetic plant that’s ready to share its energy.
Supplies You’ll Need
Here’s what I usually have on hand when I’m ready for some Ajuga propagation:
- Sharp Pruning Shears or a Craft Knife: Clean cuts are crucial for preventing disease.
- Small Pots or Seed Trays: Whatever you have that will hold your cuttings comfortably.
- Well-Draining Potting Mix: I often use a 50/50 mix of standard potting soil and perlite, or even a dedicated seedling and cutting mix.
- Rooting Hormone (Optional but Recommended): A little powder or gel can really give your cuttings a boost.
- Watering Can with a Fine Rose or a Spray Bottle: Gentle hydration is key.
- Plastic Bags or a Clear Propagator Lid: To create a humid environment.
- Labels and a Pen: To keep track of what you’ve planted!
Propagation Methods
We’ve got a couple of trusty methods for coaxing new Ajuga plants into existence.
Stem Cuttings
This is my go-to for Ajuga.
- Take Your Cuttings: Look for healthy, non-flowering stems that are about 4-6 inches long. Snip them just below a leaf node (where the leaves attach to the stem).
- Prepare the Cuttings: Gently remove the lower leaves from the bottom inch or so of each cutting. This prevents them from rotting when you plant them.
- Apply Rooting Hormone: Dip the cut end of each stem into your rooting hormone, tapping off any excess.
- Plant Your Cuttings: Fill your pots or trays with your prepared potting mix. Make a little hole with your finger or a pencil, and insert the cut end of the stem. Gently firm the soil around it.
- Water Gently: Water thoroughly but gently. You don’t want to dislodge your cuttings.
- Create Humidity: Cover the pots with a plastic bag (make sure the leaves don’t touch the plastic!) or a clear propagator lid. This will trap moisture, which is vital for rooting. Place them in a bright spot, but out of direct, hot sun.
Division
If your Ajuga plant is already established and looking a bit crowded, division is a super simple way to get more plants.
- Dig Up the Plant: Gently dig around the base of your Ajuga plant. You can lift it out of the ground or out of its pot.
- Separate the Roots: You’ll often see that the plant naturally divides into clumps with their own roots. You can carefully pull these apart with your hands, or use a clean trowel or sharp knife to tease them apart if they’re a bit stubborn.
- Replant Immediately: Plant the divisions back into the ground or into new pots with fresh potting mix. Make sure the crown (where the leaves emerge from the roots) is at soil level.
- Water Well: Give them a good drink to help them settle in.
The “Secret Sauce” (Pro Tips)
Here are a few little things I’ve learned over the years that can make a big difference:
- Bottom Heat is Your Friend: For stem cuttings, placing your pots on a heated propagator mat can significantly speed up root development. It mimics the warmth of warmer soil temperatures and really encourages those roots to form.
- Don’t Let Leaves Touch Water (in water propagation): While I primarily advocate for soil propagation for Ajuga, if you do try rooting stems in water, make absolutely sure that no leaves are submerged. Only the stem should be in the water. Leaves in the water will rot, inviting disease and hindering root growth.
- Think About Airflow (After Rooting): Once your cuttings have rooted (and you’ve removed the plastic cover!), gradually introduce them to normal air circulation. You don’t want to shock them with a sudden change. Once they’ve established themselves and are growing new leaves, they’re pretty much bomb-proof!
Aftercare & Troubleshooting
Once your cuttings have hopefully developed roots (you can gently tug on them – if there’s resistance, they’re rooted!), or your divisions are replanted, it’s time for a little extra TLC.
For Cuttings: Keep the soil consistently moist, but not waterlogged. As they grow, you can gradually remove any humidity cover. Once they have a good root system and are showing new growth, you can transplant them into larger pots or their final garden location.
For Divisions: Water them regularly, especially during dry spells, until they are well established.
Troubleshooting: The most common issue you’ll face is rot, especially with stem cuttings. If you see stems turning black and mushy, it’s usually a sign of too much moisture and not enough drainage, or that the cutting wasn’t healthy to begin with. Don’t be discouraged! Just discard the rotten material, improve your drainage, and try again. Another sign of struggles is if your cuttings simply shrivel up and die. This could be due to being too dry, too much direct sun, or lack of humidity.
A Little Encouragement
Propagating plants is such a fulfilling part of gardening. It’s a chance to connect with nature on a deeper level, to understand the amazing life cycle of plants, and to fill your garden with even more beauty. Be patient with your new Ajuga babies – they’ll take their time to establish, but the reward of seeing them thrive is absolutely worth it. Happy propagating!
Resource:
https://identify.plantnet.org/k-world-flora/species/Ajuga%20laxmannii%20(L.)%20Benth./data