Hello fellow plant lovers! It’s so lovely to have you join me in the garden today. We’re going to dive into something truly special: propagating Krameria lanceolata.
Why Propagate Krameria lanceolata?
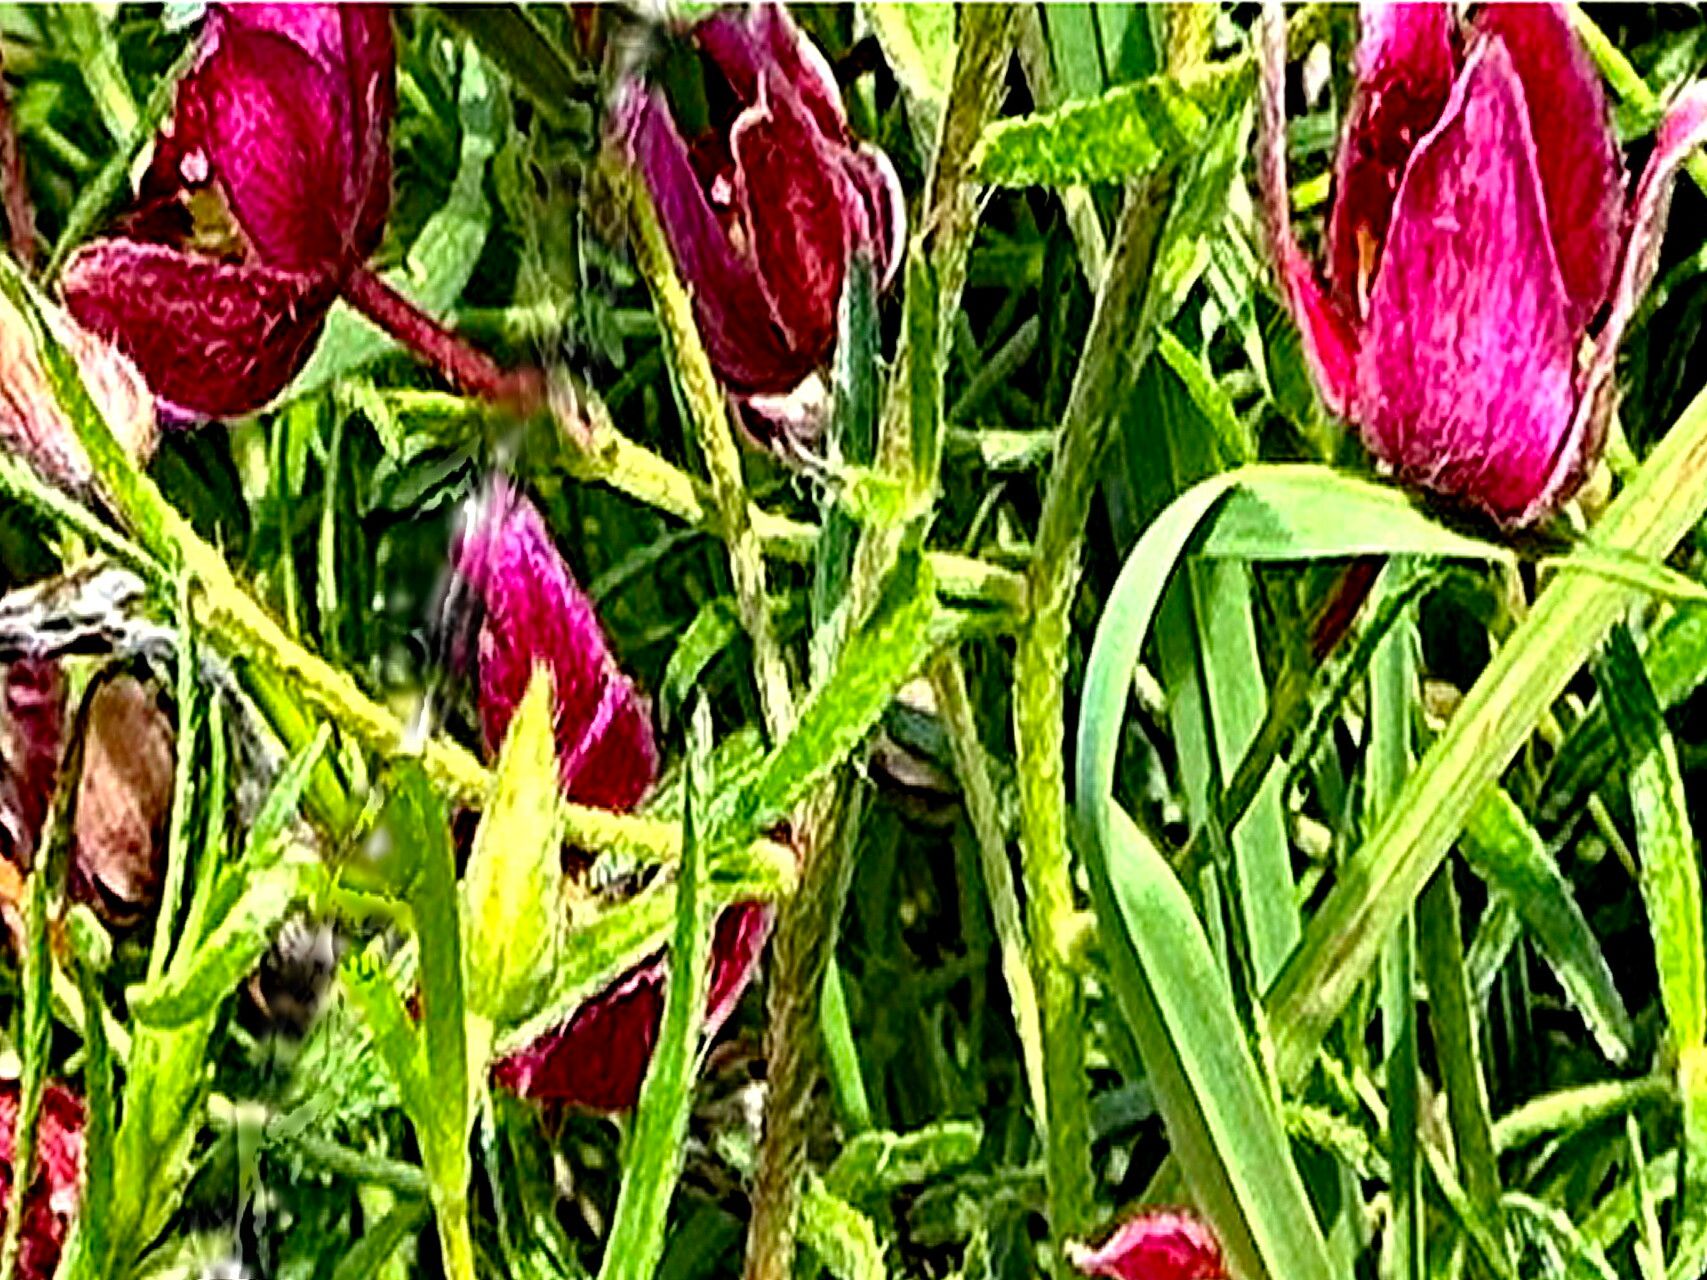
This beauty, often known as Rattlesnake Root, is such a rewarding plant to have around. Its delicate, often pinkish-purple flowers bring a touch of the wild to any garden, and it’s a native gem that’s surprisingly tough once established. Propagating it yourself is not only a fantastic way to expand your collection without spending a fortune, but it’s also incredibly satisfying. You’re essentially giving life to a new beginning, watching those tiny rootlets emerge. Now, for the beginner gardener, I’d say Krameria lanceolata can be a moderately challenging plant to propagate. It’s not impossible, mind you, but it requires a little patience and attention to detail. But don’t let that deter you! With a few key steps, you’ll be well on your way.
The Best Time to Start
For Krameria lanceolata, your best bet is to take cuttings in late spring or early summer. This is when the plant is actively growing and has plenty of energy to put into rooting. You want to look for stems that are semi-hardwood – they’ve developed a bit from the very soft new growth, but aren’t woody yet. They should be flexible but not floppy.
Supplies You’ll Need
Gathering your supplies beforehand makes the whole process smoother. Here’s what I usually have on hand:
- Sharp pruning shears or a clean, sharp knife: Essential for clean cuts to prevent disease.
- Rooting hormone powder or gel: This isn’t always strictly necessary, but it can give your cuttings a significant boost.
- A well-draining potting mix: I love a blend of peat moss, perlite, and a little bit of coarse sand. A cactus/succulent mix also works wonderfully.
- Small pots or trays with drainage holes: About 3-4 inches deep is perfect.
- Plastic bags or a clear plastic dome: To create a humid environment.
- Water: For misting and watering.
Propagation Methods: Giving it a Go!
The most reliable way I’ve found to propagate Krameria lanceolata is through stem cuttings.
- Harvest Your Cuttings: Using your sharp shears, take cuttings that are about 4-6 inches long. Make your cut just below a leaf node (where a leaf attaches to the stem). This is where the magic happens in terms of rooting.
- Prepare the Cuttings: Gently remove the lower leaves from the cutting, leaving just a couple of leaves at the very top. This helps the plant conserve energy and prevents leaves from rotting in the soil.
- Apply Rooting Hormone (Optional but Recommended): Dip the cut end of each stem into your rooting hormone, tapping off any excess.
- Plant Your Cuttings: Fill your pots or trays with your prepared potting mix. Make a small hole with your finger or a pencil, and then gently insert the cutting about an inch or two deep. Firm the soil gently around the stem.
- Create a Humid Environment: Water the soil thoroughly until it drains from the bottom. Then, carefully place a plastic bag over the pot, creating a mini-greenhouse. You can use stakes or chopsticks to keep the plastic from touching the leaves. Alternatively, a clear plastic dome works perfectly.
The “Secret Sauce” (Pro Tips)
Here are a couple of little tricks that have made a big difference for me:
- Bottom Heat is Your Friend: If you can manage it, placing your pots on a propagation mat or a warm windowsill can significantly speed up the rooting process. It mimics the warmth of spring soil.
- Don’t Overwater: While we want humidity, soggy soil is the quickest way to rot your cuttings. Water when the top inch of soil feels dry.
Aftercare & Troubleshooting
Once your cuttings are planted, find them a spot with bright, indirect light. Avoid direct sun, which can scorch those tender leaves. Keep an eye on the humidity – mist the leaves lightly every few days if the environment seems to be drying out.
The exciting part? Roots usually start to form within 4-6 weeks. You can gently tug on a cutting – if there’s resistance, you’ve got roots!
Now, for the not-so-fun stuff: troubleshooting. The most common culprit for failure is rot. This happens when the soil stays too wet, causing the stem to turn mushy and black. If you see this, unfortunately, that cutting is likely lost. The best prevention is proper drainage and careful watering. If you see yellowing leaves, it might be a sign of stress from too much direct light, or simply the plant shedding older foliage – observe the whole plant before worrying too much.
Keep Growing!
Propagating Krameria lanceolata is a journey, and like any good journey, it’s about the experience rather than just the destination. Be patient, celebrate every tiny success, and don’t be afraid to experiment. You’ll learn so much, and soon you’ll have more of these lovely plants than you know what to do with! Happy gardening!
Resource:
https://identify.plantnet.org/k-world-flora/species/Krameria%20lanceolata%20Torr./data