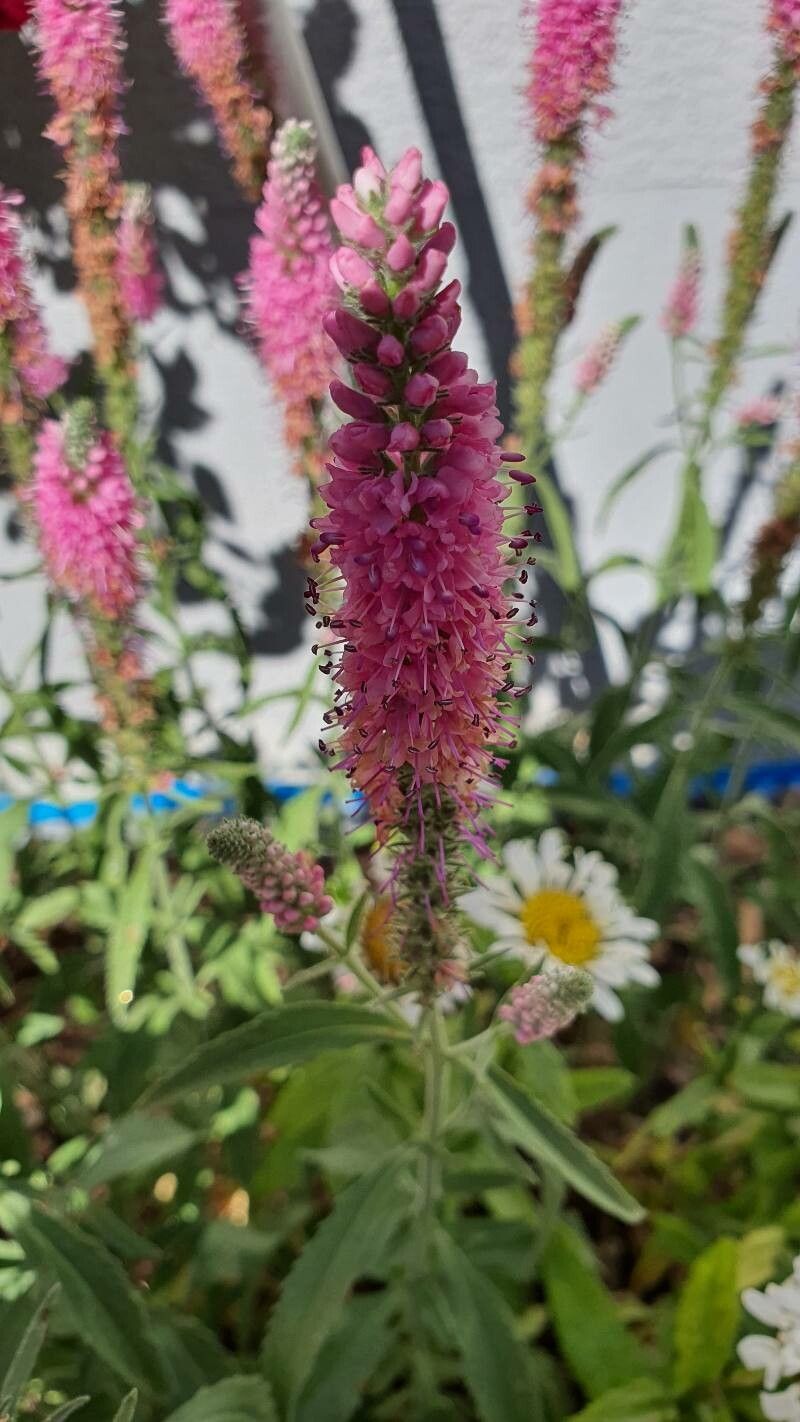
Hey there, fellow garden enthusiasts! Today, we’re going to dive into the wonderful world of propagating Spiraea corymbosa, often known as the mountain or rock spirea. If you’ve ever admired this delightful shrub with its clusters of white flowers and lovely, often colorful, foliage, you’re in for a treat. Growing more of it yourself is incredibly rewarding, and honestly, it’s a pretty forgiving plant to work with. Even if you’re just dipping your toes into propagation, you’ll find Spiraea corymbosa to be a welcoming subject.
The Best Time to Start
For Spiraea corymbosa, the sweet spot for propagation is late spring to early summer. This is when the plant is actively growing and producing new, pliable shoots. You’re looking for stems that are semi-hardwood – they’ve started to firm up from their initial soft, green stage but aren’t yet woody and rigid. This flexibility is key for successful rooting.
Supplies You’ll Need
Gathering your tools is part of the fun! Here’s what you’ll want to have on hand:
- Sharp Pruning Shears or a Knife: Clean cuts are crucial to prevent disease.
- Rooting Hormone: While not always strictly necessary for Spiraea, it can significantly boost your success rate. Look for a powder or gel.
- Potting Mix: A well-draining mix is non-negotiable. I usually combine peat moss or coco coir with perlite or coarse sand in roughly equal parts.
- Small Pots or Trays: Choose containers with drainage holes.
- Plastic Bags or a Propagator Lid: To create a humid environment for your cuttings.
- Clean Water: For misting and watering.
- Labels: To keep track of your cuttings!
Propagation Methods
Spiraea corymbosa is a champion of propagation by stem cuttings. It’s generally the most straightforward and successful method for this shrub.
Stem Cuttings
- Select Your Cuttings: On a healthy Spiraea corymbosa plant, locate those semi-hardwood shoots I mentioned. Look for stems that are about 4-6 inches long and have at least a couple of sets of leaves.
- Make the Cut: Using your sharp pruning shears, make a clean cut just below a leaf node (where a leaf attaches to the stem). This is the area where roots are most likely to form.
- Prepare the Cutting: Gently remove the leaves from the bottom half of the cutting. If the remaining leaves are very large, you can trim them in half to reduce water loss.
- Apply Rooting Hormone: Dip the cut end of the stem into your rooting hormone, ensuring it’s coated. Tap off any excess.
- Plant the Cuttings: Fill your small pots with your prepared, moist potting mix. Make a small hole with a pencil or your finger. Insert the cutting into the hole, ensuring the rooting hormone-coated end is in contact with the soil. Gently firm the soil around the stem.
- Create Humidity: Water the soil lightly. Then, cover the pot with a clear plastic bag, securing it with a rubber band or placing it under a propagator lid. This creates a mini-greenhouse effect.
The “Secret Sauce” (Pro Tips)
- Don’t Over-Water: While humidity is essential, soggy soil is the enemy of cuttings. It can lead to rot. I always err on the side of slightly dry rather than soggy. Let the top inch of soil dry out a bit between waterings.
- Bottom Heat is Your Friend: If you have a seedling heat mat, placing your pots on it can make a world of difference. This gentle warmth encourages root development from below, giving your cuttings an extra boost.
- Location, Location, Location: Place your cuttings in a bright spot that gets indirect sunlight. Direct sun will scorch the leaves and dry out the cuttings too quickly. A north-facing windowsill or a spot under a shade tree is perfect.
Aftercare & Troubleshooting
Once your cuttings are potted, the real waiting game begins. Keep the soil consistently moist but not waterlogged. Mist the leaves occasionally if they start to look a bit sad or the humidity seems to be dropping.
The first sign of success is usually new leaf growth appearing at the tip of the cutting. It might take anywhere from 4 to 8 weeks, sometimes longer, so patience is key! Once you see good new growth, it’s a sign that roots have formed.
The most common issue you’ll encounter is rot. If your cuttings turn black and mushy, or the leaves start yellowing and falling off rapidly, it’s usually a sign of too much moisture or a lack of airflow. If you spot this, remove the affected cuttings immediately to prevent spreading. Sometimes you can salvage a cutting with a little trimming and a check on your watering habits.
A Encouraging Closing
Propagating plants is a journey, and like any good garden project, it requires a little patience and a lot of observation. Watching a tiny cutting transform into a flourishing new plant is one of the most satisfying experiences a gardener can have. So, give it a try! Enjoy the process, learn from any setbacks, and soon you’ll be surrounded by your very own Spiraea corymbosa shrubs. Happy gardening!
Resource:
https://identify.plantnet.org/k-world-flora/species/Spiraea%20corymbosa%20Raf./data