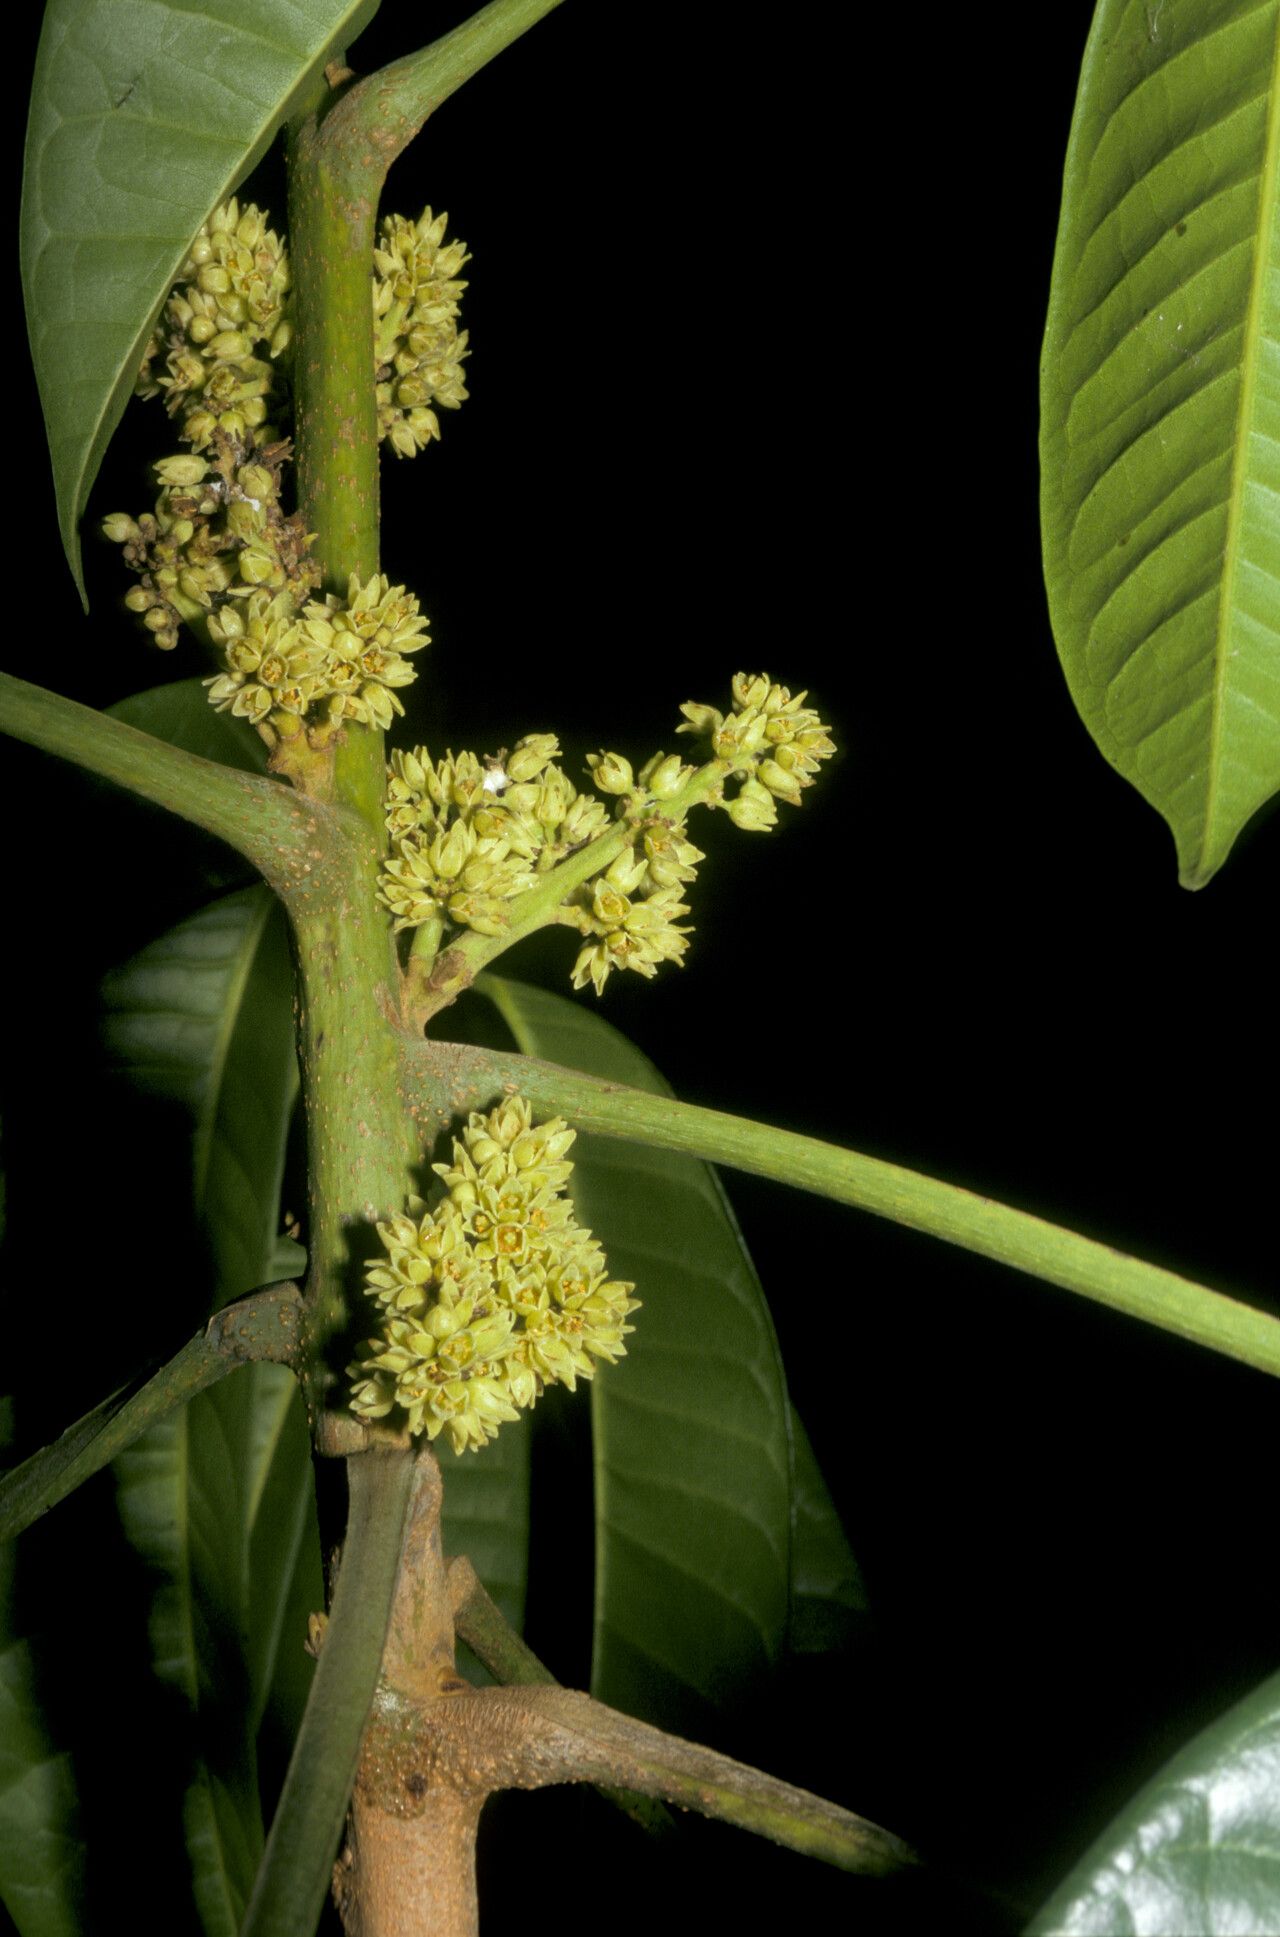
Hey there, fellow plant lovers! Today, I want to talk about a real gem for the more adventurous among us: Protium morii. You know, that gorgeous tree with its glossy leaves and almost dramatic presence. It’s not one you see every day, and that’s part of its charm, right? For me, successfully growing a new Protium from a cutting feels like unlocking a little piece of botanical magic. It’s incredibly rewarding, though I’ll be honest, it’s not the easiest plant for absolute beginners. It requires a bit more attention and patience, but trust me, the results are absolutely worth it.
The Best Time to Start
When it comes to striking cuttings of Protium morii, timing is everything. I’ve found the late spring or early summer to be your sweet spot. This is when the plant is in its most vigorous growth phase. You’re looking for stems that are semi-hardwood. That means they’re not brand new, soft growth, but not old, woody stems either. They should be firm but still have a little flexibility when you bend them. Think of it like a pencil – not so soft it bends easily, but not so hard it snaps.
Supplies You’ll Need
Before we get our hands dirty, let’s gather our tools. Having everything ready makes the whole process so much smoother.
- Sharp, clean pruning shears or a knife: Essential for making clean cuts that heal well.
- Rooting hormone powder or gel: This is your secret weapon for encouraging root development.
- Well-draining potting mix: I love a blend of equal parts perlite, coco coir, and a good quality potting soil. You want air circulation, not soggy feet!
- Small pots or propagation trays: Clean ones are a must to prevent disease.
- Clear plastic bags or a propagator: To create a humid environment for your cuttings.
- Watering can with a fine rose: For gentle watering.
- Labels and a marker: So you don’t forget what you’ve planted!
Propagation Methods
While Protium morii can be a bit fussy, propagating by stem cuttings is generally the most successful and accessible method for home gardeners.
-
Take Your Cuttings: Select healthy, semi-hardwood stems that are about 6-8 inches long. Make your cut just below a leaf node (where a leaf attaches to the stem). This is where the magic of root production tends to happen.
-
Prepare the Cuttings: Gently remove the lower leaves, leaving just two to four at the top. This prevents them from rotting in the soil and encourages the plant to focus its energy on rooting. If the remaining leaves are very large, I like to cut them in half. This reduces water loss through transpiration.
-
Apply Rooting Hormone: Dip the cut end of each stem into your rooting hormone. Swirl it around gently to ensure an even coating. Tap off any excess.
-
Plant Your Cuttings: Fill your pots or trays with your prepared well-draining mix. Make a pre-made hole with a pencil or your finger to avoid rubbing off the rooting hormone. Insert the cuttings about 1-2 inches deep into the soil. Gently firm the soil around them. Make sure the leaf nodes are below the soil surface.
-
Create a Humid Environment: Water the soil thoroughly until it drains from the bottom. Then, cover the pots with a clear plastic bag or place them in a propagator. Make sure the bag isn’t touching the leaves too much. You’re aiming for a mini-greenhouse effect to keep humidity high.
The “Secret Sauce” (Pro Tips)
Here are a few things I’ve learned from years of coaxing finicky plants to grow:
- Some Protium species can be prone to rot if the soil stays too wet. I don’t let the leaves touch the water in the pot, even when I first water them. I prefer to water from the bottom if possible, or use a fine mister.
- Bottom heat makes a huge difference! If you can, place your pots on a seedling heat mat. This gentle warmth encourages root development from below, giving your cuttings a much-needed boost. Just keep it on a low setting.
- Don’t be tempted to keep checking for roots too early! Patience is key. I try not to disturb the cuttings for at least 6-8 weeks. Any premature tugging can break delicate new root hairs.
Aftercare & Troubleshooting
Once you start to see new leaves emerging or feel a gentle tug when you very carefully try to lift a cutting, congratulations! Roots are forming.
- Gradually Acclimate: Once new growth is apparent, slowly introduce your new plants to lower humidity. Open the plastic bag a little more each day over a week or so.
- Watering: Water when the top inch of soil feels dry. Avoid overwatering, which is the most common cause of failure.
- Light: Place your new plants in bright, indirect light. Direct sun can scorch their tender new leaves.
The biggest thing to watch for is rot. If a cutting turns mushy, black, or smells unpleasant, it’s a sign of too much moisture and not enough air. If you see this, unfortunately, it’s usually best to discard that cutting and learn from the experience. Sometimes, a cutting might simply fail to root. Don’t get discouraged! It happens to the best of us.
So, there you have it! Propagating Protium morii is a journey that rewards your dedication. Be patient, keep your conditions consistent, and learn from each attempt. Soon, you’ll be enjoying the satisfaction of nurturing these beautiful plants from small cuttings into magnificent additions to your home. Happy propagating!
Resource:
https://identify.plantnet.org/k-world-flora/species/Protium%20morii%20Daly/data