Hello there, fellow plant lovers!
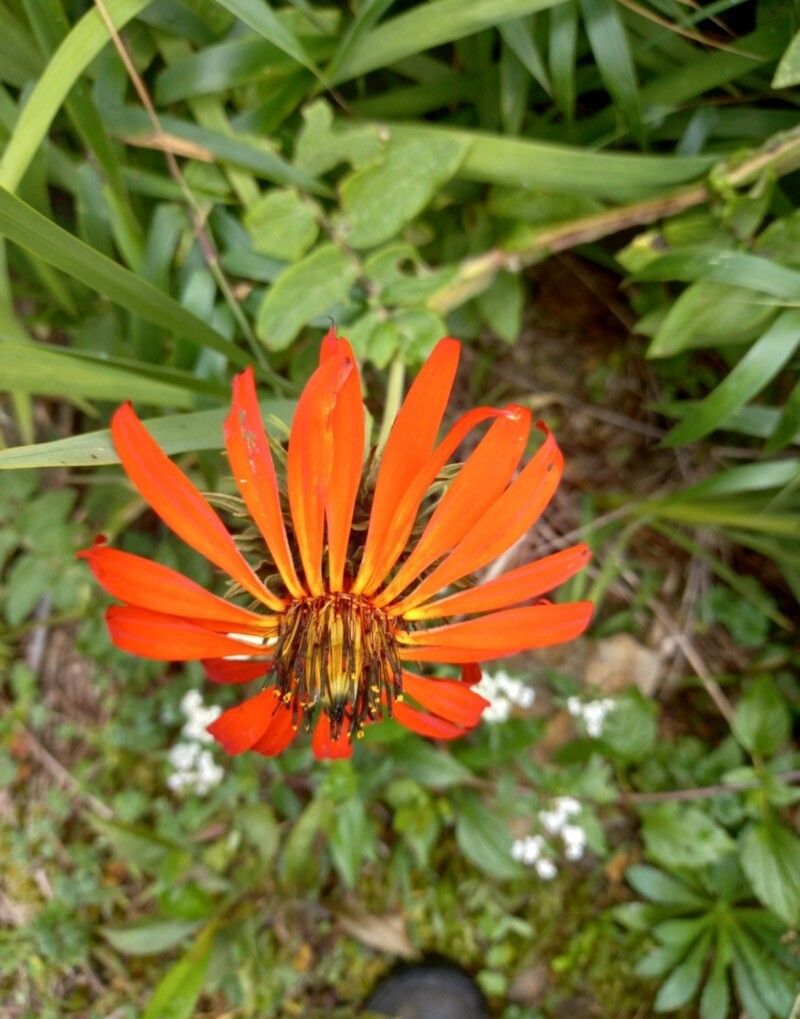
Today, we’re diving into the wonderful world of Mutisia lanata, often called Woolly Mutisia. If you’ve ever seen this beautiful climbing perennial with its fuzzy, woolly leaves and vibrant daisy-like flowers, you know exactly why it’s a garden showstopper. Its silvery foliage adds such a unique texture, and those cheerful blooms seem to dance in the breeze.
Propagating your own Mutisia lanata is incredibly rewarding. It’s a fantastic way to share this beauty with friends or simply to fill your garden with more of its charm. Now, is it easy? Honestly, it can be a bit of a moderate challenge, especially for absolute beginners. But with a little patience and the right approach, I’m confident you can succeed. Think of it as a delightful horticultural puzzle to solve!
The Best Time to Start
For us gardeners here in the Northern Hemisphere, the late spring to early summer is generally your sweet spot. This is when your Mutisia lanata is actively growing and has plenty of energy to put into developing new roots. You want to take cuttings from healthy, non-flowering stems. Look for stems that are somewhat firm but still flexible – not too woody, and definitely not just limp, brand new growth.
Supplies You’ll Need
- Sharp, clean pruning shears or secateurs: Essential for making clean cuts.
- Rooting hormone: A powder or gel will do wonders to encourage root development.
- Well-draining potting mix: A good blend of peat moss, perlite, and a bit of compost works beautifully. You can also find specialized seed starting or cutting mixes.
- Small pots or seedling trays: Clean ones are a must to prevent disease.
- Plastic bags or a propagator lid: To create a humid environment.
- Watering can with a fine rose: For gentle watering.
- (Optional but highly recommended) Heat mat: Bottom heat can significantly speed up rooting.
Propagation Methods
We’ll focus on the most reliable method for Mutisia lanata: stem cuttings.
- Select your stems: As mentioned, look for healthy, semi-ripe stems in late spring or early summer. Aim for stems about 4-6 inches long.
- Make the cut: Using your clean secateurs, make a clean cut just below a leaf node. This is where roots are most likely to form.
- Prepare the cuttings: Gently remove the lower leaves, leaving just a couple of pairs at the top. If the leaves are quite large, you can even cut them in half to reduce water loss.
- Apply rooting hormone: Dip the cut end of the stem into your rooting hormone, tapping off any excess. Make sure the hormone adheres to the wounded area.
- Plant your cuttings: Fill your pots or trays with your prepared potting mix. Make a small hole with a pencil or your finger, and carefully insert the cutting, ensuring the rooting hormone-coated end is in contact with the soil. Gently firm the soil around the stem.
- Water gently: Water thoroughly using your fine-rose watering can, making sure the soil is moist but not waterlogged.
- Create humidity: Cover the pots loosely with a plastic bag, supported by stakes so the leaves don’t touch the plastic, or place them in a propagator. This traps moisture and creates that essential humid environment.
- Provide warmth: Place your pots in a warm spot, ideally on a heat mat if you have one. Bright, indirect light is best – no direct sun, which can scorch the tender cuttings.
The “Secret Sauce” (Pro Tips)
- Don’t let the leaves touch the water: This is crucial even when watering. If leaves sit in water, they’re much more prone to rot. Keep them elevated and ensure good air circulation.
- Bottom heat is your best friend: Seriously, if you can swing a heat mat, do it! It replicates the warmth from the soil that encourages roots to emerge much faster and more reliably. It’s a game-changer for fussier cuttings.
- Take multiple cuttings: Not every cutting will take. That’s just nature. So, start with more than you think you’ll need. This significantly boosts your chances of success.
Aftercare & Troubleshooting
Once your cuttings have rooted – you’ll know when you see new growth and feel a gentle tug when you lightly pull on the stem – it’s time to transition them. Gradually acclimate them to normal room humidity by opening the plastic bag a little more each day over a week. Water them as you would any young plant, keeping the soil consistently moist but not soggy.
Watch out for rot! If you see your cuttings turning black and mushy at the base, it’s a sign of too much moisture and not enough air circulation. Unfortunately, once rot sets in, it’s very difficult to save them. If you see this, you might need to try again with different cuttings or adjust your watering and humidity levels significantly. Yellowing leaves can sometimes mean they need a little more light, but be careful not to overexpose them.
A Little Patience, A Lot of Reward
Propagating Mutisia lanata is a journey, and like any good garden project, it requires a sprinkle of patience. Don’t get discouraged if your first attempt isn’t perfect. Learning the nuances of a plant is part of the fun! Enjoy the process, celebrate each tiny root that forms, and soon you’ll be surrounded by even more of that lovely Woolly Mutisia. Happy gardening!
Resource:
https://identify.plantnet.org/k-world-flora/species/Mutisia%20lanata%20Ruiz%20&%20Pav./data