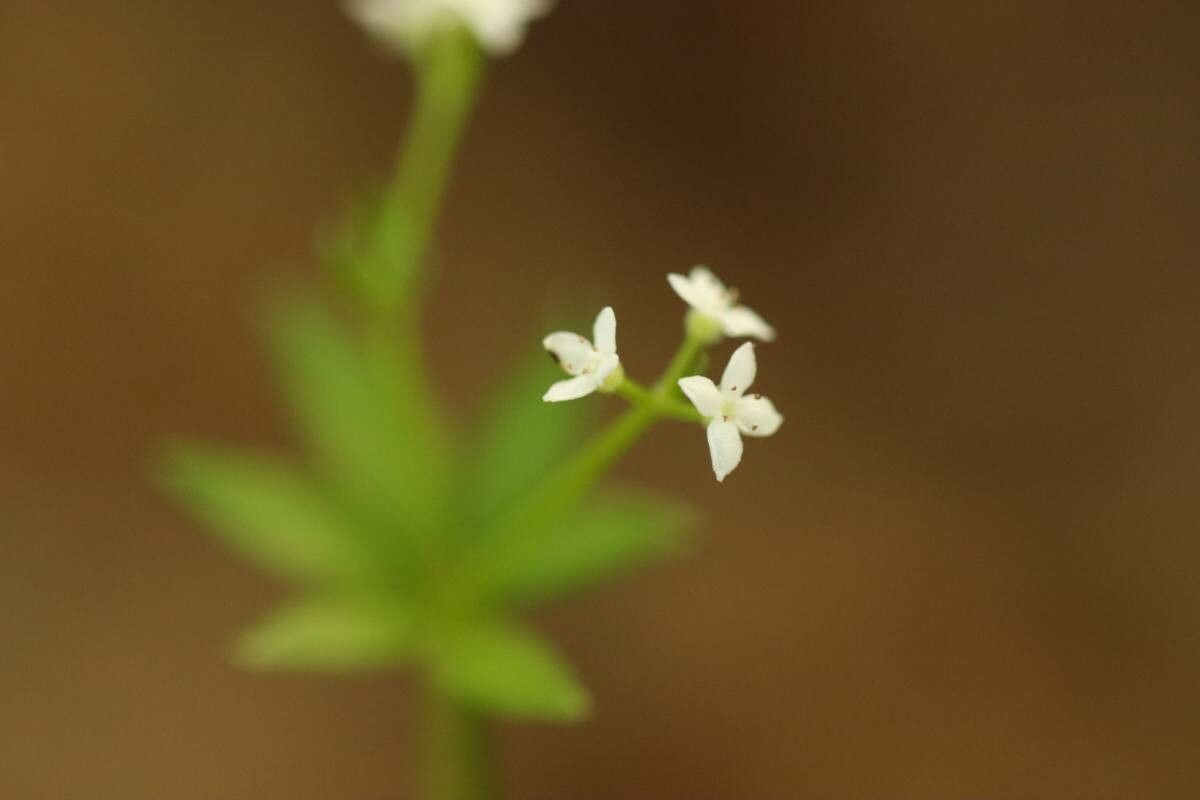
Oh, Galium japonicum! What a delightful plant to have gracing your garden. It has this lovely, almost ethereal quality, with its delicate, star-shaped flowers and soft, arching stems. If you’re looking to spread that beauty around, propagating it is a truly wonderful way to go. It feels like making magic, doesn’t it? And the good news is, for most gardeners, Galium japonicum is quite forgiving, making it a joy to work with even if you’re just starting out on your propagation journey.
The Best Time to Start
For the highest success rate with Galium japonicum, I always find that late spring to early summer is your golden window. This is when the plant is actively growing, full of vigor, and ready to invest its energy into establishing new roots. You want to catch it at this peak growth phase.
Supplies You’ll Need
Here’s what I keep handy when I’m propagating:
- Clean pruning shears or a sharp knife: For making precise cuts.
- Small pots or trays: About 3-4 inches in size are perfect.
- A well-draining potting mix: I like a blend of good quality potting soil mixed with perlite or coarse sand. This ensures excellent aeration and prevents waterlogging.
- Rooting hormone (optional but helpful): A powder or gel can give cuttings a little boost.
- Plastic bags or a propagation dome: To maintain humidity around your cuttings.
- Water: For watering and, if you choose, for water propagation.
Propagation Methods
There are a couple of ways you can coax new Galium japonicum plants into being, and both are quite straightforward.
Stem Cuttings (My Personal Favorite)
This is usually the most reliable method for Galium japonicum.
- Take Your Cuttings: In late spring or early summer, select healthy, non-flowering stems. Look for stems that are somewhere between a young, floppy shoot and a woody old stem – that “ripe” stage is ideal. Using your clean shears, make a cut just below a leaf node (where a leaf attaches to the stem). Aim for cuttings that are about 4-6 inches long.
- Prepare the Cuttings: Gently remove the lower leaves from the cutting, leaving just a couple at the very top. This reduces water loss and prevents leaves from rotting when they’re buried in soil. If you’re using rooting hormone, dip the cut end into the hormone powder or gel now.
- Plant Your Cuttings: Fill your small pots with your prepared potting mix. Make a small hole in the center with your finger or a pencil. Gently insert the prepared cutting into the hole, burying the bottom few nodes where you removed the leaves. Firm the soil gently around the base.
- Create a Humid Environment: Water the soil lightly until it’s evenly moist, but not soggy. Then, cover the pot with a plastic bag or place it under a propagation dome. You want to create a mini-greenhouse effect.
- Place in Bright, Indirect Light: Find a spot that gets plenty of bright, indirect light. Direct sun can scorch your delicate cuttings.
Water Propagation (A Visual Treat)
If you enjoy watching root development, this is a lovely method.
- Select and Prepare Cuttings: Similar to stem cuttings, choose healthy, non-flowering stems and make your cuts just below a leaf node. Remove the lower leaves, making sure any leaves that will be below the water line are gone.
- Place in Water: Pop the prepared cuttings into a jar or glass of clean water. Crucially, ensure that no leaves are submerged in the water. You can use some small pebbles or a bit of tape to hold the stems in place if needed.
- Change Water Regularly: It’s important to change the water every few days to keep it fresh and prevent bacterial growth.
- Position for Success: Place the jar in a bright location with indirect sunlight, just like you would for stem cuttings.
The “Secret Sauce” (Pro Tips)
Here are a couple of things I’ve learned over the years that can really make a difference:
- Humidity is Key, But Prevent Rot: While we want that humid environment for cuttings, it’s a balancing act. Make sure your pots aren’t sitting in a puddle. If you see condensation dripping heavily inside your plastic bag, open it up for a few hours to let some air circulate. This prevents fungal diseases from taking hold, which is the most common way cuttings fail.
- Bottom Heat is Your Friend (Especially for Water Propagators): If you find your cuttings are taking a long time to root, or if your house tends to be a bit cool, consider a propagation mat. Placing your pots or your water jar on a gentle heat source (about 70-75°F or 21-24°C) can significantly speed up root development. It mimics the warmth of spring and fall soil.
Aftercare & Troubleshooting
Once you start seeing tiny white roots poking out from the drainage holes of your pots, or a robust root system forming in your water jar, it’s time to move them!
- For Soil Cuttings: Wait until you have a good network of roots. Then, gradually acclimate your new plants to normal humidity by opening the plastic bag a little more each day for a week. Once they seem happy, you can remove the cover entirely. Continue to keep them in bright, indirect light and water them when the top inch of soil feels dry. Once they’re established and growing strong, you can transplant them into slightly larger pots.
- For Water Cuttings: When the roots are a couple of inches long, you can plant them directly into your prepared potting mix. Treat them just as you would the soil cuttings – water well, maintain humidity initially, and then gradually acclimate them.
Signs of trouble? The most common is rot, which usually looks like the stem turning black and mushy. This is often caused by overwatering or poor drainage. If you see this, unfortunately, the cutting is likely a goner. Prevention is key here – good airflow, well-draining soil, and not letting leaves sit in water are your best defenses. Browning or wilting leaves on an otherwise healthy-looking stem can indicate that it’s not getting enough moisture, or the environment is too dry.
A Encouraging Closing
Propagating Galium japonicum is a labor of love, and it’s immensely satisfying to watch those tiny roots emerge. Don’t get discouraged if every single cutting doesn’t make it – that’s just part of the gardening adventure! Be patient, enjoy the process of nurturing these new plants, and soon you’ll have even more of this delightful greenery to enjoy and share. Happy propagating!
Resource:
https://identify.plantnet.org/k-world-flora/species/Galium%20japonicum%20Makino/data