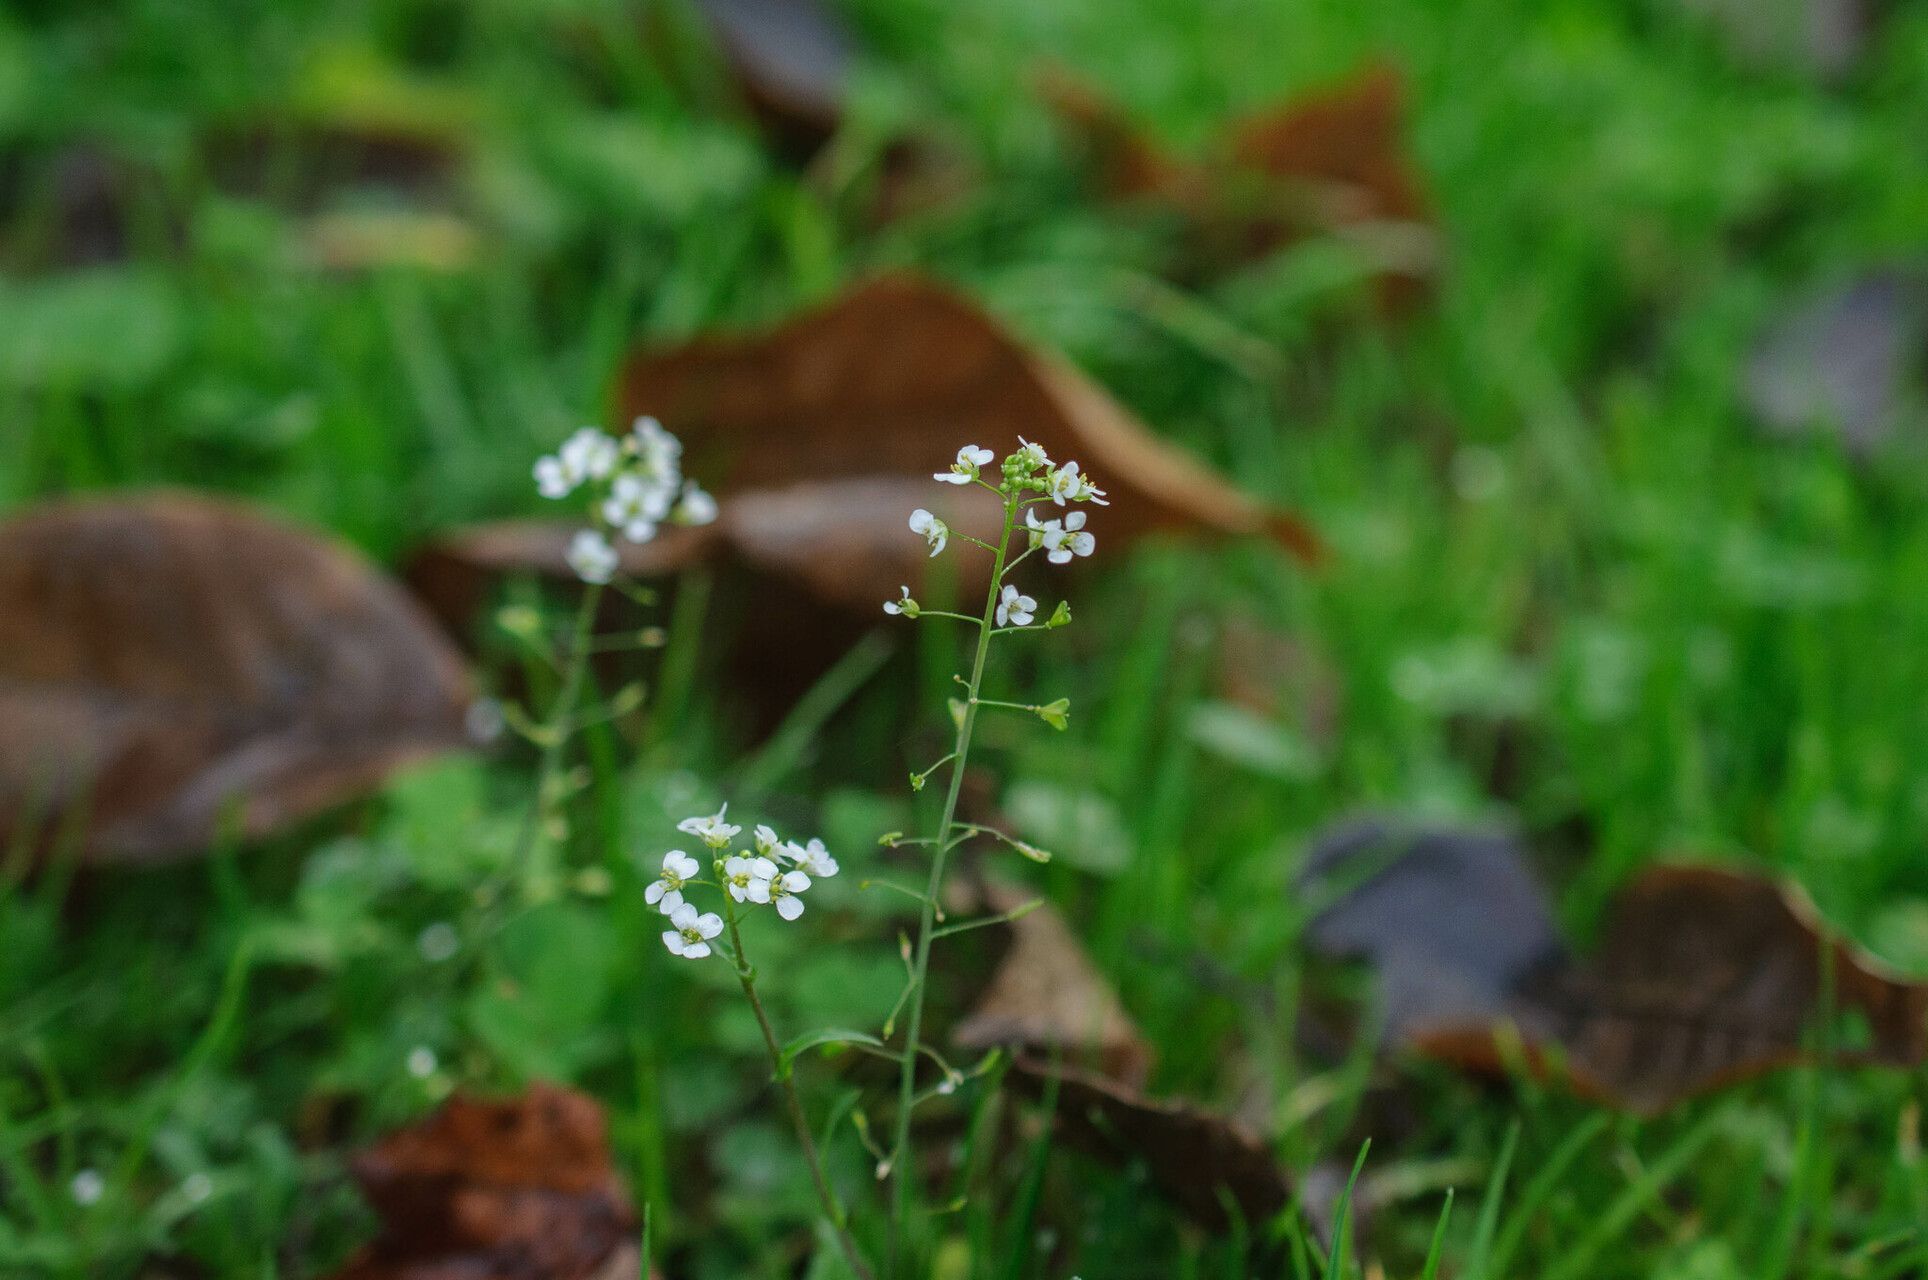
Oh, hello there! Pull up a chair and let’s chat about a truly delightful plant that’s brought so much joy to my garden: Capsella grandiflora. Its cheerful, often vibrant blooms and (depending on the variety) lovely foliage make it a real standout. And the best part? It’s wonderfully rewarding to propagate. For those of you just dipping your toes into the wonderful world of plant propagation, I’m happy to report that Capsella grandiflora is generally quite forgiving. You’ll likely find great success with it.
The Best Time to Start
When is the magic window for boosting your Capsella grandiflora collection? For me, the sweet spot is usually late spring to early summer. This is when the plant is really hitting its stride, actively growing, and has plenty of energy to put into making new roots. You want to work with healthy, vigorous growth – avoid any stems that look weak or are just starting to flower.
Supplies You’ll Need
Gathering your tools beforehand makes the whole process much smoother. Here’s what I always have on hand:
- Clean pruning shears or sharp scissors
- Potting mix: A well-draining blend is crucial. I often use a mix of equal parts peat moss, perlite, and coarse sand. You can also buy a good quality seedling or propagation mix.
- Small pots or trays with drainage holes.
- A dibber or pencil for making planting holes.
- Rooting hormone (optional, but can give an extra boost).
- A spray bottle for misting.
- A plastic bag or propagation dome to maintain humidity.
Propagation Methods
Capsella grandiflora is quite adaptable, and I’ve had the best luck with these two methods:
Stem Cuttings
This is my go-to for increasing my stock quickly.
- Take your cuttings: Look for healthy, non-flowering stems. Using your clean shears, take cuttings that are about 4-6 inches long. Make your cut just below a leaf node (where a leaf attaches to the stem).
- Prepare the cuttings: Gently remove the lower leaves from the cutting, leaving just a few at the top. If you’re using rooting hormone, dip the cut end into it now, tapping off any excess.
- Plant your cuttings: Fill your small pots with your prepared potting mix. Make a hole with your dibber or pencil, and gently insert the cutting into the soil, ensuring the leaf nodes that were buried are covered. Firm the soil gently around the stem.
- Create humidity: Water the soil lightly. Then, cover the pot with a plastic bag or place it inside a propagation dome. Ensure no leaves are touching the inside of the bag.
Division
This is a fantastic way to rejuvenate an older plant and get more of it at the same time.
- Dig up the plant: Choose a healthy, established clump. Gently dig around the root ball and lift the entire plant from the ground or its current pot.
- Separate the divisions: Gently tease apart the root ball. You’ll want to separate it into smaller sections, each with its own healthy roots and a few shoots or stems. Don’t be afraid to use your hands or even a clean knife if the roots are very dense. The goal is to have pieces that look like they can stand on their own.
- Replant: Immediately plant these divisions into your prepared pots or back into their desired garden spot. Water them in well.
The “Secret Sauce” (Pro Tips)
Here are a couple of little things that have made a big difference for me:
- Bottom Heat is Your Friend: For stem cuttings, I love to place my pots on a heating mat. It provides gentle warmth to the soil, which really encourages root development. It’s like giving them a cozy little underground spa.
- Watch the Water Level: When you’re watering cuttings, make sure the water level doesn’t reach the lower leaves. If leaves sit in water, they’re much more prone to rot before roots even have a chance to form. Mist the leaves, but keep the soil moist, not soggy.
Aftercare & Troubleshooting
Once your cuttings have been planted, place the pots in a bright spot, but out of direct, scorching sunlight. Keep the soil consistently moist but not waterlogged. You can check for roots by giving a very gentle tug on the stem – if there’s resistance, you’ve got roots!
The biggest pitfall you might encounter is rot. If a cutting turns mushy or black, it’s usually a sign of too much moisture and not enough air circulation. If you see this, remove the affected cutting immediately and check that your potting mix is draining well. For divisions, ensure they’re kept well-watered as they establish, especially in dry weather.
A Warm Encouraging Closing
Growing plants from cuttings or divisions is such a rewarding experience. It connects you to the plant’s life cycle in a very tangible way. Be patient with your new Capsella grandiflora – roots can take a few weeks to develop. Enjoy the process, celebrate every little bit of successful growth, and soon you’ll have plenty of these beauties to share! Happy gardening!
Resource: