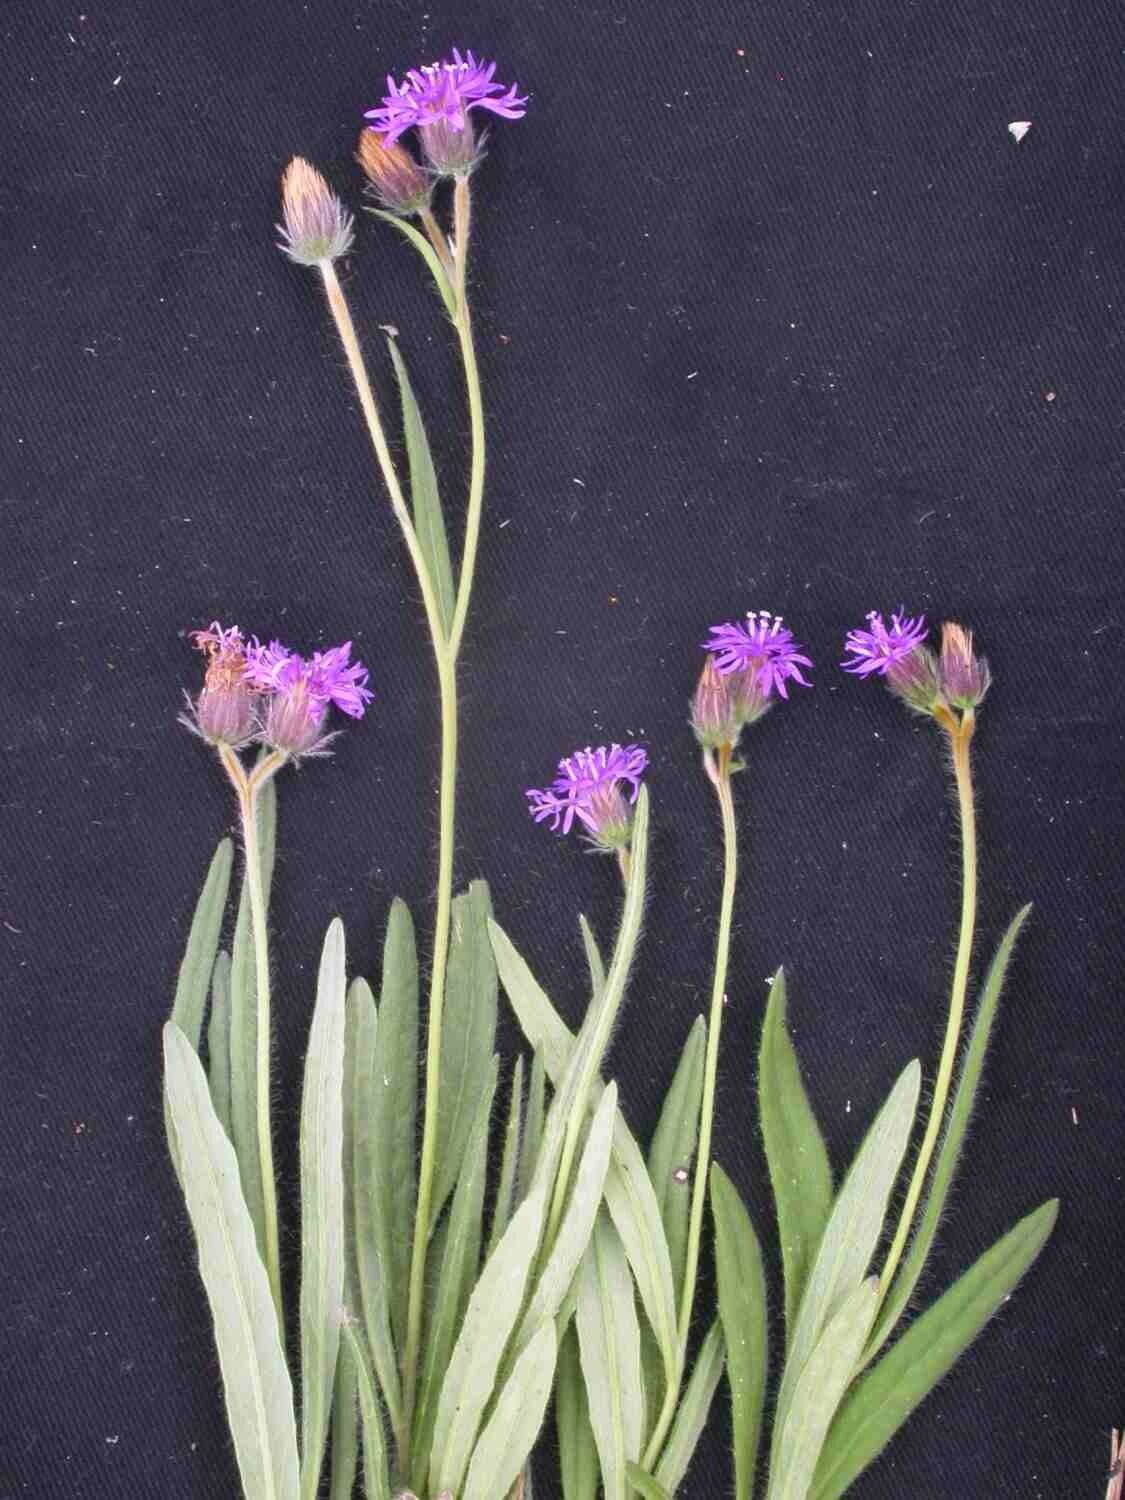
Oh, hello there, fellow garden enthusiast! Pull up a chair, let’s chat about a truly delightful little plant: Chrysolaena simplex. If you’ve ever admired its delicate blooms and intriguing foliage, you’re not alone. I’ve been growing it for years, and frankly, it never fails to bring a smile to my face. The best part? Bringing more of these beauties into your garden is surprisingly achievable, even for those just dipping their toes into the wonderful world of propagation. It’s like magic, but with dirt and a little patience!
The Best Time to Start
For Chrysolaena simplex, the sweet spot for propagation is usually late spring or early summer. This is when the plant is actively growing and has plenty of energy to put into forming new roots. Look for stems that are not too woody but also not brand new, tender shoots that haven’t quite hardened off. Think of it as a happy medium – strong enough to take, but still full of youthful vigor.
Supplies You’ll Need
Gathering your tools beforehand makes the whole process so much smoother. Here’s what you’ll want to have on hand:
- Sharp pruning shears or a clean craft knife: For taking your cuttings. Sterilize them with rubbing alcohol to prevent disease!
- A good quality potting mix: I prefer a mix that drains well. Something like a blend of peat moss, perlite, and a touch of compost works wonders. You can also find specialized seed-starting or propagation mixes.
- Small pots or seed trays: With drainage holes, of course!
- Rooting hormone (optional but recommended): This can significantly boost your success rate by encouraging faster root development. Look for one that contains IBA.
- A plastic bag or a propagator lid: To create a humid environment for your cuttings.
- Watering can with a fine rose or a spray bottle: For gentle watering.
- Labels and a marker: To keep track of what you’ve planted and when.
Propagation Methods
Let’s get our hands dirty! Chrysolaena simplex is quite adaptable, but I find the stem cutting method to be the most reliable and satisfying.
Stem Cuttings:
- Take your cuttings: Select a healthy stem and, using your clean shears or knife, carefully cut a segment about 4-6 inches long. Make your cut just below a leaf node (that little bump where a leaf joins the stem). Remove the lower leaves, leaving just a few at the top.
- Prepare the cutting: If you’re using rooting hormone, dip the cut end into the powder, tapping off any excess. This helps the plant form roots more readily.
- Plant your cuttings: Fill your small pots with your well-draining potting mix. Make a small hole in the center of the soil with a pencil or your finger. Gently insert the prepared cutting, ensuring at least one leaf node is buried in the soil.
- Water gently: Water the soil thoroughly until you see water draining from the bottom of the pot.
- Create humidity: Place the pot inside a clear plastic bag, or cover it loosely with a propagator lid. This traps moisture and keeps your cuttings from drying out. Make sure the leaves aren’t touching the plastic if possible.
- Find a bright spot: Place your pots in a location that receives bright, indirect light. Avoid direct sun, as this can scorch the delicate cuttings. A north-facing windowsill is often perfect.
- Be patient: Now comes the waiting game! Check the soil moisture regularly and water as needed, but avoid overwatering. Roots typically start to form within 3-6 weeks. You’ll know they’re well-rooted when you gently tug on the stem and feel resistance.
The “Secret Sauce” (Pro Tips)
Over the years, I’ve picked up a few little tricks that seem to make all the difference.
- Bottom Heat is Your Friend: If you have a heat mat designed for seedlings, placing your pots on it can dramatically speed up root formation. It mimics the cozy warmth of spring and tells the plant, “Hey, it’s time to get growing!”
- Don’t Be Afraid to Mist: While you want the soil to stay moist, misting the leaves of the cuttings occasionally, especially before you cover them, can provide that extra bit of humidity they crave. Just a light spritz will do.
- The “Trunk Test”: Once you think your cuttings have rooted, give them a very gentle tug. If you feel resistance, that’s a good sign! If it pulls out easily, it hasn’t rooted yet. Sometimes, older, slightly tougher stems that have a tiny bit of established woodiness (but not hard, old wood!) at the base can surprise you with their rooting success.
Aftercare & Troubleshooting
Once you see those little roots peeking out or feel that firm resistance, congratulations! It’s time to transition them to regular care. Gradually remove the plastic bag or propagator lid over a few days to let them acclimatize to normal humidity. Continue to keep them in bright, indirect light. Water when the top inch of soil feels dry.
The most common issue you might face is rot. This usually happens when the soil stays too wet. If you see your cutting turning mushy or black at the base, it’s likely succumbed to rot. Discard it and start again, making sure your soil drains well and isn’t waterlogged. Yellowing leaves can sometimes indicate overwatering, but can also be a sign of underwatering, so check the soil moisture first.
A Bit More Patience, A Lot More Plants!
See? It’s not as daunting as it might seem! Propagation is such a fulfilling part of gardening. It teaches you so much about the plant’s life cycle and it’s incredibly economical. Don’t get discouraged if your first attempt isn’t perfect. Every gardener has had their share of failures – it’s all part of the learning curve! Just keep at it, observe your cuttings, and enjoy the process of coaxing new life from your beloved Chrysolaena simplex. Happy growing!
Resource:
https://identify.plantnet.org/k-world-flora/species/Chrysolaena%20simplex%20(Less.)%20Dematt./data