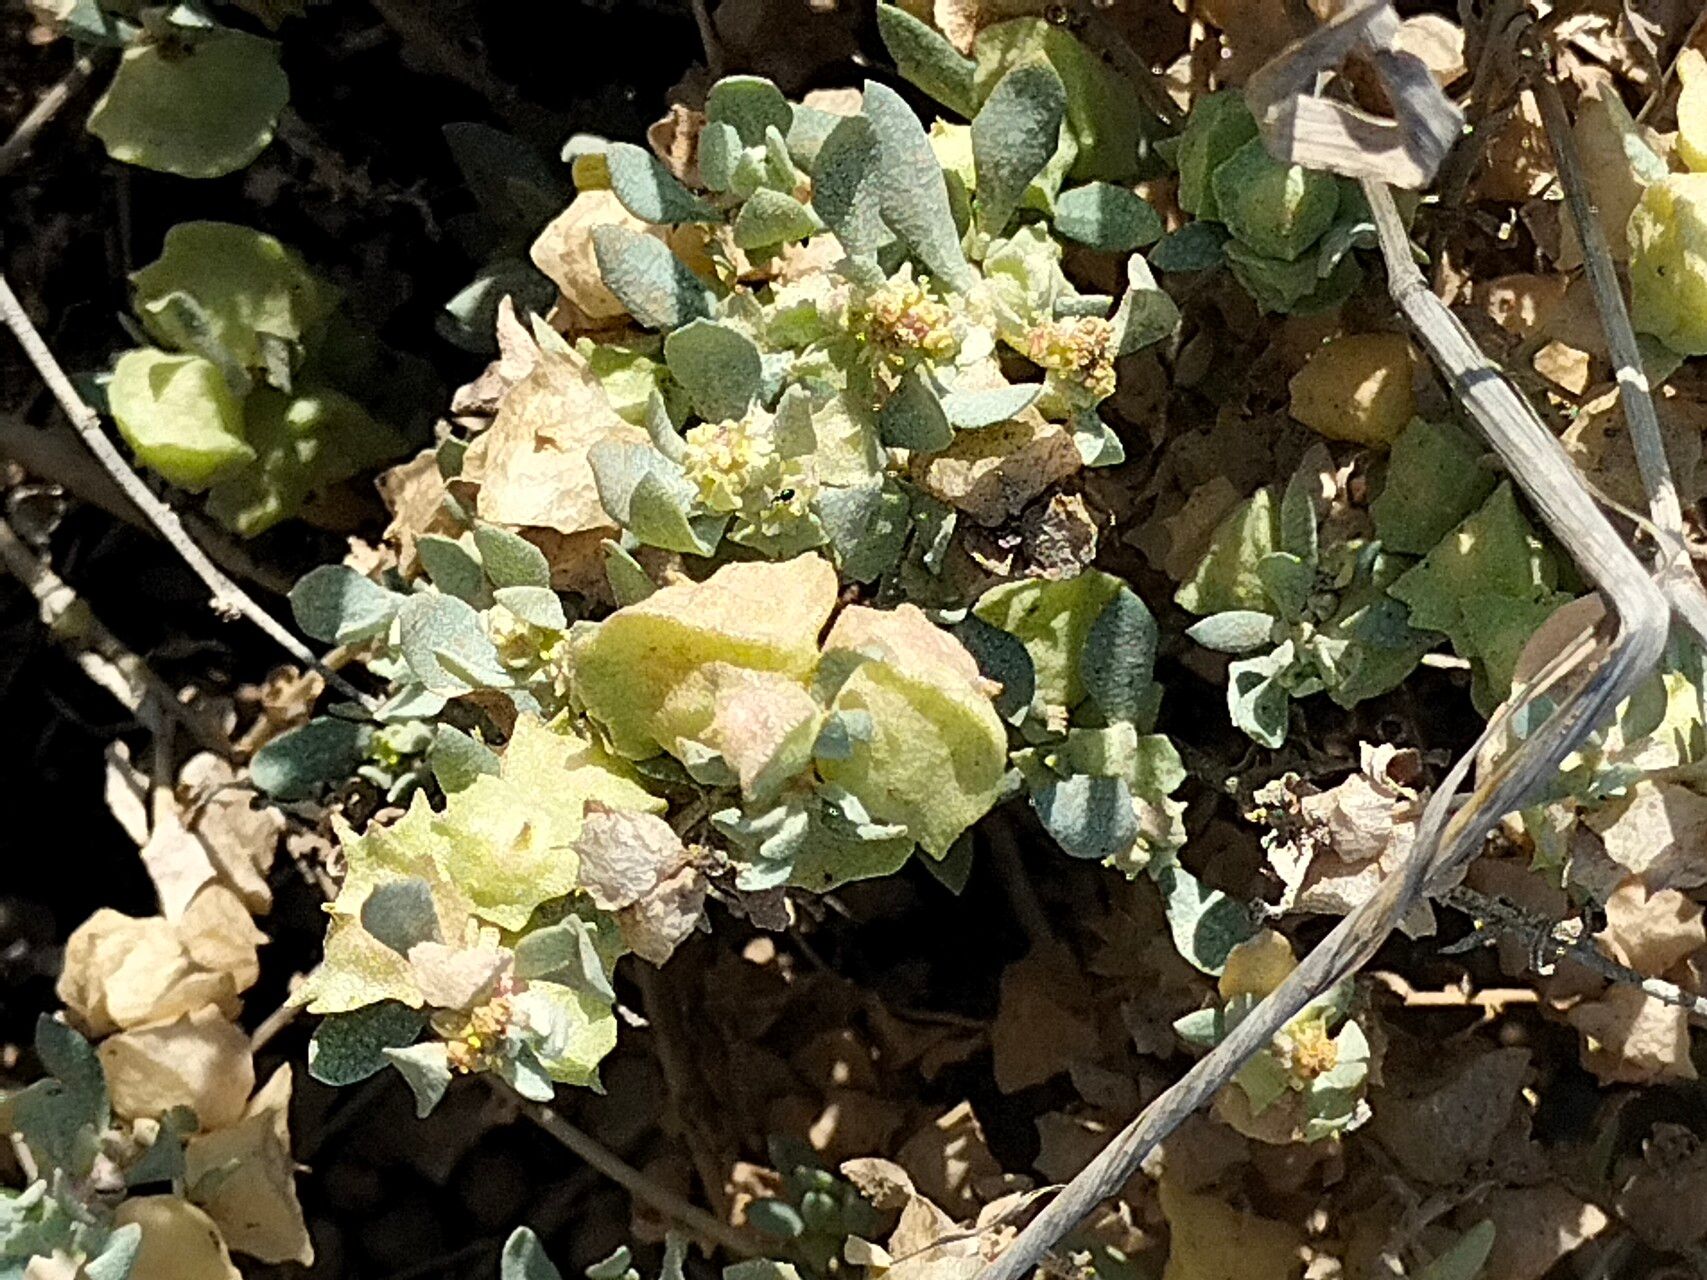
Oh, Atriplex lindleyi! If you’ve ever admired its silvery, almost frosted foliage and its ability to add a touch of native elegance to a garden, you’re in good company. I’ve spent years coaxing these beauties into new life, and trust me, it’s a hugely rewarding feeling to see a tiny cutting develop into a thriving plant. For those of you just dipping your toes into the propagation pool, Atriplex lindleyi is a really comforting plant to start with. It’s generally quite forgiving, which is always a plus when you’re learning!
The Best Time to Start
My favorite time to get stuck into propagating Atriplex lindleyi is in late spring to early summer, usually around May or June. The plant is in full swing by then, pushing out new, soft growth that’s just perfect for taking cuttings. You want to work with stems that are pliable but have started to mature a little – not so floppy they’ll wilt instantly, but not so woody that they’re hard to root.
Supplies You’ll Need
Gathering your supplies beforehand makes the whole process so much smoother. Here’s what I always have on hand:
- Sharp Pruning Shears or a Craft Knife: Clean cuts are key to good rooting.
- Well-Draining Potting Mix: I mix about two parts perlite or coarse sand to one part peat-free compost. You can also buy specific seed and cutting compost, which is great too.
- Small Pots or Trays: Clean pots are essential to prevent disease. Small ones, about 3-4 inches, are ideal for cuttings.
- Rooting Hormone (Optional but helpful): A good quality rooting powder or gel can give your cuttings a nice boost.
- Watering Can with a Fine Rose: For gentle watering.
- Plastic Bag or Propagator Lid: To create a humid environment.
- Labels: So you don’t forget what you’ve planted!
Propagation Methods
Let’s get our hands dirty! Stem cuttings are my go-to for Atriplex lindleyi.
Stem Cuttings
- Take Your Cuttings: In late spring or early summer, select healthy, vigorous stems from your parent plant. Look for shoots that are about 4-6 inches long. Using your sharp pruning shears or knife, make a clean cut just below a leaf node (where a leaf joins the stem). This is where the magic of rooting hormones is most active.
- Prepare the Cuttings: Gently remove the lower leaves from your cutting. You want to leave one or two sets of leaves at the top to help the plant photosynthesize. If the remaining leaves are very large, you can even trim them in half to reduce water loss.
- Apply Rooting Hormone (If using): Dip the cut end of the stem into rooting hormone, tapping off any excess.
- Pot Them Up: Fill your small pots with your prepared, moistened well-draining mix. Make a small pilot hole with a pencil or dowel, and then carefully insert the cutting. Gently firm the soil around the stem to ensure good contact.
- Create Humidity: Water gently, then cover the pot with a clear plastic bag or pop it into a propagator. This creates a mini-greenhouse effect, keeping the humidity high and preventing the cuttings from drying out. Make sure the leaves don’t touch the sides of the bag if possible – this can encourage rot.
- Provide Light and Warmth: Place your pots in a bright spot, but out of direct, scorching sunlight. A warm windowsill is usually perfect.
The “Secret Sauce” (Pro Tips)
Over the years, I’ve learned a few little tricks that really make a difference:
- Firstly, don’t be afraid to take more cuttings than you think you need. Not every single one will strike, and that’s perfectly normal. It’s better to have a few extras for the sheer joy of it!
- If you’re using a propagator, bottom heat can be a game-changer. A gentle warmth from below encourages roots to form much faster. Many garden centers sell simple heated propagator mats.
- And this might sound a bit odd, but ‘shocking’ your cuttings with a quick rinse of cool water after potting can sometimes help them settle in and encourage root development. Just a brief, gentle shower will do.
Aftercare & Troubleshooting
Once your cuttings have rooted – you’ll know when you see new growth at the top or feel a slight resistance when you gently tug on the stem – it’s time for a bit more attention.
Gradually acclimatize them to normal room conditions by opening the plastic bag or propagator lid for longer periods each day. Keep the soil consistently moist but not waterlogged. Overwatering is the most common killer of new cuttings, leading to rot. You’ll know if rot is setting in if your cutting turns mushy, black, or has a foul odor. If you see this, sadly, it’s usually best to discard it and start again.
A Encouraging Closing
Propagating your own Atriplex lindleyi is a wonderful way to expand your garden and share the beauty of this plant. Be patient, my friends. Some plants are faster than others, but the satisfaction of nurture is immense. Enjoy the journey, and happy propagating!
Resource:
https://identify.plantnet.org/k-world-flora/species/Atriplex%20lindleyi%20Moq./data