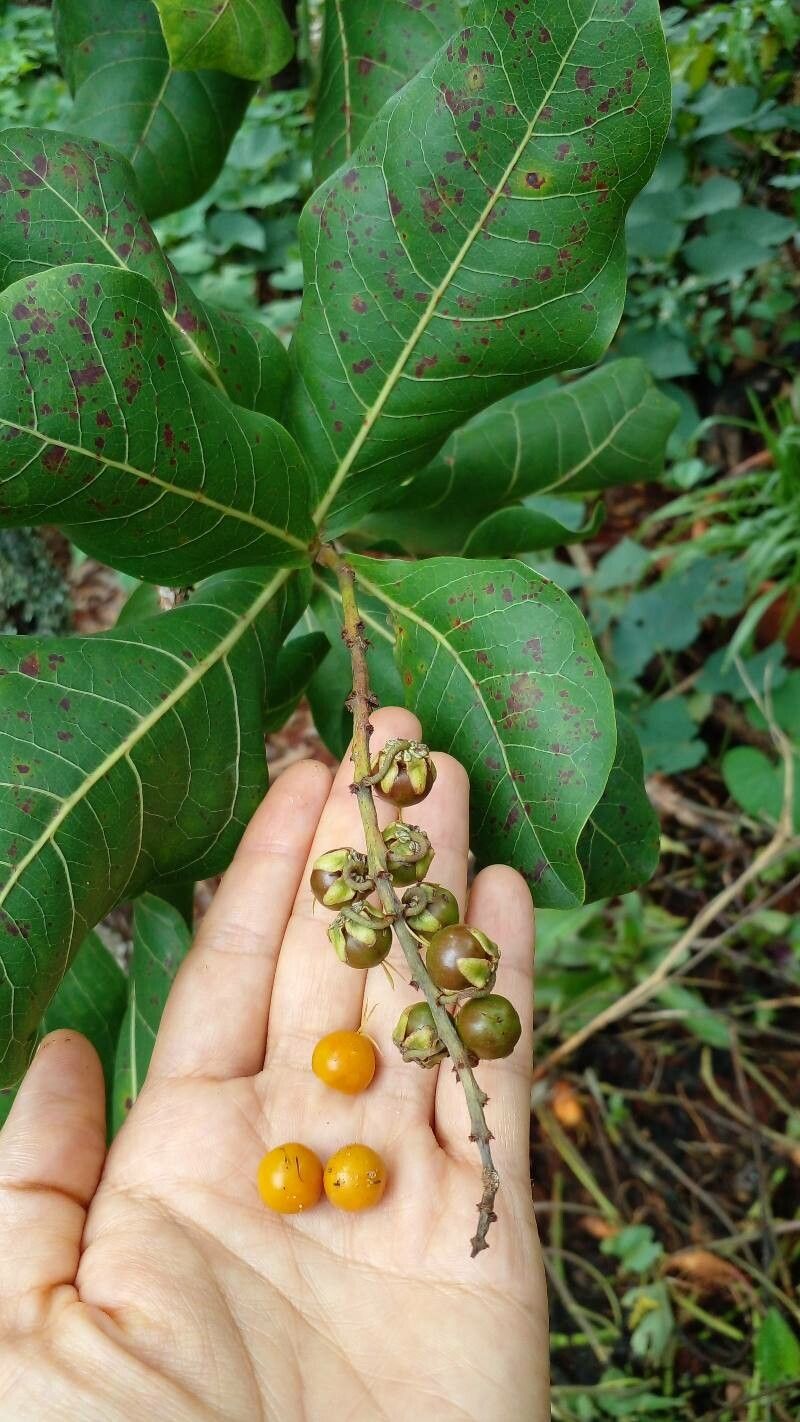
Oh, hello there! Come on in, let’s chat about Byrsonima coccolobifolia. Isn’t she a beauty? I’ve been growing this one for ages, and honestly, the way those bright yellow flowers turn into those little reddish fruits is just captivating. It’s a real treat to see it thrive, and even better when you can share that joy by growing more of them yourself.
Some folks ask if it’s a tricky plant to propagate. For Byrsonima coccolobifolia, I’d say it’s moderately easy—not a “set it and forget it” kind of thing, but with a little attention, you’ll be rewarded. It’s a wonderful project for anyone wanting to expand their garden without buying new plants.
The Best Time to Start
For the highest success rate with Byrsonima coccolobifolia, aim for late spring or early summer. This is when the plant is actively growing and has plenty of energy. You’re looking for stems that are semi-hardwood – not brand new and soft, but not old and woody either. They should be flexible but sturdy.
Supplies You’ll Need
Gathering your supplies beforehand makes the whole process much smoother. Here’s what I usually have on hand:
- Clean, sharp pruning shears or a knife: Essential for making clean cuts.
- Rooting hormone (powder or gel): This will give your cuttings a significant boost.
- Well-draining potting mix: A 50/50 blend of perlite and peat moss or coco coir works beautifully. You can also find specific seed-starting mixes.
- Small pots or seed trays: With drainage holes, of course!
- A clear plastic bag or humidity dome: To keep the cuttings moist.
- Spray bottle: For misting.
- Marker and labels: To keep track of what you planted.
Propagation Methods
We’ll focus on stem cuttings, as this is generally the most successful method for Byrsonima coccolobifolia.
Stem Cuttings: Your Best Bet
- Select Your Cuttings: Look for healthy, mature stems that are about 4-6 inches long. Make a clean cut just below a leaf node (where a leaf attaches to the stem). Remove any lower leaves, leaving just 2-3 at the tip.
- Prepare the Cuttings: Dip the cut end of each stem into your rooting hormone, tapping off any excess. This is a crucial step!
- Planting: Fill your pots with the well-draining potting mix. Make a small hole in the center of the mix with your finger or a pencil. Gently insert the prepared cutting into the hole, ensuring the leaf nodes are below the soil surface. Firm the soil gently around the base of the cutting.
- Create a Humid Environment: Water the soil lightly. Then, cover the pot with a clear plastic bag or a humidity dome. This creates a mini greenhouse effect, preventing the cuttings from drying out before they can form roots. Make sure the leaves aren’t touching the sides of the bag.
The “Secret Sauce” (Pro Tips)
Here are a few tricks I’ve picked up over the years that really help:
- Bottom Heat is Your Friend: If you can, use a seedling heat mat under your pots. This gentle warmth encourages root development from below, which is especially helpful for plants that can be a bit slower to root.
- Don’t Over-Water! It’s so tempting to keep things super wet, but overwatering is the quickest way to invite rot. Let the top inch of soil dry out slightly between waterings when you’re first propagating.
- Take Multiple Cuttings: Not every cutting will take, and that’s perfectly normal. Propagate more than you think you’ll need! This increases your chances of success exponentially.
Aftercare & Troubleshooting
Once your cuttings have been planted, keep them in a bright, indirect light. Avoid direct sun, as it can scorch them. Mist the leaves occasionally to keep them hydrated, especially if you’re not using a humidity dome, but remember our rule about not overwatering the soil.
You’ll know your cutting is happy when you see new leaf growth. This is a sure sign that roots are forming beneath the surface. Gently tug on a cutting; if there’s resistance, roots have likely developed.
The most common pitfall is rot. If a cutting turns black and mushy, it’s likely rotted. This is usually due to too much moisture and poor air circulation. If you see this, remove the affected cutting immediately to prevent it from spreading.
A Little Patience Goes a Long Way
Propagating plants is a journey, not a race. There will be times when some cuttings don’t make it, but that’s all part of the learning process. Celebrate the successes, learn from the failures, and most importantly, enjoy the quiet satisfaction of nurturing new life from a simple stem. Happy gardening!
Resource:
https://identify.plantnet.org/k-world-flora/species/Byrsonima%20coccolobifolia%20Kunth/data