Grow More Beauty: Your Guide to Propagating Pombalia prunifolia
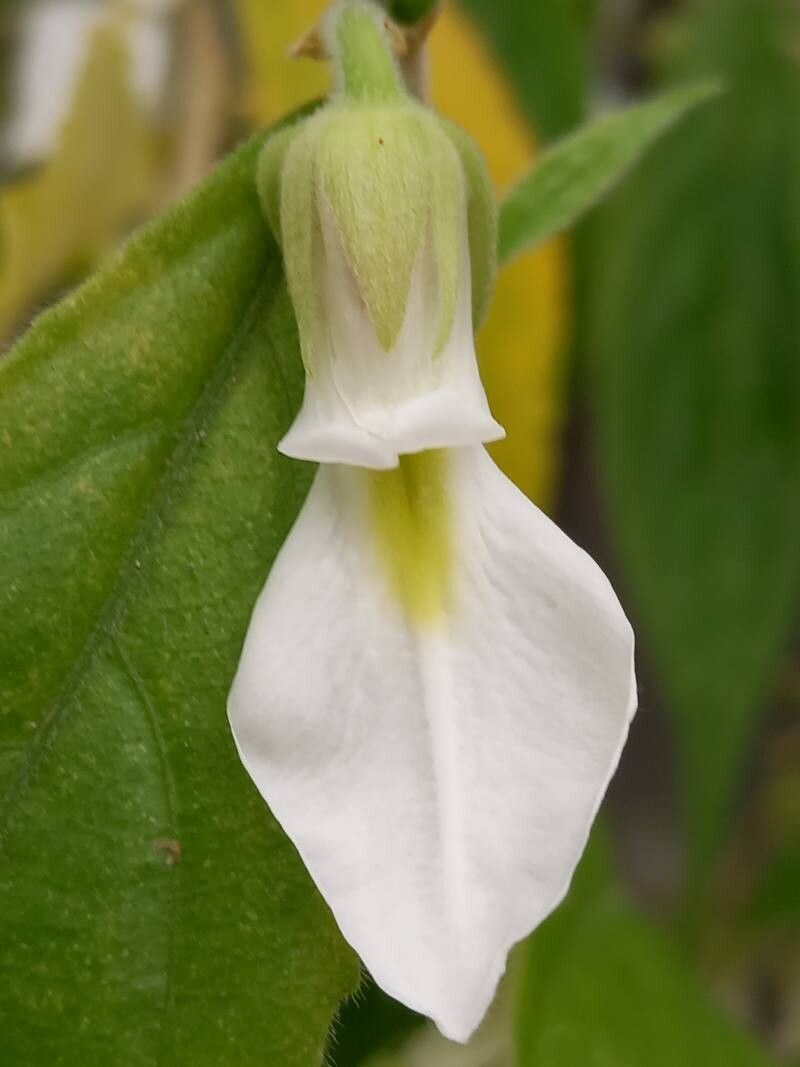
Ah, Pombalia prunifolia. That lovely splash of color, the delicate blooms… it’s truly a charmer in any garden. If you’ve ever found yourself admiring its beauty and wishing you had more of it, you’re in luck! Propagating this gem is a wonderfully rewarding process. It’s also, dare I say, quite accessible. Even if you’re new to the gardening game, I think you’ll find this plant to be a cooperative and forgiving subject.
When to Get Your Hands Dirty
The sweet spot for propagating Pombalia prunifolia is generally late spring to early summer. This is when the plant is actively growing and has plenty of energy to put into developing new roots. You’re looking for stems that are semi-hardwood. This means they’ve started to firm up a bit but aren’t completely woody yet. Think of it as the perfect stage between a brand-new, floppy green shoot and a stiff old branch.
Your Propagation Toolkit
Gathering the right tools makes all the difference. Here’s what you’ll want to have on hand:
- Sharp Pruning Shears or a Blade: Cleanliness is key to preventing disease.
- Rooting Hormone (Optional but Recommended): This can significantly boost your success rate. Look for one designed for woody or semi-woody cuttings.
- Well-Draining Potting Mix: A good blend is essential. I often use a mix of equal parts peat moss, perlite, and vermiculite. For this plant, a slightly more open mix is beneficial.
- Small Pots or Propagation Trays: Clean, with drainage holes!
- Plastic Bags or a Clear Dome: To create a humid environment.
- Water (for water propagation): Simple, clean water.
- Labeling Stakes: To keep track of your efforts!
Methods for Multiplying Your Plants
Let’s get down to business. Here are a couple of reliable ways to propagate Pombalia prunifolia:
Stem Cuttings: The Classic Approach
- Take Your Cuttings: Using your sharp shears, select healthy stems from your mature Pombalia prunifolia. Aim for cuttings that are about 4-6 inches long. Make your cut just below a leaf node (where a leaf attaches to the stem), as this is a prime spot for root development.
- Prepare the Cuttings: Gently remove the lower leaves from the cutting, leaving just a few at the top. This prevents them from rotting in the soil. If you’re using rooting hormone, dip the cut end into the powder, tapping off any excess.
- Planting Time: Fill your pots with your prepared potting mix. Make a hole with a pencil or your finger, then insert the cutting so that at least one leaf node is buried in the soil. Gently firm the soil around the stem.
- Create Humidity: Water the soil lightly. Then, cover the pot with a clear plastic bag, propped up with stakes so it doesn’t touch the leaves, or place it under a clear dome.
Water Propagation: A Clear View of Progress
- Prepare and Place: Take your Pombalia prunifolia cuttings as described above, removing the lower leaves.
- Into the Water: Place the cuttings in a clean jar or vase filled with fresh, room-temperature water. Make sure no leaves are submerged; they will only rot.
- Find a Spot: Position the jar in a bright location, but out of direct, harsh sunlight.
- Change the Water: Change the water every few days to keep it fresh and oxygenated, which helps prevent bacterial growth. You’ll start to see tiny roots emerging in a few weeks.
The “Secret Sauce” for Stellar Success
Here are a few tricks I’ve picked up over the years that really make a difference for Pombalia prunifolia:
- Avoid Leafy Waterlogged Dangers: This applies to both methods, but especially water propagation. Never let the leaves touch the water. They simply can’t photosynthesize effectively in water and will quickly rot, potentially taking your cutting with them.
- Embrace Gentle Warmth: Pombalia prunifolia loves a bit of bottom heat. If you have a heated propagator or even can place your pots near a warm appliance, this gentle warmth from below can significantly speed up root formation. It mimics the conditions they’d find in spring soil.
- Don’t Rush the Transplant: This is HUGE! When propagating in soil, be patient. Don’t tug on your cuttings to see if they have roots. Instead, look for signs of new growth at the top of the stem. This tells you roots are forming below. For water cuttings, wait until the roots are at least an inch long before you try transplanting them into soil.
Life After Roots & What to Watch For
Once you see those beautiful roots forming – whether peeking out of the drainage holes or looking robust in the water – it’s time for a little more attention.
For cuttings rooted in soil, gradually acclimate them to less humid conditions by removing the plastic cover for increasingly longer periods over a week or two. Keep the soil consistently moist but not soggy.
For water-propagated cuttings, gently transplant them into small pots filled with your well-draining potting mix. Water them in well and consider keeping them in a slightly shadier, protected spot for a week or two to help them adjust.
Now, about troubleshooting. The most common issue you’ll face is rot. This usually happens due to overwatering or poor drainage. If you see your cutting turning black or mushy, unfortunately, it’s likely a goner. The best prevention is good airflow, well-draining soil, and not over-loving your little plant with too much water. If you see wilting that doesn’t improve with watering, it might also be a sign of root rot or stress.
Happy Propagating!
Watching a tiny cutting transform into a new, vibrant plant is one of the most satisfying aspects of gardening. Be patient with your Pombalia prunifolia cuttings. Sometimes they take their time, and that’s perfectly okay. Enjoy the process, learn from each attempt, and soon you’ll have a whole constellation of these lovely plants to share – or to keep all to yourself! Happy gardening!
Resource: