Well hello there, fellow plant enthusiast! It’s wonderful to have you join me. Today, we’re diving into the fascinating world of propagating Opuntia cochenillifera, often known as the cochineal prickly pear.
Opuntia Cochenillifera: A Cactus Worth Cloning
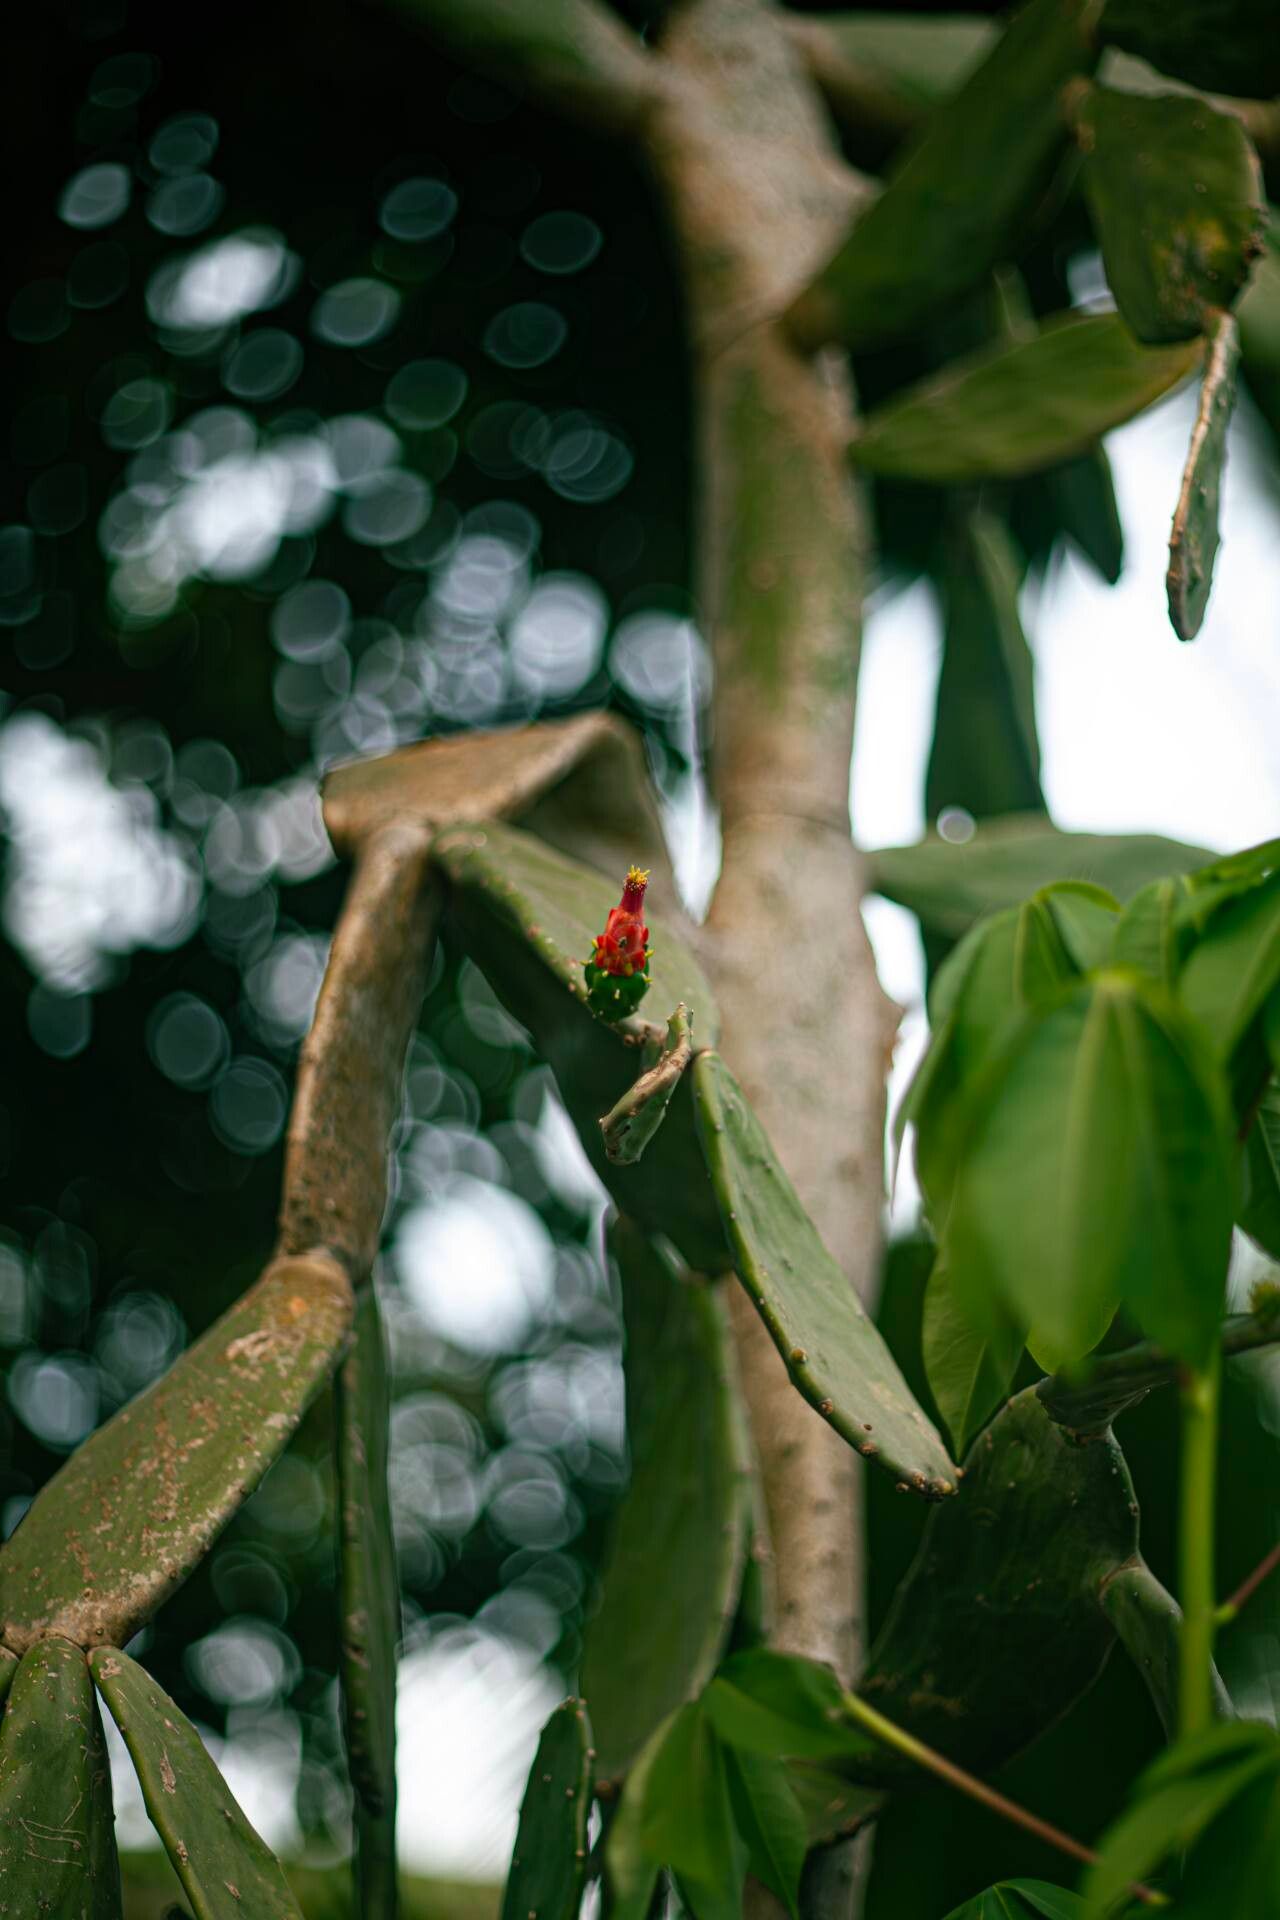
There’s something truly special about these paddle-like cacti. Their architectural form adds a unique modern touch to any space, whether you’re growing them indoors or out. And the best part? They’re incredibly generous! Propagating your own prickly pears is wonderfully rewarding, and I’m happy to report, it’s quite easy for beginners. You’ll be amazed at how quickly you can expand your collection.
When is the “Right” Time for New Beginnings?
The sweet spot for propagating Opuntia cochenillifera is definitely during its active growing season. Think late spring through summer. This is when the plant is energized, producing new growth and, crucially, more readily forming roots. Trying to propagate when it’s dormant just won’t give you the best results.
Gather Your Gardening Tools
Before we get our hands dirty, let’s make sure we have everything we need.
- Sharp Pruning Shears or a Clean Knife: For making clean cuts.
- Well-Draining Potting Mix: This is non-negotiable! A cactus or succulent mix, or a blend of regular potting soil with plenty of perlite or coarse sand, works perfectly.
- Pots or Trays: Choose something with drainage holes.
- Rooting Hormone (Optional, but Recommended): This can give your cuttings a little boost.
- Gloves: Those spines can be persistent!
- Newspaper or Cardboard: To handle the pads safely.
Let’s Get Propagating: Simple Steps to Success
The most common and successful way to propagate these beauties is through stem cuttings, which are essentially the “pads” of the cactus.
- Select a Healthy Pad: Look for a mature, healthy pad that’s firmly attached to the main plant. Avoid any that look yellow, mushy, or damaged.
- Make the Cut: Using your sharp shears or knife, carefully separate the pad from the parent plant. Aim for a clean cut where the pad joins the one below it.
- Let it Callous: This is a critical step. Place the cut pad in a dry, well-ventilated spot, out of direct sunlight, for several days to a week. You want the cut end to dry out and form a callus. This prevents rot when you plant it.
- Planting the Cutting: Once calloused, you can plant your pad. You have a couple of options here:
- Direct Planting: Fill a pot with your well-draining soil mix. Gently insert the calloused end of the pad about an inch or so into the soil. You might need to use a stake to keep it upright initially.
- Dry Planting (My Favorite): Just lay the calloused pad on top of the soil surface in a pot. Over time, roots will grow down into the soil.
- Water Sparingly: After planting, wait a few days before watering. When you do water, water thoroughly, then let the soil dry out completely before watering again. Overwatering is the quickest way to invite rot.
My “Secret Sauce” Tips for Extra Punch
Over the years, I’ve learned a few tricks that really make propagation smoother:
- Embrace the Callous: I can’t stress this enough. Letting the cutting fully callous is the absolute best defense against rot. If you rush this step, you’re asking for trouble.
- Bottom Heat is Your Friend (Sometimes): If you’re propagating in a cooler environment or during a slightly cooler part of the growing season, placing your pots on a gentle seedling heat mat can significantly speed up root development. Just a little warmth helps wake those roots up.
Nurturing Your New Sprout: Aftercare and What to Watch For
Once roots have begun to form (you might see new growth or feel resistance when gently tugging the pad), you can begin treating it more like a mature plant. Continue to water only when the soil is completely dry.
The most common issue you’ll encounter is rot. If your pad starts to look mushy, discolored, or soft, it’s likely succumbing to rot. This usually happens because the cutting wasn’t allowed to callous properly, or because it was overwatered. If you spot rot, act fast! You might be able to cut away the affected part and try callousing and replanting a healthy section.
Go Forth and Clone Your Cactus!
Propagating these beautiful prickly pears is such a rewarding experience. It’s a fantastic way to share your love of plants with friends, or simply to enjoy seeing your own collection flourish. Be patient with the process, trust your instincts, and most importantly, have fun! Happy gardening!
Resource:
https://identify.plantnet.org/k-world-flora/species/Opuntia%20cochenillifera%20(L.)%20Mill./data