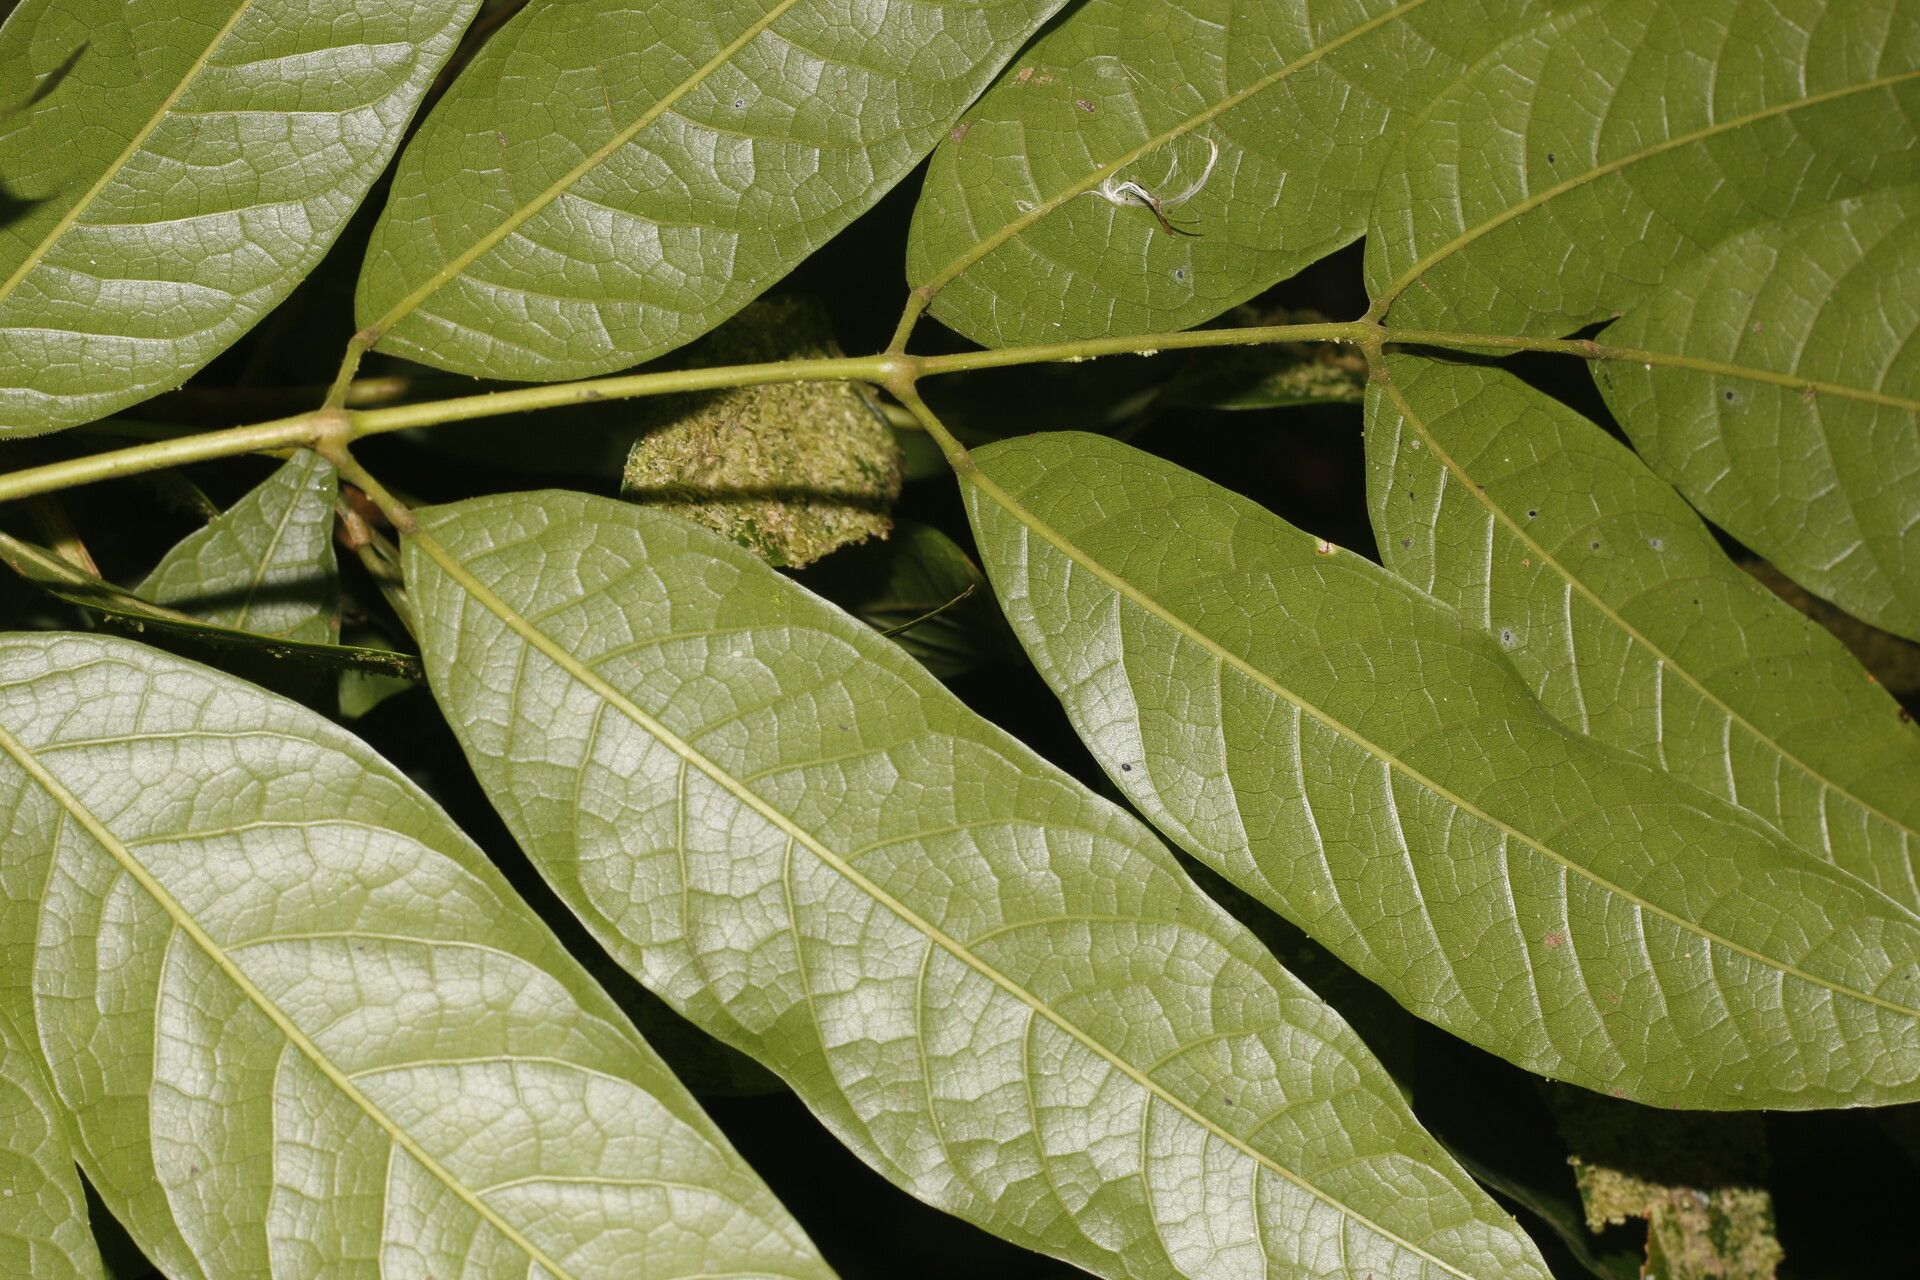
Hey there, fellow plant enthusiasts! Got a little something special I’m excited to share with you today: Protium brenesii. If you’ve ever spotted this beauty, you’ll know why. Its glossy, deep green leaves are simply stunning, and it has this wonderful, almost architectural presence that can elevate any space. Plus, there’s a unique satisfaction in growing a plant from a tiny snippet of another. It’s like magic, right? Now, for those wondering if this is a good starter plant for propagation, I’d say it’s moderately easy. It’s not quite a “stick it in water and watch it grow” kind of plant, but with a little attention, you’ll be rewarded.
The Best Time to Start
For Protium brenesii, the sweet spot for propagation is generally during its active growing season. Think late spring through summer. This is when the plant has plenty of energy stored up, which really helps those new cuttings get a strong start. You’ll notice you have the best success when the plant is producing new growth – those tender, bright green shoots are full of life and ready to root.
Supplies You’ll Need
Gathering your supplies beforehand makes the whole process smooth. Here’s what I usually have on hand:
- Sharp pruning shears or a clean knife: To make clean cuts.
- Aroid or succulent potting mix: Something that drains really well is key. I often mix equal parts peat moss, perlite, and a bit of orchid bark.
- Rooting hormone (optional but recommended): A powder or gel can give your cuttings a helpful boost.
- Small pots or containers: Clean ones are a must!
- Plastic bags or a clear plastic dome: To create a humid environment.
- Spray bottle: For misting.
Propagation Methods
Let’s get our hands dirty! For Protium brenesii, stem cuttings are my go-to method.
- Take Your Cuttings: Using your sharp shears or knife, select a healthy stem that has at least two or three leaf nodes (where the leaves attach to the stem). Make a clean cut just below a leaf node. Aim for cuttings that are about 4-6 inches long. Remove the lower leaves, leaving just a couple at the top.
- Prepare the Cutting: If you’re using rooting hormone, dip the cut end of the stem into it, tapping off any excess.
- Potting Up: Fill your clean pot with your well-draining potting mix. Make a small hole in the center with your finger or a pencil. Gently insert the cut end of your Protium cutting into the hole, ensuring at least one leaf node is buried beneath the soil. Firm the soil gently around the stem.
- Create a Humid Environment: This is crucial! Water the soil thoroughly until it’s evenly moist but not waterlogged. Then, either place a plastic bag loosely over the pot, securing it with a rubber band, or cover it with a clear plastic dome. This traps humidity around the cutting, which encourages root development.
The “Secret Sauce” (Pro Tips)
Here are a few things I’ve learned over the years that can really make a difference:
- Don’t Overwater: While humidity is great, soggy soil is the enemy of these cuttings. It can lead to rot before roots even have a chance to form. Let the top inch of soil dry out slightly between waterings.
- Bottom Heat: If you can, place your potted cuttings on a heat mat. This provides gentle warmth to the base of the cutting, which mimics ideal soil temperatures and really encourages root growth. It’s like giving them a cozy little foot spa!
- Patience is a Virtue (Truly!): Protium can be a bit slow to root. Don’t be tempted to pull your cutting out to check for roots after a week or two. Give it at least 4-6 weeks, and sometimes even longer, before you even think about gently tugging to feel for resistance.
Aftercare & Troubleshooting
Once you start to feel some resistance when you gently tug on your cutting, or you see new leaf growth emerging, congratulations! You’ve got roots!
- Transitioning: Gradually acclimate your new plant to normal humidity levels by slowly opening the plastic bag or removing the dome over a few days. Continue to keep the soil consistently moist but not soggy.
- Light: Provide bright, indirect light. Avoid direct sun, which can scorch those young leaves.
- Troubleshooting: The most common issue is stem rot. If you notice your cutting turning mushy, black, or starting to fall apart, it’s likely due to overwatering or poor drainage. If you catch it early, you might be able to salvage a healthy section, but often, it’s a sign that the cutting isn’t going to make it. Another sign of trouble is a cutting that looks wilted and droopy even though the soil is moist – this can also indicate rot setting in.
So there you have it! Propagating Protium brenesii is a rewarding journey. Be patient with yourself and with your plant. Enjoy the process of watching something new come to life from a simple cutting. Happy growing!
Resource:
https://identify.plantnet.org/k-world-flora/species/Protium%20brenesii%20(Standl.)%20D.Santam./data