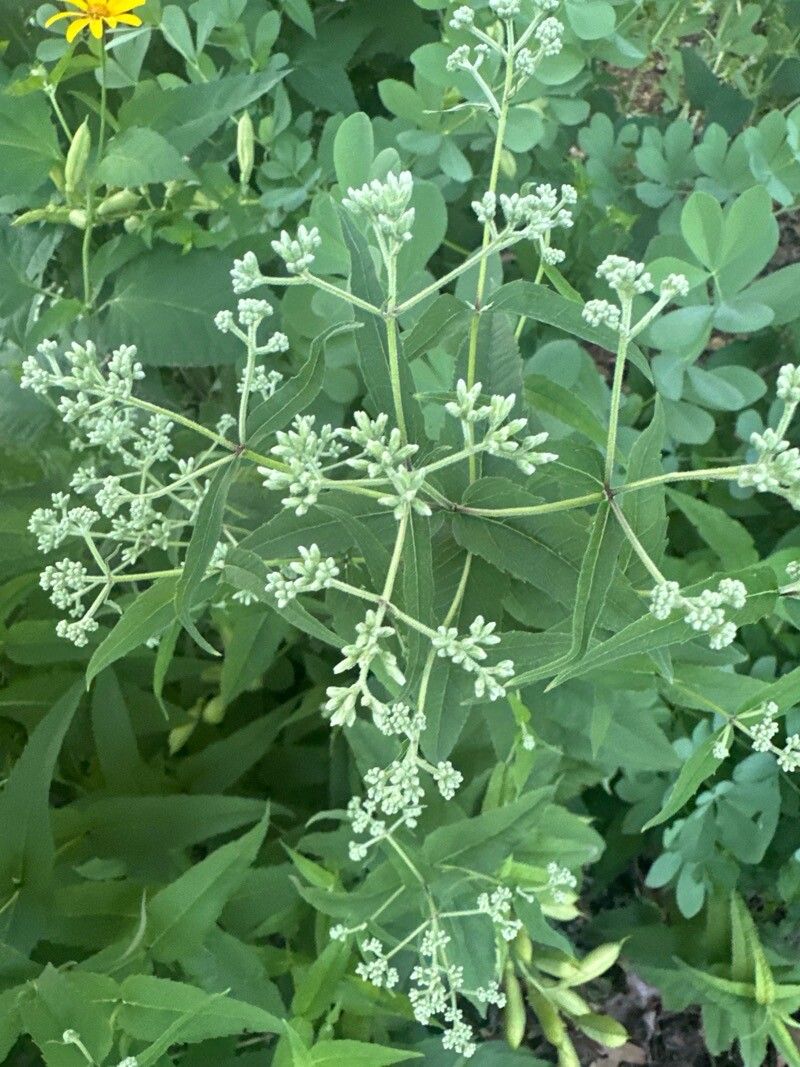
Hey there, fellow plant lovers! It’s wonderful to have you join me today. If you’re anything like me, you’ve probably admired Eupatorium sessilifolium – that lovely Joe Pye Weed with its elegant, upright stems and those gorgeous, frothy pinkish-purple blooms. They bring such a delightful texture and color to the garden, attracting all sorts of pollinators.
And you know what’s even more rewarding than admiring them? Growing more of them yourself! Propagating Eupatorium sessilifolium is a fantastic way to expand your collection, share with friends, or just fill in those bare spots. The good news? It’s quite approachable, even for many beginners. I’ve found it to be a pretty forgiving plant to work with.
The Best Time to Start
For the absolute best chance of success, I always reach for my pruning shears in late spring or early summer. This is when the plant is actively growing and has plenty of fresh, pliable stems that are eager to root. Trying to propagate from older, woodier stems later in the season can be a bit trickier.
Supplies You’ll Need
Gathering your tools beforehand makes the whole process so much smoother. Here’s what I typically have on hand:
- Sharp Pruning Shears or Scissors: Clean cuts are key for healthy propagation, so make sure they’re nice and sharp.
- Rooting Hormone (Optional but Recommended): A little dip in rooting hormone can give your cuttings a real boost.
- Well-Draining Potting Mix: I like to use a mix of peat moss or coco coir and perlite for excellent aeration. A good seed-starting mix can also work wonders.
- Small Pots or Trays: Clean containers with drainage holes are essential.
- A Clear Plastic Bag or Humidity Dome: This creates that vital humid environment for cuttings.
- Water: For watering and, if you choose, water propagation.
- Labels: Don’t forget to label your pots! Trust me, you’ll thank yourself later.
Propagation Methods
There are a few ways to go about this, but my go-to is stem cuttings. It’s straightforward and yields great results.
Stem Cuttings:
- Select Your Cuttings: Look for healthy, non-flowering stems that are about 4-6 inches long. You want to take cuttings from the younger, softer growth.
- Make the Cut: With your clean shears, make a cut just below a leaf node. A leaf node is where a leaf attaches to the stem – this is a prime spot for root development.
- Prepare the Cutting: Gently remove the lower leaves from the bottom half of the stem. You want to leave just a couple of leaves at the top. If your remaining leaves are very large, you can even cut them in half to reduce water loss through transpiration.
- Apply Rooting Hormone (If Using): Dip the cut end of the stem into your rooting hormone, tapping off any excess.
- Plant Your Cuttings: Fill your small pots with your damp potting mix. Make a small hole with your finger or a pencil and insert the cutting, ensuring the leaf nodes are buried in the soil. Gently firm the soil around the base.
- Water and Cover: Water the potting mix thoroughly but gently. Then, cover the pot with a clear plastic bag or a humidity dome to create a mini-greenhouse effect. Poke a few holes in the bag for airflow.
Water Propagation (Another Easy Option):
While I prefer the soil method for Eupatorium, water propagation can also work. Simply take your prepared cuttings (steps 1-3 above) and place them in a jar or glass of clean water. Make sure none of the leaves are submerged in the water – only the stem should be in contact with it. Place the jar in indirect light and change the water every few days. You’ll see roots starting to form in a few weeks. Once the roots are about an inch or two long, you can transplant them into potting mix.
The “Secret Sauce” (Pro Tips)
Here are a couple of things I’ve learned over the years that can really make a difference:
- Avoid Overcrowding: Give your cuttings ample space in their pots. Crowded conditions can lead to fungal issues and poor root development.
- Bottom Heat is Your Friend: If you can, placing your pots on a gentle heating mat can significantly speed up root formation. Eupatorium roots tend to love a little warmth.
- Don’t Rush the Transplant: When you tug gently on your cutting and feel resistance, that’s a good sign roots are forming. Be patient! It can take anywhere from 3 weeks to a couple of months to see substantial root growth.
Aftercare & Troubleshooting
Once your cuttings have developed a good root system – you can test this by gently tugging and feeling resistance, or by carefully unpotting one to peek – it’s time to give them a bit more individual attention.
Gradually acclimate your new plants to drier conditions by slowly opening the plastic bag or removing the humidity dome over a few days. Water them regularly, allowing the top inch of soil to dry out between waterings. As they grow, you can pot them up into larger containers.
The most common issue you might encounter is rot. This usually happens from too much moisture and poor airflow. If you see wilting, mushy stems, or discoloration, it’s often a sign of rot. Discard affected cuttings and try to improve ventilation and adjust your watering schedule for the remaining ones.
A Little Patience Goes A Long Way
Propagating plants is a wonderful journey of observation and anticipation. There’s a unique satisfaction in nurturing a tiny cutting into a thriving new specimen. Don’t worry if not every cutting makes it; that’s part of the learning process. Just enjoy the experience, celebrate your successes, and keep on growing! Happy gardening!
Resource:
https://identify.plantnet.org/k-world-flora/species/Eupatorium%20sessilifolium%20L./data