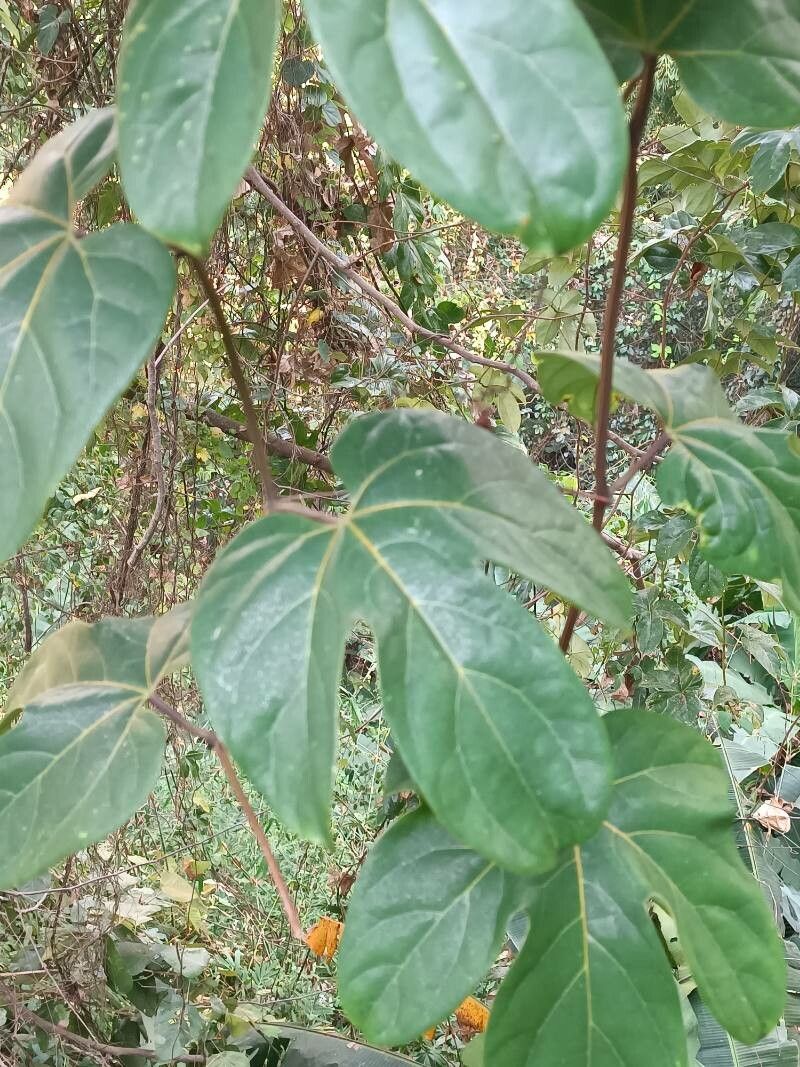
Hello, fellow plant enthusiasts! Today, we’re diving into the wonderful world of Hodgsonia macrocarpa. This striking plant, with its impressive size and lush foliage, is a real showstopper in any garden. Growing your own from cuttings or seeds is incredibly rewarding. It can be a bit of a project, but for those willing to dabble, the results are well worth the effort. Beginners might find it takes a little more patience, but don’t let that deter you!
The Best Time to Start
When it comes to coaxing new life from your Hodgsonia, spring is your golden ticket. As the plant shakes off winter’s slumber and the days lengthen, it’s bursting with energy. New growth is vigorous, and its readiness to channel that energy into roots is at its peak. Look for healthy, actively growing stems.
Supplies You’ll Need
Gathering your tools beforehand makes the whole process much smoother. Here’s what I usually have on hand:
- Sharp pruning shears or a clean knife: For making precise cuts.
- Rooting hormone powder or gel: This is a real booster!
- Well-draining potting mix: A good blend of perlite, peat moss, and coco coir works wonders.
- Small pots or seed trays: With drainage holes, of course.
- Clear plastic bags or a propagation dome: To create a humid environment.
- Optional: Heating mat: For that extra encouragement for root development.
- Watering can or spray bottle: For gentle hydration.
Propagation Methods
Hodgsonia can be propagated through a couple of key methods. I find stem cuttings to be the most reliable for getting new plants going.
Stem Cuttings:
- Select healthy stems: From your mature Hodgsonia, choose a disease-free, actively growing stem that’s about pencil thickness. Look for new growth that has just started to firm up – not too floppy and not too woody.
- Make your cut: Using your sharp pruning shears or knife, take a cutting about 6-8 inches long. Make a clean cut just below a leaf node (where leaves attach to the stem). This is where roots are most likely to form.
- Prepare the cutting: Gently remove the lower leaves, leaving just two to four at the top. This reduces water loss and prevents leaves from rotting in the soil.
- Dip in rooting hormone: Lightly coat the cut end in your rooting hormone powder or gel. Tap off any excess.
- Plant your cutting: Make a pilot hole in your prepared potting mix with a pencil or your finger to avoid knocking off the rooting hormone. Insert the cutting about 1-2 inches deep into the soil. Firm the soil gently around it.
- Create humidity: Water the soil lightly and then cover the pot with a clear plastic bag or propagation dome. Make sure the bag doesn’t touch the leaves by using stakes or clips.
The “Secret Sauce” (Pro Tips)
Over the years, I’ve learned a few tricks that really make a difference with fussier plants like Hodgsonia:
- Bottom heat is your friend! Hodgsonia roots love warmth. Placing your pots on a gentle heating mat set to around 70-75°F (21-24°C) can significantly speed up root formation. It’s like giving them a warm bath!
- Don’t let those leaves touch water. This is crucial, especially if you’re tempted to try water propagation (which can be tricky with Hodgsonia). Excess moisture on leaves can lead to fungal issues and rot. Keep them elevated and airy.
- Freshness matters. Use cuttings from the current season’s growth. Older, dormant material is much less likely to sprout new roots.
Aftercare & Troubleshooting
Once your cuttings are in their humid environment, the waiting game begins.
- Keep the soil consistently moist but not soggy. Check the soil moisture by gently poking your finger in. If the top inch feels dry, give it a light watering.
- Provide bright, indirect light. Think of a spot where the sun’s rays are softened, like under a sheer curtain. Direct sun can scorch the new cuttings.
- Be patient! Rooting can take anywhere from 4-8 weeks, or even longer. You’ll know roots have formed when you see new leaf growth or gently tug on the cutting and feel resistance.
- Watch out for rot. The biggest culprit is too much moisture and poor air circulation. If you see stems turning mushy or develop black spots, trim away the affected part and ensure the soil is draining well. Sometimes, moving the cutting to a slightly drier spot and increasing air flow can help.
Happy Growing!
Propagating Hodgsonia macrocarpa is a journey, and like any good adventure, it requires patience and a bit of faith. Don’t be discouraged if your first few attempts aren’t perfect. Each plant is a learning experience. Enjoy the process of nurturing new life, and soon you’ll have more of this beautiful specimen to share!
Resource:
https://identify.plantnet.org/k-world-flora/species/Hodgsonia%20macrocarpa%20(Blume)%20Cogn./data