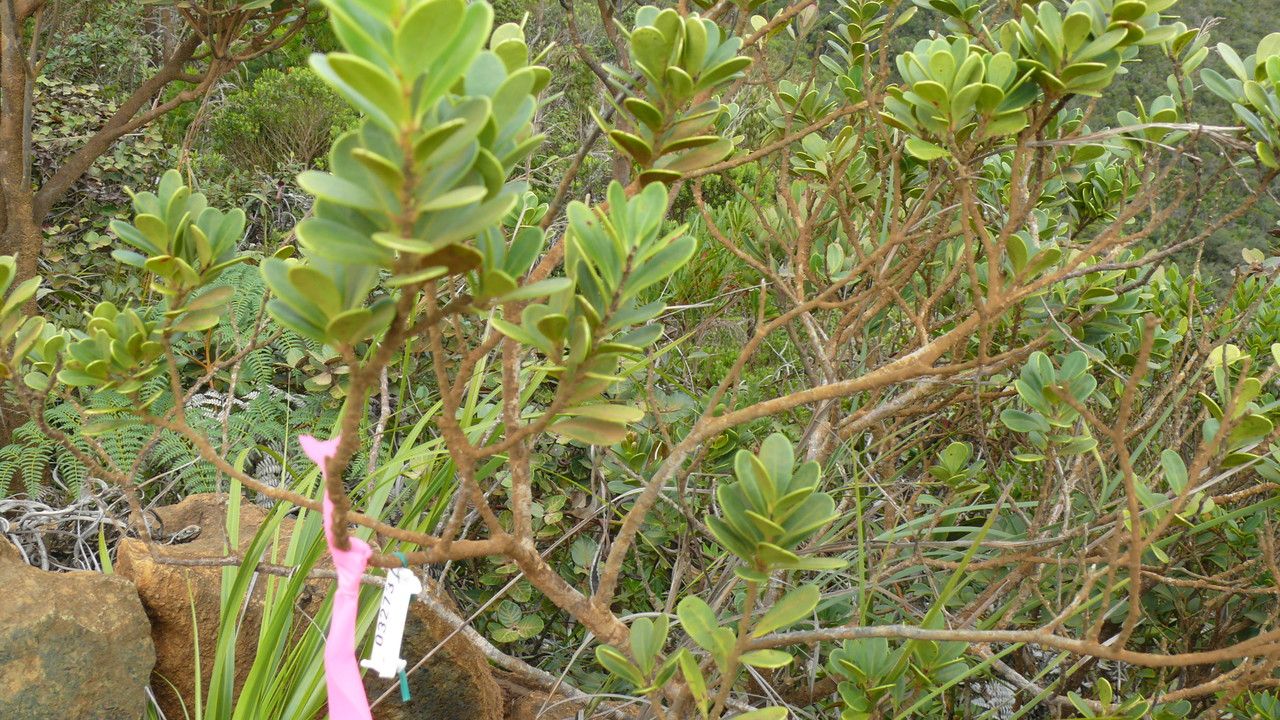
Ah, Xylosma inaequinervia! What a lovely choice for propagation. If you’ve ever admired its unique, often glossy foliage and graceful habit, you’re in for a treat. Creating new plants from your existing treasures is incredibly satisfying, and with this particular gem, it’s a wonderfully rewarding endeavor. Honestly, I’d say it’s pretty forgiving, making it a great one for those dipping their toes into propagation for the first time.
The Best Time to Start
For the most successful rooting, I find that late spring to early summer is your absolute sweet spot. This is when the plant is actively growing and has plenty of energy to put into developing new roots. You’re looking for semi-hardwood cuttings, meaning the stems are starting to firm up but aren’t yet old and woody. Think of it as that perfect pliable stage – firm enough to hold its shape but not so stiff that it snaps.
Supplies You’ll Need
To get your propagation station set up, gather these essentials:
- Sharp Pruning Shears or a Knife: Clean cuts are crucial for healthy rooting.
- Rooting Hormone: While not always strictly necessary for Xylosma, it can give your cuttings a helpful boost. I prefer a powder or gel.
- Seed Starting Mix or a Well-Draining Potting Mix: A mix that’s light and airy, like one with perlite or vermiculite, prevents waterlogging.
- Small Pots or Seedling Trays: With drainage holes, of course!
- Plastic Bags or a Propagation Dome: To create a humid environment.
- Watering Can with a Fine Rose: Gentle watering is key.
- Small Labels and a Marker: To keep track of what you’ve potted and when.
Propagation Methods
Let’s get our hands dirty! Stem cuttings are generally the most straightforward and successful method for Xylosma inaequinervia.
Stem Cuttings:
- Take Your Cuttings: Select healthy, non-flowering shoots from your mature plant. Using your sharp shears, take cuttings that are about 4-6 inches long. Make your cuts just below a leaf node (where a leaf attaches to the stem).
- Prepare the Cuttings: Gently remove the lower leaves from the bottom half of each cutting. This prevents them from rotting in the soil and encourages rooting activity at the nodes. If your cuttings have very large leaves, you can even cut them in half to reduce water loss through transpiration.
- Apply Rooting Hormone (Optional but Recommended): Dip the cut end of each prepared cutting into your rooting hormone, tapping off any excess.
- Pot Them Up: Fill your small pots with your chosen well-draining mix. Make a small hole in the center of the soil with a pencil or your finger.
- Insert the Cuttings: Place the prepared cutting’s end into the hole, making sure at least a few leaf nodes are buried in the soil. Gently firm the soil around the base of the cutting to ensure good contact.
- Water Gently: Water thoroughly but gently until water runs out the drainage holes.
- Create Humidity: Cover your pots with a plastic bag or place them under a propagation dome. This traps moisture, keeping the cuttings from drying out. Make sure the leaves don’t touch the plastic! You can use small stakes to prop the bag up if needed. Place the pots in a bright spot, but avoid direct, scorching sunlight.
The “Secret Sauce” (Pro Tips)
Here are a few tricks I’ve picked up over the years that can make a real difference:
- Bottom Heat is Your Friend: If you have the option, placing your pots on a heat mat designed for seedlings can significantly speed up root development. It mimics the warmth of spring soil and really gives those roots a good nudge.
- Don’t Overwater! This is probably the biggest mistake beginners make. The goal is consistently moist, not soggy, soil. Feel the surface; if it’s dry to the touch, it’s time to water. The humidity dome will help maintain moisture, so you won’t need to water as often as you might think.
- Be Patient with Leaf Drop: It’s not uncommon for some lower leaves to yellow and drop off. As long as the stem itself looks healthy and the tip isn’t mushy or black, there’s still hope. Don’t discard a cutting too soon!
Aftercare & Troubleshooting
Once your cuttings have developed a good root system – you can check this by very gently tugging on them; if you feel resistance, they’ve rooted, or by seeing roots poking out of the drainage holes – it’s time to transition them.
Carefully remove the plastic covering and begin gradually acclimatizing them to less humid conditions over a week or two. Continue to water as needed, keeping the soil moist. You can move them into slightly larger pots as they grow.
The main culprit for failure is usually overwatering, leading to rot. You’ll see the stem base turn mushy, black, and it might start to smell. If this happens, unfortunately, that cutting is a goner. Another sign is wilting that doesn’t perk up after watering; this can indicate the cutting never rooted or has dried out completely. Don’t be disheartened if you lose a few – it’s all part of the learning process.
A Encouraging Closing
Remember, propagation is a journey, and each new plant you nurture from a cutting is a little victory. Be patient with yourself and your little Xylosma babies. Take joy in the process, observe their progress, and soon you’ll have a whole garden of these delightful plants to enjoy or share! Happy gardening!
Resource:
https://identify.plantnet.org/k-world-flora/species/Xylosma%20inaequinervia%20Sleumer/data