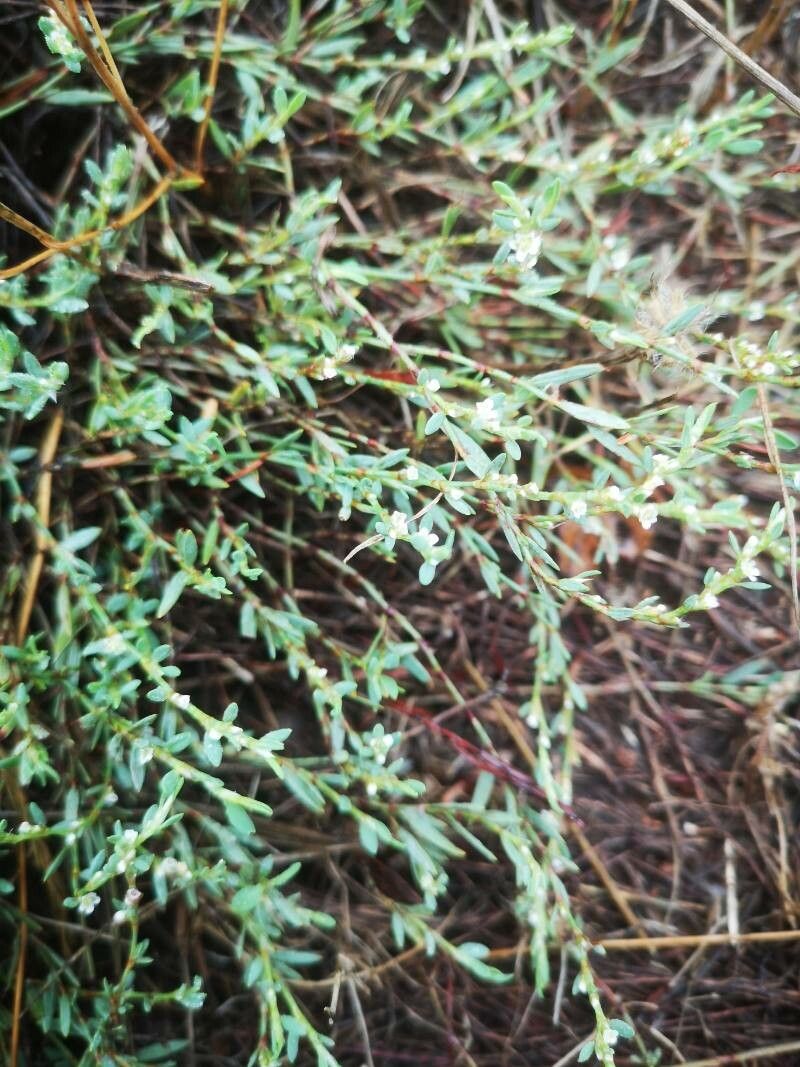
Hello there, fellow plant enthusiasts! It’s wonderful to connect with you again. Today, I want to chat about a gem in the garden that often gets overlooked for its sheer charm and resilience: Polygonum romanum. You might know it by one of its other common names, like Roman knotweed or fragrant knotweed. I absolutely adore this plant for its delicate, arching stems adorned with clusters of tiny, often fragrant, white flowers that bloom profusely, especially in the latter part of summer and into fall. It brings such a lovely, airy texture to borders and really draws in the pollinators.
If you’ve ever admired this beauty and wished you had more of it, you’ll be pleased to know that propagating Polygonum romanum is a truly rewarding endeavor. And for those of you just starting your plant propagation journey? Good news! This one is generally quite forgiving, making it a great choice for beginners.
The Best Time to Start
For the highest success rate with Polygonum romanum, I find late spring to early summer is your golden window. This is when the plant is actively growing, and the stems are still relatively soft but have begun to harden off a bit. Starting propagation as new growth emerges or just before it really kicks into high gear gives those cuttings the best chance to establish themselves before the intense heat of midsummer or the onset of dormancy.
Supplies You’ll Need
Here’s a quick rundown of what you’ll want to have on hand:
- Sharp Pruning Shears or a Craft Knife: Clean, sharp tools are essential for making clean cuts, which helps prevent disease.
- Rooting Hormone (Optional but Recommended): This is a powdered or liquid substance that encourages root development.
- A Well-Draining Potting Mix: I like to use a mix that’s roughly 50% potting soil and 50% perlite or coarse sand. This prevents waterlogging.
- Small Pots or Seed Trays: Clean containers with drainage holes are a must.
- Clearly Labeled Plant Tags: You’ll thank yourself later for knowing what’s what!
- A Plastic Bag or Clear Dome: This helps maintain humidity around your cuttings.
- Watering Can with a Fine Rose: For gentle watering.
Propagation Methods
Polygonum romanum is wonderfully adaptable, and you have a couple of excellent ways to bring new plants into being.
Stem Cuttings: My Go-To Method
This is usually the most straightforward and effective way to propagate Polygonum romanum.
- Make the Cut: Using your clean pruning shears, select healthy, non-flowering stems. Look for stems that are a few inches long and have at least two sets of leaves. Make a clean cut just below a leaf node (the point where a leaf attaches to the stem). You want cuttings that are about 4-6 inches in length.
- Prepare the Cuttings: Gently remove the lower leaves, leaving just the top two or three sets of leaves. This prevents the lower leaves from rotting in the soil. If your cuttings have particularly large leaves, you can even cut them in half horizontally to reduce water loss through transpiration.
- Dip in Rooting Hormone (If Using): Lightly moisten the cut end of the stem and then dip it into your rooting hormone powder. Tap off any excess.
- Plant Them Up: Fill your small pots or trays with your prepared well-draining mix. Make a small pilot hole with a pencil or your finger, and carefully insert the cutting, ensuring the leaf nodes are below the soil surface. Gently firm the soil around the base of the cutting.
- Water Wisely: Water thoroughly but gently until water runs out of the drainage holes.
Division: For Established Plants
If you have a more mature Polygonum romanum plant, you can also propagate it through division.
- Timing is Key: The best time for this is early spring as new growth begins to emerge, or in the fall after flowering has finished.
- Gently Unearth: Carefully dig up the entire plant. You might need a garden fork to help loosen the soil around the root ball.
- Separate the Clumps: Gently tease apart the root system into smaller sections. Each division should have a good amount of roots and at least a few healthy shoots. If the root ball is very dense, you can use a clean spade or knife to divide it.
- Replant Immediately: Replant your divisions into their new homes (either in pots or back into the garden) at the same depth they were growing before. Water them in well.
The “Secret Sauce”
Here are a couple of tricks I’ve learned over the years that can really boost your propagation success:
- The Humidity Dome is Your Friend: After planting your stem cuttings, I always cover them loosely with a clear plastic bag or pop a clear plastic dome over the tray. This creates a mini-greenhouse effect, keeping the humidity high. This is crucial because the cuttings don’t have roots to absorb water yet, and high humidity helps prevent them from drying out. Make sure the leaves don’t touch the sides of the bag if possible!
- Bottom Heat is a Game-Changer: If you have the space, placing your pots on a seed starting heat mat can significantly speed up the rooting process. The gentle warmth from below encourages root development much faster than ambient room temperature alone. It really wakes up those dormant root cells!
Aftercare & Troubleshooting
Once your cuttings have roots – you can often tell by a gentle tug test or by seeing new growth emerge – it’s time to nurture them.
Continue to keep the soil consistently moist but not waterlogged. If you’re using the humidity dome, gradually start to acclimate your new plants to drier air by lifting the bag or dome for increasing periods each day over a week or so. Once they’re robust enough, you can transplant them into their own slightly larger pots or their permanent garden spots.
What if things go wrong? The most common issue you’ll encounter is rot. This usually happens when the soil is too wet and not draining well, or if the humidity is too high for too long without any air circulation. If you see a cutting turning mushy or black at the base, it’s best to discard it to prevent further spread of disease. Don’t be discouraged; propagation is a learning process! Sometimes, a cutting just doesn’t take, and that’s perfectly fine.
A Encouraging Closing
Propagating Polygonum romanum is such a satisfying way to multiply the beauty in your garden and share it with others. Be patient with your cuttings; they work on their own timeline. Enjoy the process of watching those tiny roots unfurl and new shoots emerge. Happy propagating, everyone!
Resource:
https://identify.plantnet.org/k-world-flora/species/Polygonum%20romanum%20Jacq./data