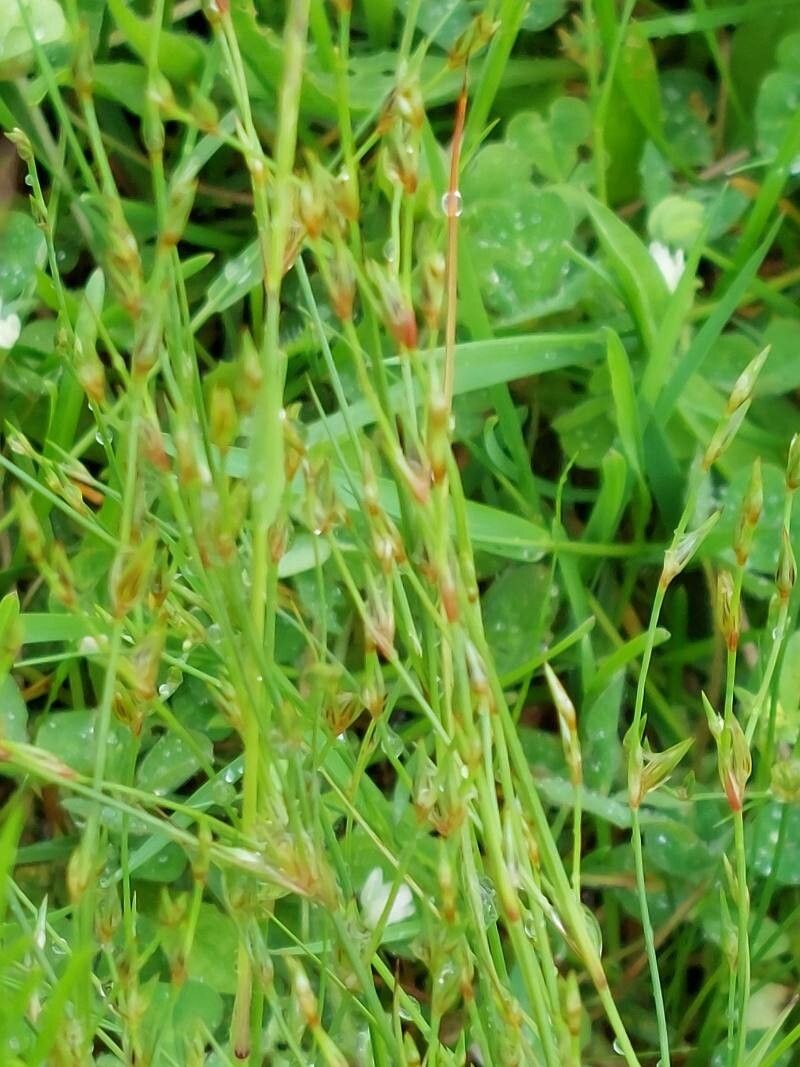
Hello there, fellow plant lovers! It’s so good to see you. Today, I want to talk about a plant that brings such a wonderful, natural texture to the garden and even to indoor spaces: Juncus foliosus, often called leafy rush or California rush. Its graceful, grass-like foliage adds movement and a touch of wild beauty. And guess what? Propagating it is less daunting than you might think, making it a great project for both seasoned gardeners and those just dipping their toes into the wonderful world of plant multiplication.
The Best Time to Start
For the highest success rate with your Juncus foliosus cuttings or divisions, aim for late spring to early summer. This is when the plant is actively growing and has plenty of energy to put into developing new roots. You’ll find it snappier and more responsive to your efforts during this vibrant period.
Supplies You’ll Need
Before we get our hands dirty, let’s gather our tools. You won’t need anything too fancy, just the usual suspects that make propagation a breeze:
- Sharp, clean pruners or a knife: Vital for making clean cuts to prevent disease.
- A well-draining potting mix: A good blend of peat moss, perlite, and a bit of sand works wonders. You can also use a seed-starting mix.
- Small pots or trays: Make sure they have drainage holes!
- Watering can or spray bottle: For gentle hydration.
- Optional: Rooting hormone: While not always strictly necessary for Juncus foliosus, it can give an extra boost.
- Optional: A clear plastic bag or propagation dome: To create a humid environment.
Propagation Methods
Juncus foliosus is quite forgiving, and propagation is usually done through division or stem cuttings.
Division (My Personal Favorite!)
This is my go-to method for rushes. It’s like giving your plant a little haircut and a chance to make more of itself.
- Gently unpot your Juncus foliosus. You can do this while the plant is still in its outdoor bed, but I prefer to work with it when it’s out of its main growing environment so I can really see what I’m doing.
- Inspect the root ball. You’ll see clumps of stems arising from a central base.
- Carefully tease apart the root ball. You can use your hands, or if it’s a bit stubborn, a clean trowel or your pruners can help. The goal is to separate sections, each with its own healthy roots and shoots.
- Ensure each section has at least a few stems and some roots. Don’t worry if some roots break; that’s natural.
- Pot up each division into its own small pot filled with your well-draining mix.
- Water gently to settle the soil.
Stem Cuttings
This method works well too, and it feels a bit like magic when you see roots form!
- Select healthy, vigorous stems from your Juncus foliosus. Look for stems that are not flowering.
- Make a clean cut just below a leaf node (where a leaf attaches to the stem). Aim for cuttings that are about 4-6 inches long. Remove any lower leaves that would be submerged in water or soil.
- Option A: Water Propagation: Place the cuttings in a small jar or glass of fresh, clean water. Make sure the leaf nodes are submerged, but try to avoid having leaves directly touching the water surface. Change the water every few days to keep it fresh.
- Option B: Soil Propagation: Dip the cut end of the stem in rooting hormone, if using. Then, gently insert the cuttings into small pots filled with your well-draining potting mix. Water gently.
The “Secret Sauce” (Pro Tips)
Here are a few things I’ve learned over the years that can really make a difference:
- Don’t be afraid to be a little rough with divisions. While we want to be gentle, sometimes the root ball can be quite dense. The key is to separate, not pulverize. Healthy root sections will look firm and white or tan, not mushy and brown.
- Humidity is your friend, especially for cuttings. Once your cuttings are in pots, you can cover them with a clear plastic bag supported by stakes (so the bag doesn’t touch the leaves) or place them under a propagation dome. This creates a mini-greenhouse effect, keeping the moisture levels high and encouraging root formation.
- Bottom heat can be a game-changer. If you’re serious about propagation and want faster results, placing your pots on a heat mat can significantly speed up root development. Juncus foliosus loves a bit of warmth at its base.
Aftercare & Troubleshooting
Once your divisions are potted or your cuttings have started to root (you’ll see new growth or feel resistance when gently tugging), it’s time for continued care.
- Watering: Keep the soil consistently moist, but not soggy. Overwatering is the most common culprit for failure, leading to root rot. If the leaves start to turn yellow and mushy, it’s a strong sign of too much water.
- Light: Place your new plants in a location with bright, indirect light. Avoid direct sun initially, as it can scorch their tender new growth.
- Transplanting: Once the roots have filled the pot or you see good new growth, you can transplant your new Juncus foliosus into larger pots or their permanent garden home.
Don’t be discouraged if not every single cutting or division makes it. Gardening is a journey, and sometimes, plants test our patience. But the reward of seeing a tiny piece of your favorite plant flourish into a new specimen is truly wonderful. Enjoy the process, celebrate your successes, and happy propagating!
Resource:
https://identify.plantnet.org/k-world-flora/species/Juncus%20foliosus%20Desf./data