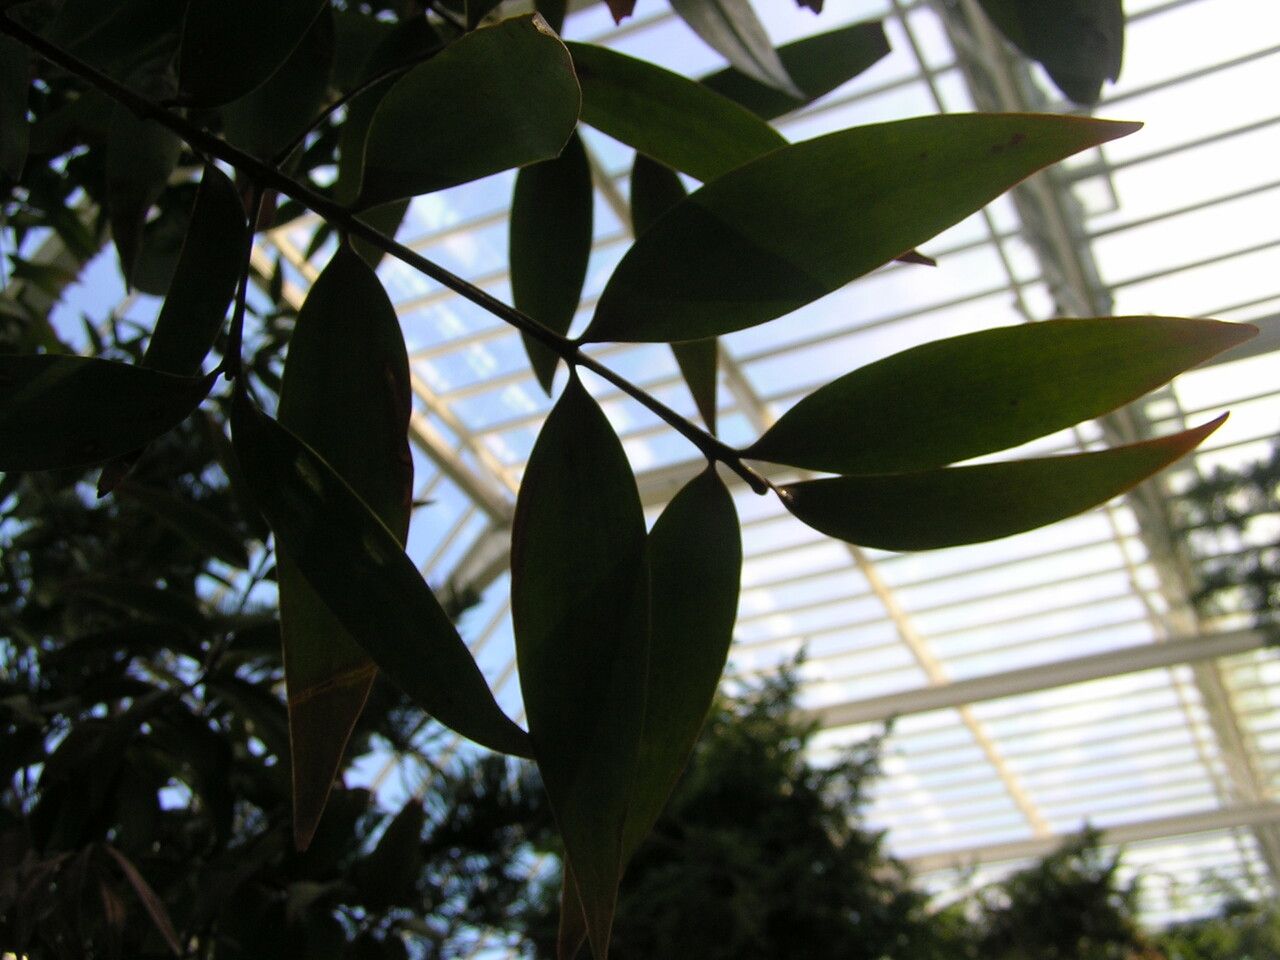
Hey there, fellow plant lovers! I’m so excited to chat with you today about a truly special tree: Agathis labillardierei, or the Tasmanian Kauri. If you’ve ever seen one of these giants, with their magnificent, broad crowns and ancient, almost prehistoric look, you know why they capture our hearts. The sheer presence they bring to a landscape is breathtaking. And the idea of nurturing one from a tiny cutting? Pure garden magic!
Now, I won’t sugarcoat it – propagating Agathis labillardierei isn’t quite a “stick it in the ground and hope for the best” kind of situation, especially for absolute beginners. But don’t let that deter you! With a little focused attention and understanding of its needs, it’s a deeply rewarding endeavor. I’ve found so much joy in watching these slow growers establish themselves, knowing I played a part in their journey.
The Best Time to Start
For the highest chance of success with your Tasmanian Kauri cuttings, aim for late spring or early summer. This is when the plant is actively growing and has plenty of reserves to put into root development. You’re looking for what we call “semi-hardwood” cuttings. These are stems that have started to firm up and lose their bright green, youthful flexibility, but haven’t become woody and mature. Think of a stem that bends without snapping easily but doesn’t feel like a twig.
Supplies You’ll Need
Gathering your tools beforehand makes the whole process smoother. Here’s what I always have on hand:
- Sharp, clean pruning shears or a sharp knife: Essential for making clean cuts that heal well.
- Potting mix: A well-draining, gritty mix is paramount. I often use a combination of perlite and peat moss, or a quality seed-starting mix with added perlite.
- Rooting hormone: While not strictly mandatory for every plant, for Agathis, it’s a game-changer. Use a powder or gel form.
- Small pots or trays: Terracotta pots are great as they allow the soil to breathe. Ensure they have drainage holes.
- Plastic bags or a propagator: To create a humid environment for your cuttings.
- Label and marker: To keep track of what you’ve planted and when.
- Watering can with a fine rose: For gentle watering.
Propagation Methods: Stem Cuttings
This is my go-to method for Agathis. It’s straightforward and effective when done correctly.
- Take Your Cuttings: On a mild day in late spring or early summer, select healthy, vigorous stems. Using your clean shears or knife, cut a piece of stem about 4-6 inches long. Make the cut just below a leaf node (where a leaf attaches to the stem).
- Prepare the Cuttings: Gently remove the lower leaves from the cutting. You want to expose at least two nodes that will be buried in the soil. If the remaining leaves are very large, you can carefully trim them in half to reduce water loss.
- Apply Rooting Hormone: Dip the cut end of the stem into your rooting hormone, tapping off any excess.
- Potting Up: Fill your pots with your pre-moistened, well-draining potting mix. Make a hole in the center of the mix with your finger or a pencil, deep enough to accommodate the leafless portion of the cutting.
- Insert Cuttings: Place the prepared cutting into the hole, and gently firm the soil around it. You can usually fit 2-3 cuttings per small pot, ensuring they aren’t touching each other.
- Create Humidity: Water gently. Then, place the pot inside a clear plastic bag or humidity dome. Ensure the bag doesn’t touch the leaves of the cuttings. For best results, seal the bag loosely at the top.
- Provide Light and Warmth: Place your pots in a bright spot with indirect sunlight. Avoid direct sun, which can scorch the cuttings.
The “Secret Sauce” (Pro Tips)
Here are a few things I’ve learned over the years that really give your cuttings a boost:
- Bottom Heat is Your Friend: For those really stubborn cuttings, a propagation mat set to around 20-25°C (68-77°F) can make a world of difference. It encourages root formation from below, mimicking ideal soil temperatures.
- Don’t Drench, Just Dampen: While humidity is key, waterlogged soil leads to rot. Check the soil moisture regularly by gently probing with your finger. It should feel consistently damp, not soggy. If it’s too wet, lift the plastic bag for a few hours to allow some air circulation.
- Patience is Truly a Virtue: Agathis are not fast propagators. It can take several months for roots to develop. Resist the urge to constantly unpot them to check for roots. Trust the process!
Aftercare & Troubleshooting
Once you start to see new growth on your cuttings, that’s a fantastic sign that roots have formed!
- Acclimatization: Once roots are established, you’ll want to slowly acclimatize your new plants to normal humidity levels. Gradually open the plastic bag or propagator over a week or two.
- Potting Up: When your new plants have developed a good root system and some visible top growth, it’s time to pot them into individual, slightly larger containers. Continue to use that well-draining potting mix.
- Watering: Water thoroughly after potting, then allow the top inch of soil to dry out between waterings.
- Common Signs of Failure: The most common pitfall is root rot, often caused by overwatering or poor drainage. Your cuttings will likely turn black and mushy. If a cutting simply wilts and dries out without rotting, it might be that it wasn’t able to form roots in time. Don’t be discouraged if some don’t make it – that’s part of learning!
A Bittersweet Farewell
Propagating Agathis labillardierei is an investment in time and patience, but the reward of nurturing a miniature version of this majestic tree is truly immeasurable. Enjoy the process, celebrate each tiny sign of progress, and know you’re growing a piece of living history. Happy propagating!
Resource:
https://identify.plantnet.org/k-world-flora/species/Agathis%20labillardierei%20Warb./data