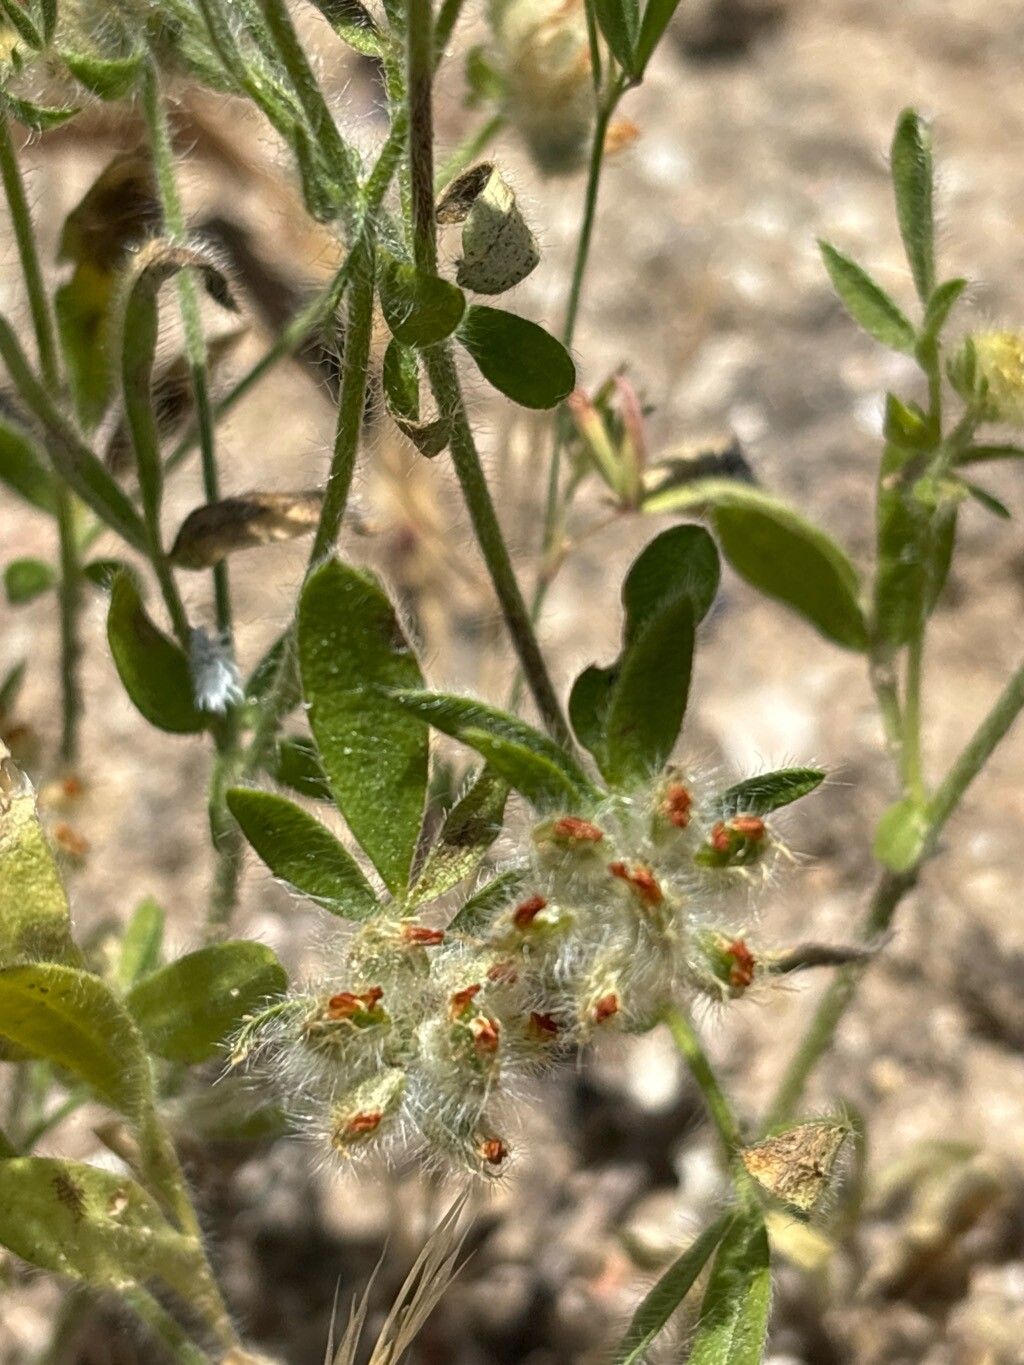
Hey there, fellow plant lovers! I’m so glad you’ve decided to dive into the wonderful world of propagating Anthyllis cornicina. If you’re drawn to its delicate, almost ethereal blooms and its charming, low-growing habit, you’re in for a treat. There’s something incredibly satisfying about taking a piece of your favorite plant and coaxing it into a whole new life. And Anthyllis cornicina? Well, it’s a lovely one to get to know a little better. While it’s not the absolute easiest plant to propagate for a complete novice, I promise it’s definitely achievable with a little care and attention. Think of it as a rewarding challenge!
The Best Time to Start
For Anthyllis cornicina, your best bet for successful propagation is late spring to early summer. This is when the plant is actively growing and has plenty of energy to put into new root development. You’ll want to take cuttings from healthy, non-flowering stems. Look for stems that are somewhat firm but still flexible – not too woody and not too soft and floppy. These are often referred to as “semi-hardwood” cuttings.
Supplies You’ll Need
Gathering your supplies beforehand makes the whole process much smoother. You’ll want:
- Sharp pruning shears or a clean, sharp knife: For making clean cuts.
- Rooting hormone powder or gel (optional but recommended): This can give your cuttings a helpful boost.
- A well-draining potting mix: I like to use a blend of perlite and peat moss (about 50/50) or a commercial succulent/cactus mix. This ensures excellent drainage, which is crucial.
- Small pots or propagation trays: Clean ones are a must!
- A plastic bag or propagation dome: To create a humid environment.
- Watering can with a fine rose or spray bottle: For gentle watering.
Propagation Methods
We’ll focus on the most reliable method for Anthyllis cornicina: stem cuttings.
- Take Your Cuttings: Select a healthy stem, about 4-6 inches long. Using your sharp pruning shears or knife, make a clean cut just below a leaf node (where the leaves attach to the stem).
- Prepare the Cuttings: Gently remove the lower leaves. You want to clear space for root development and prevent leaves from decaying in the soil. Leave just a few leaves at the top. If your cuttings are very long, you can pinch or cut off the top growth to encourage bushier root systems.
- Apply Rooting Hormone (Optional but Helpful): Dip the cut end of each stem into your rooting hormone powder or gel, tapping off any excess.
- Plant Your Cuttings: Fill your small pots or propagation tray with your well-draining potting mix. Make a small hole in the center of the soil with your finger or a pencil. Insert the cut end of your Anthyllis cornicina cutting into the hole, ensuring the leaf nodes are covered. Gently firm the soil around the stem.
- Water Gently: Water the soil thoroughly but avoid overwatering. You want the soil to be moist, not soggy.
- Create Humidity: Place each potted cutting inside a clear plastic bag, or cover your tray with a propagation dome. This creates a mini-greenhouse effect, keeping the humidity high, which is vital for cuttings that haven’t developed roots yet. Make sure the leaves aren’t touching the plastic if possible – you can use stakes if needed.
- Provide Bright, Indirect Light: Place your pots in a location that receives bright, indirect sunlight. Avoid direct sun, which can scorch the delicate cuttings.
The “Secret Sauce” (Pro Tips)
Here are a few little things I’ve learned over the years that can make a big difference:
- Don’t Be Afraid to Experiment with Multiple Cuttings: Not every cutting will take, and that’s perfectly normal! Take more cuttings than you think you’ll need. It’s a numbers game, and the more you try, the higher your chances of success.
- Bottom Heat is Your Friend: If you can, placing your propagation tray on a gentle heat mat designed for plants can significantly speed up root formation. It mimics the warmth of spring soil and gives those roots a real jumpstart. Just make sure it’s not too hot – warm, not hot!
- Air Circulation is Key: While you want to maintain humidity, you also want to prevent fungal issues. Briefly open the plastic bag or lift the dome for a few minutes each day to allow for some air exchange. This is especially important if you notice any condensation building up heavily.
Aftercare & Troubleshooting
Once your cuttings have been planted, patience is truly a virtue! Keep the soil consistently moist (remember, not wet) and the humidity high. You’ll know they’re rooting when you see new growth appearing at the tips or a gentle tug on the cutting offers resistance. This can take anywhere from 4 to 8 weeks, sometimes longer.
Once you see those signs of rooting, you can gradually acclimate your new plants to lower humidity by slowly opening the plastic bag or dome over a week or two. Then, when they seem robust enough, you can transplant them into their own small pots with a good quality potting mix.
The most common problem you might encounter is rot. This is usually a sign of too much moisture and not enough drainage. If you see stems turning mushy or black at the soil line, it’s likely rot. Unfortunately, there’s not much you can do once it sets in, so prevention is key – always use that well-draining soil and be mindful with your watering.
A Little Encouraging Closing
Watch those tiny roots form. It’s a magical process, and even if your first attempt isn’t a roaring success, learn from it! Every gardener, myself included, has lost cuttings. Just keep trying, enjoy the journey, and soon you’ll be sharing your beautiful Anthyllis cornicina with friends and family. Happy propagating!
Resource:
https://identify.plantnet.org/k-world-flora/species/Anthyllis%20cornicina%20L./data