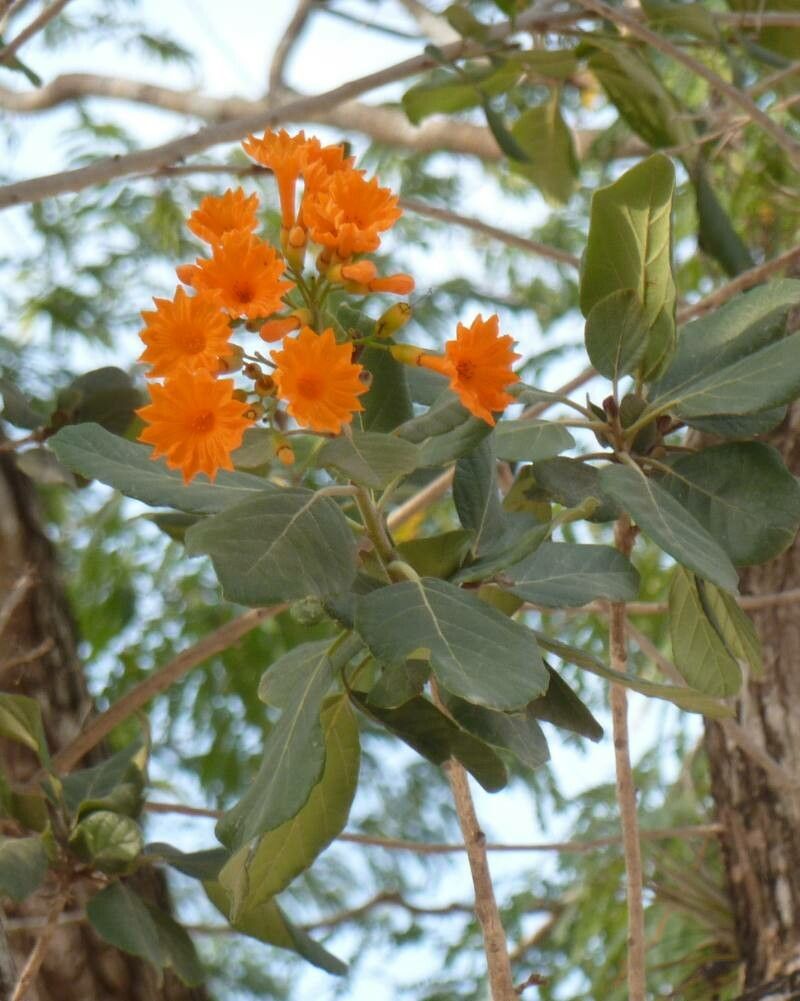
Hello, fellow plant enthusiasts! Today, we’re diving into something truly special: propagating Cordia dodecandra. You know, that stunning tropical beauty with its vibrant trumpet-shaped flowers? I’ve always been captivated by its cheerful blooms, and there’s a deep satisfaction in creating new life from a plant you already adore. If you’ve ever admired this tree and thought, “I wish I had more!”, you’re in the right place. Propagating Cordia dodecandra, while not as common as some houseplants, is certainly achievable, and I’m here to guide you through it.
The Best Time to Start
Timing is everything in the garden, and for Cordia dodecandra, the sweet spot is generally during its active growing season. Think late spring through summer. This is when the plant has plenty of energy to dedicate to putting out roots. Trying to propagate when the plant is stressed, dormant, or during periods of extreme heat or cold can make things unnecessarily difficult. We want to give our cuttings the best possible start!
Supplies You’ll Need
Gathering your tools beforehand makes the whole process smoother. Here’s what I find essential:
- Sharp Pruning Shears or a Knife: For clean cuts. Dull tools can crush stems and invite disease.
- Rooting Hormone: A powder or gel that significantly boosts your success rate by encouraging root development. I never skip this for Cordia.
- Well-Draining Potting Mix: A blend of peat moss, perlite, and coarse sand is ideal. You want it to hold moisture but not become waterlogged. Cactus or succulent mixes are a good starting point, often with added perlite.
- Small Pots or Propagation Trays: Clean pots with drainage holes are a must.
- Clear Plastic Bags or a Propagator: To create a humid environment for your cuttings.
- Water: For keeping things moist.
- Horticultural Activated Charcoal (Optional but Recommended): To prevent fungal growth in your potting mix.
Propagation Methods: Let’s Get Our Hands Dirty!
The most reliable way to get more Cordia dodecandra is through stem cuttings. It’s a tried-and-true method that works wonders for this plant.
- Select Your Cuttings: Find healthy, vigorous stems on your mature plant. Look for stems that are semi-hardwood, meaning they are no longer floppy and green but not yet woody and hard. They should be about 4-6 inches long. Remove any flowers or developing buds, as these divert energy from root formation.
- Prepare the Cuttings: Using your sharp shears, make a clean cut just below a leaf node (the point where a leaf attaches to the stem). Remove the lower leaves, leaving just a few at the top. Dip the cut end into your rooting hormone, tapping off any excess.
- Planting: Fill your clean pots with your prepared potting mix. Moisten the mix thoroughly. Make a hole in the center of the pot with your finger or a pencil, and carefully insert the cutting. Gently firm the soil around the base of the stem.
- Create Humidity: Place the potted cutting inside a clear plastic bag, forming a mini-greenhouse. You can use a plastic bag secured with a rubber band or a propagator lid. Ensure the leaves don’t touch the sides of the bag too much.
- Placement: Position the pot in a bright, but indirect light location. Avoid direct sun, which can scorch the delicate cuttings. Keep the temperature relatively warm, ideally between 70-80°F (21-27°C).
The “Secret Sauce” (Pro Tips)
Now for a few things I’ve learned over the years that can make a real difference:
- Bottom Heat is Your Friend: If you can, place your pots on a heat mat designed for plants. This gentle warmth from below encourages root development significantly. It mimics the cozy conditions underground that roots love.
- Cleanliness is Crucial: Always use sterilized tools and pots. This might sound a bit fussy, but it’s your best defense against fungal diseases, which can be devastating to cuttings. A quick dip in a bleach solution (1 part bleach to 9 parts water) and thorough rinsing works wonders.
- Don’t Overwater: While cuttings need moisture, soggy soil is the fast track to rot. The plastic bag will help retain humidity, so you’ll only need to water sparingly. Check the soil moisture by feeling it or by lifting the pot – if it feels light, it’s time for a little water.
Aftercare & Troubleshooting
Be patient! Rooting can take anywhere from 4-8 weeks, sometimes longer, depending on conditions. You’ll know your cutting has rooted when you see new leaf growth or feel a gentle tug when you try to move the stem.
Once roots have formed, gradually introduce your new plant to normal conditions. Open the plastic bag for longer periods each day over a week or so to acclimate it. Continue to water as needed, letting the top inch of soil dry out between waterings.
The most common issue you might encounter is rot. This usually looks like a mushy, black stem base. If you see this, it’s unfortunately too late for that cutting. It’s a sign of too much moisture and not enough airflow. If your cuttings start to wilt and look sad, don’t despair. Check the soil moisture – sometimes they might just be thirsty.
Happy Growing!
Propagating plants is a journey, and with Cordia dodecandra, it’s a rewarding one. There will be times when things don’t go as planned, and that’s perfectly okay. Every gardener has learned from their “failures.” The joy of nurturing a new life from a simple cutting is truly special. So, take a deep breath, gather your supplies, and enjoy the process of bringing more of this beautiful bloomer into your life. You’ve got this!
Resource:
https://identify.plantnet.org/k-world-flora/species/Cordia%20dodecandra%20A.DC./data