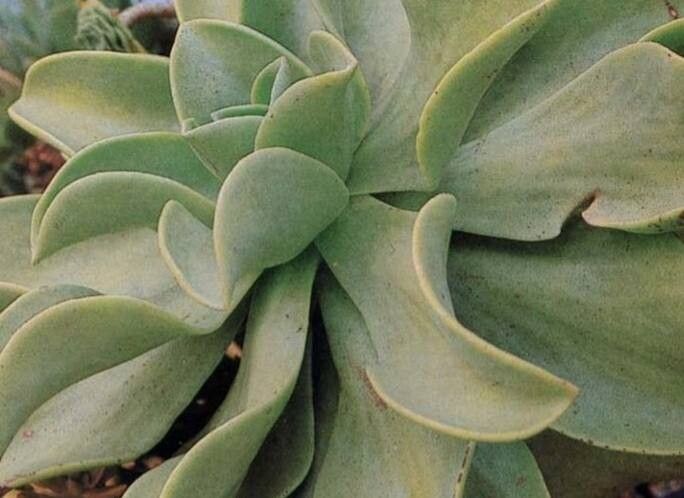
Oh, Aeonium nobile! What a stunner! Those rosettes, often tinged with a dramatic deep red, almost like velvet. They’re truly showstoppers, aren’t they? And the joy of nurturing a tiny new plant from a piece of the original? Pure garden magic, I tell you! If you’re looking for a bit of a rewarding challenge, propagating Aeonium nobile is a fantastic project. It’s not the absolute easiest succulent to start with, but with a little care and attention, you’ll have plenty of these beauties to share (or keep all to yourself!).
The Best Time to Start
For Aeoniums, spring is your golden ticket. That’s when they’re really waking up from their winter slumber, putting on new growth. Your cuttings will have the best chance of rooting and establishing themselves before the intense heat of summer or the chill of winter sets in. Aim for a period when temperatures are mild and consistent, ideally between 65-75°F (18-24°C).
Supplies You’ll Need
Here’s what you’ll want to have on hand:
- Sharp, clean pruning shears or a sharp knife: For making clean cuts.
- Well-draining potting mix: A cactus or succulent mix is perfect. You can also make your own by combining potting soil with perlite or pumice (about a 50/50 ratio).
- Small pots or seed trays: With drainage holes, of course!
- Rooting hormone (optional but helpful): Especially for stem cuttings.
- Spray bottle: For gentle watering.
- A clean surface: To let your cuttings callus.
Propagation Methods
Aeonium nobile can be propagated through a few reliable methods:
Stem Cuttings
This is usually my go-to for Aeoniums.
- Take your cut: Find a healthy stem that looks ready to grow. Using your clean shears, cut a section of stem about 3-5 inches long. It’s best to choose a stem that has at least a few leaves.
- Remove lower leaves: Gently pull off the bottom leaves from the stem.
- Let them callus: This is super important! Place the cutting on a clean, dry surface in a well-lit spot, but out of direct sun, for 2-3 days (or even up to a week). You’ll see a dry, scab-like layer form over the cut end. This prevents rot.
- Plant your cutting: Once callused, you can stick the cut end into your prepared potting mix. You can use rooting hormone at this stage if you like, dipping the end into it before planting. Make sure the stem is buried a little so it stands upright.
- Water sparingly: Give the soil a very light watering. You don’t want it soggy.
Leaf Cuttings (Less reliable for Aeonium nobile)
While some succulents root readily from leaves, Aeonium nobile can be a bit more finicky with this method. You might have some success, but stem cuttings are generally more dependable. If you do try it: take a healthy leaf (it’s best to gently twist it off the stem, ensuring a tiny bit of the stem base comes with it), let it callus for a couple of days, then lay it on top of your succulent soil. You can mist it very lightly now and then, but don’t bury it.
Division
This is a great option if your Aeonium nobile is starting to get crowded and produce offsets (baby plants) around its base.
- Gently unpot: Carefully remove the parent plant from its pot.
- Examine the roots: Look for natural divisions or offsets that have their own root systems.
- Separate carefully: Using your hands or a clean knife, gently separate the offset from the parent plant. Try to keep as much of the root system intact as possible.
- Pot them up: Allow the separated portions to callus for a day or two, then plant them in their own pots with well-draining soil. Water lightly.
The “Secret Sauce” (Pro Tips)
Here are a couple of things I’ve learned over the years that make a big difference:
- Don’t let the leaves touch the water (for water propagation): If you’re feeling brave and want to try rooting a stem in water, make sure only the cut end of the stem touches the water. If any leaves are submerged, they’ll just rot and can take your whole cutting down with them. Change the water every few days. Once you see some decent roots, transplant it into soil.
- Bottom heat is your friend: If you’re propagating in a cooler environment, placing your pots on a gentle heat mat (specifically designed for plants) can really speed up root development. Just make sure it’s not too hot; you don’t want to cook those delicate roots!
Aftercare & Troubleshooting
Once your cuttings have been planted, patience is key. For stem cuttings, you generally won’t need to water them again until you see signs of new growth or feel some resistance when you gently tug on the stem. Mist the soil lightly every week or so if the soil is bone dry, but remember, overwatering is the quickest way to kill a new succulent cutting.
Signs of failure usually point to rot. If your cutting starts to turn mushy, black, or smelly, it’s probably rotted. This is often due to too much moisture and not enough drainage or callusing time. If you see this, sadly, it’s time to discard it. If a leaf cutting shrivels up without rooting, it might have been too dry or just didn’t have the energy to start.
A Encouraging Closing
Propagating Aeonium nobile might take a little time and a keen eye, but the satisfaction of seeing those tiny roots emerge and a new plant unfurl is absolutely worth it. Don’t get discouraged if your first few attempts aren’t perfect. Every gardener learns from their plants, and each success brings you closer to understanding their needs. So, get your hands in the soil, be patient, and enjoy the gardening journey! Happy growing!
Resource:
https://identify.plantnet.org/k-world-flora/species/Aeonium%20nobile%20(Praeger)%20Praeger/data