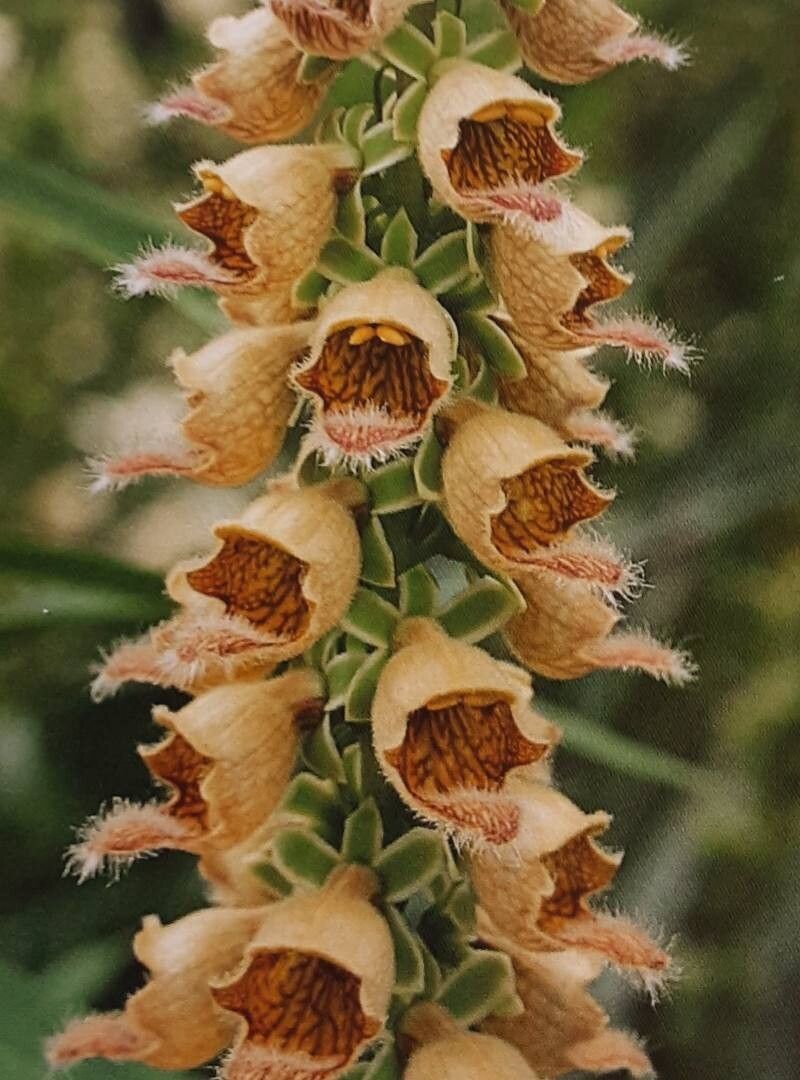
Oh, my dear gardeners, have I got a treat for you today! We’re diving deep into the world of Digitalis davisiana, that exquisite foxglove with its delicate, often palest pink to creamy white blooms and that lovely, almost ethereal sway. It’s a real stunner, isn’t it? Propagating it yourself brings such a special kind of satisfaction. You’re not just growing a plant; you’re nurturing a whole new generation from a piece of something you already love. Now, I’ll be honest, Digitalis davisiana can be a little more particular than some of your common bedding plants, but don’t let that deter you! With a bit of know-how and a gentle hand, you’ll be well on your way.
The Best Time to Start
When it comes to getting those new Digitalis davisiana plants going, timing is everything. The sweet spot, in my experience, is late spring or early summer. This is when the plant is actively growing and has plenty of energy to put into rooting. Think of it like this: the plant is bursting with life, and it’s ready to share that vitality. You’ll want to take cuttings when the stems are still relatively soft and pliable, not woody and mature.
Supplies You’ll Need
Gathering your tools before you begin makes the whole process smoother. Here’s what I always have on hand:
- Sharp, sterile pruning shears or a sharp knife: Cleanliness is key to preventing disease.
- A good potting mix for propagation: I like a blend of perlite and peat moss or coco coir. This provides excellent drainage, which is crucial. A 50/50 mix usually works wonders.
- Small pots or seedling trays: For your new babies. Make sure they have drainage holes!
- Rooting hormone (optional but recommended): A little dip in rooting hormone can really give your cuttings a confidence boost.
- A plastic bag or cloche: To create a humid environment.
- Watering can or spray bottle: For gentle watering.
- Labels and a marker: You’ll thank yourself later for knowing what’s what!
Propagation Methods
Let’s get our hands dirty! For Digitalis davisiana, I find stem cuttings to be the most reliable and rewarding method.
Stem Cuttings
- First, find a healthy, vigorous stem on your parent plant. Look for one that’s about 6-8 inches long and has at least a few sets of leaves.
- Using your sharp, sterile pruning shears, make a clean cut just below a leaf node (where a leaf attaches to the stem). This is where roots are most likely to form.
- Gently remove the lower leaves from the cutting, leaving just a few at the top. If the remaining leaves are very large, I sometimes like to cut them in half horizontally to reduce moisture loss.
- If you’re using rooting hormone, dip the cut end into the powder, tapping off any excess.
- Now, make a small hole in your prepared potting mix with a pencil or your finger.
- Carefully insert the cutting into the hole, ensuring the leaf nodes that you stripped leaves from are buried in the soil.
- Gently firm the soil around the cutting.
- Water thoroughly but gently. You want the soil to be moist, not soggy.
- Pop your pot into a clear plastic bag or cover it with a cloche. This creates a mini-greenhouse. Make sure no leaves are touching the plastic. The humidity helps prevent the cutting from drying out while it works on rooting.
- Place your cuttings in a bright spot with indirect light. Avoid direct sun, as this can scorch the tender cuttings.
The “Secret Sauce”
Here are a couple of tricks I’ve learned over the years that really make a difference:
- Bottom Heat is Your Friend: Digitalis davisiana cuttings absolutely love a bit of warmth coming from below. I often use a propagation heat mat. It encourages faster root development and significantly increases your success rate. Just a gentle warmth, mind you, not scorching hot.
- Don’t Let Those Leaves Drip: I know I mentioned this with the plastic bag, but it’s worth repeating. Condensation building up on the leaves and then dripping back onto the stem can invite rot. If you see a lot of condensation, gently wipe it off or lift the bag for a bit to allow some air circulation.
Aftercare & Troubleshooting
Once your cuttings have been in their humid little homes for a few weeks, the real magic starts to happen. You’ll know they’re rooting when you see new growth appearing at the tip or feel a gentle resistance when you lightly tug on the cutting.
- Gradual Acclimation: Once roots have formed, it’s time to start gradually introducing your new plants to normal room humidity. You can do this by slowly opening the plastic bag or cloche a little more each day over the course of a week.
- Watering: Water when the top inch of soil feels dry to the touch. Avoid overwatering, as this is the most common culprit for failure.
- Troubleshooting: The biggest enemy here is rot. If a cutting turns mushy or black and falls over, it’s likely rotted. This usually indicates too much moisture and not enough air circulation, or possibly a problem with your soil mix lacking drainage. Don’t be discouraged if a few don’t make it; it’s all part of the learning curve!
A Gentle Encouraging Closing
Propagating Digitalis davisiana is a journey, and like any good gardening endeavor, it’s about patience and observation. Don’t get discouraged if your first few attempts aren’t perfect. Each cutting you take, each plant you nurture, is a lesson learned. Enjoy the process, marvel at the resilience of these beautiful plants, and soon you’ll have a whole chorus of these stunning foxgloves gracing your garden. Happy propagating!
Resource:
https://identify.plantnet.org/k-world-flora/species/Digitalis%20davisiana%20Heywood/data