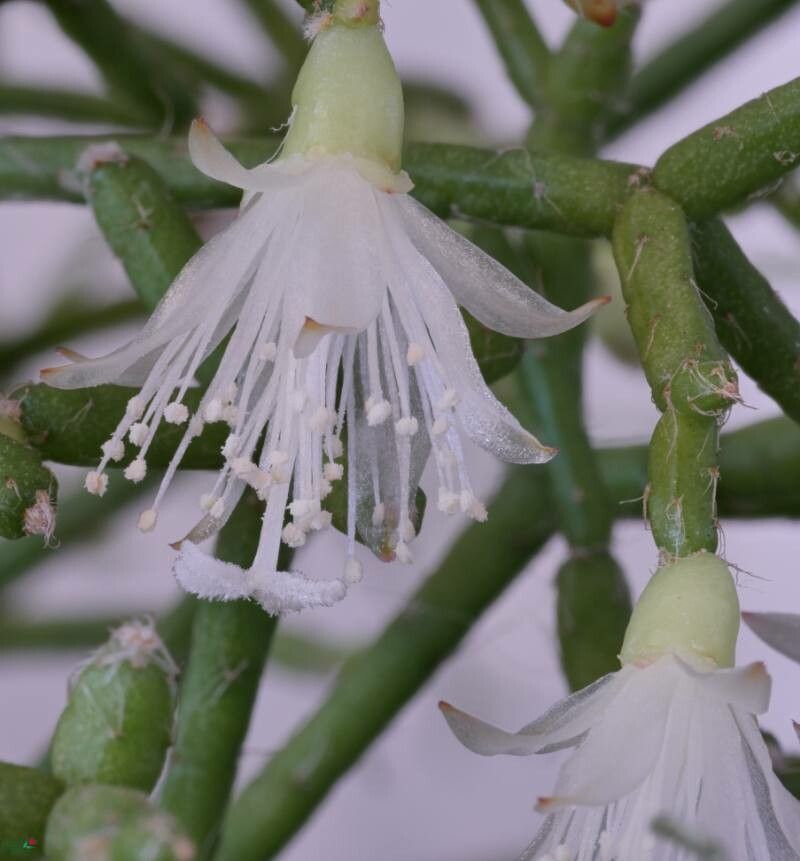
Oh, Rhipsalis cereuscula! If you’re looking for a plant that adds a touch of whimsical, jungle-y charm to your home without asking for too much fuss, this is it. Often called “Coral Cactus” or “Pencil Cactus,” its trailing stems, studded with tiny white flowers that can eventually turn into little berries, are just delightful. And the best part? Propagating it is surprisingly straightforward, making it a fantastic project for both seasoned plant parents and those just dipping their toes into the green world. I’ve successfully rooted dozens of these beauties, and I can’t wait to share how you can too.
The Best Time to Start
For Rhipsalis, a good rule of thumb is to propagate during its active growing season. That typically means late spring through summer. The plant is energized by longer days and warmer temperatures, which really gives those cuttings the best chance to establish themselves quickly. Waiting until you see new growth appearing is a great indicator that your Rhipsalis is ready for a little multiplication session.
Supplies You’ll Need
Here’s what I usually have on hand when I’m about to make some new Rhipsalis babies:
- Pruning shears or sharp scissors: Clean tools are essential to avoid introducing any sneaky pathogens.
- Rooting hormone powder or gel (optional but helpful): This can give your cuttings a little boost.
- Well-draining potting mix: I love a blend of cactus/succulent mix with a bit of perlite or pumice added in. Rhipsalis hates soggy feet.
- Small pots or trays: Yogurt cups with drainage holes poked in work in a pinch!
- Watering can or spray bottle: For gentle watering.
- A sunny, warm spot: For your new cuttings to get comfy.
Propagation Methods
There are a couple of ways to go about this, and often both work beautifully:
Stem Cuttings
This is my go-to method, hands down.
- Take your cutting: Look for healthy, mature stems. Gently twist or snip off a piece that’s at least 3-4 inches long. Don’t be afraid to take a few! You want to make sure you’re getting sections with at least a couple of joints or nodes, as that’s where new roots will emerge.
- Let it callous: This is an important step! Set your cuttings aside on a dry surface, away from direct sun, for a few days to a week. The cut end needs to dry out and form a calloused tip. This prevents rot when you plant it.
- Apply rooting hormone (optional): Once calloused, dip the cut end into your rooting hormone. Tap off any excess.
- Plant your cutting: Fill your small pots with your well-draining mix. Gently insert the calloused end of the cutting into the soil, about an inch deep. If you’re planting multiple, give them a little space.
- Water lightly: Water sparingly. Just enough to moisten the soil. You don’t want it soaking wet.
- Provide warmth and light: Place the pots in a bright spot with indirect light. They like it warm too, so a spot near a radiator or on a heat mat (if you have one) is ideal.
Water Propagation
This method is super satisfying to watch!
- Prepare your cutting: Follow step 1 and 2 from the stem cutting method above. A calloused end is still best, though some Rhipsalis are pretty forgiving.
- Place in water: Get a clean jar or glass and fill it with fresh water. Crucially, make sure the leaves of the cutting are not touching the water. Only the cut end should be submerged. You can prop them up with toothpicks if needed.
- Find a bright spot: Place the container in bright, indirect light.
- Change the water regularly: Every few days, change out the water to keep it fresh and prevent bacterial growth.
- Watch for roots: In a few weeks, you should start to see little white roots appearing. Once the roots are about an inch long, it’s time to plant them in soil.
The “Secret Sauce” (Pro Tips)
Over the years, I’ve learned a few tricks that really seem to make a difference:
- Don’t overwater that soil! Seriously, this is the number one killer of Rhipsalis cuttings. When in doubt, wait a day or two before watering again. The soil should feel dry to the touch a couple of inches down.
- Bottom heat is your friend. If you’re serious about propagating plants, especially cuttings, a small heat mat can dramatically speed up root development. It mimics the warmth of the soil that a parent plant experiences.
- A mini greenhouse effect helps. Covering your pots loosely with a plastic bag or a clear dome creates a humid environment, which young cuttings absolutely love. Just make sure to vent it daily to prevent any fungal issues.
Aftercare & Troubleshooting
Once you see signs of new growth (tiny new stems or leaves emerging), congratulations! You’ve likely got roots. Continue to water sparingly, allowing the soil to dry out between waterings. Gradually introduce your new plant to more light as it matures.
The most common problem you’ll encounter is rot. If your cutting turns mushy and black, it’s usually a sign of too much moisture. Unfortunately, rotten cuttings are usually a lost cause, but don’t be discouraged! Just discard it and try again with another cutting. Yellowing leaves on a cutting could mean it’s getting too much direct sun, or it’s just stressed. If it’s consistently mushy, it’s rot. Be patient, and observe what your little plant is telling you.
A Encouraging Closing
And there you have it! Propagating Rhipsalis cereuscula is a journey of small wonders. Don’t be discouraged if your first attempt doesn’t go perfectly; gardening is all about learning and trying. Enjoy the process of nurturing these little green shoots, and soon you’ll have a whole cascade of your very own Coral Cacti to admire and even share with friends. Happy propagating!
Resource:
https://identify.plantnet.org/k-world-flora/species/Rhipsalis%20cereuscula%20Haw./data