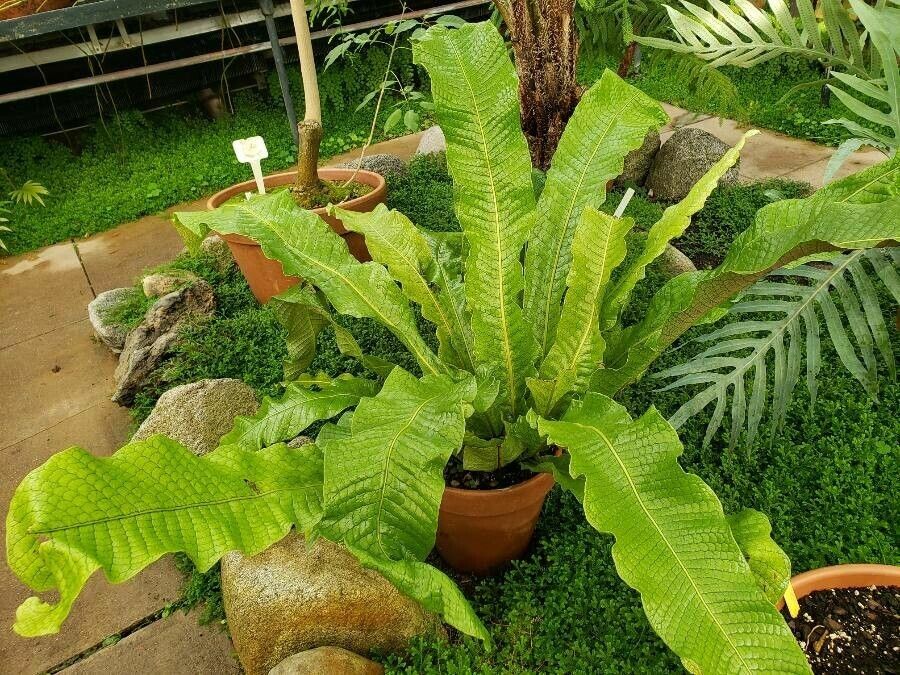
Oh, hello there, fellow plant enthusiast! I’m so excited to chat with you today about a truly magnificent fern – Thelypteris gigantea. You might know it by its common name, the Giant Sword Fern, and trust me, it lives up to that title! Its large, arching fronds bring such a lush, prehistoric feel to any shaded corner, whether it’s in your garden or brightening up a more spacious indoor spot.
Propagating this beauty is such a rewarding journey. There’s a special kind of magic in nurturing a tiny bit of a plant into a whole new, thriving specimen. Now, I want to be upfront – Thelypteris gigantea can be a little particular, so it might be a touch challenging for an absolute beginner. But don’t let that deter you! With a little patience and the right approach, you’ll absolutely be successful.
The Best Time to Start
For the highest success rate with Thelypteris gigantea, I like to start in the late spring or early summer. This is when the plant is actively growing and has plenty of energy to put into developing new roots and shoots. You’ll see fresh fiddleheads emerging, which is a sure sign the plant is ready to lend you a piece of itself.
Supplies You’ll Need
Gathering your supplies beforehand makes everything go so much smoother. Here’s what I always have on hand for fern propagation:
- Sharp pruning shears or a clean knife: For making neat cuts.
- Pots or trays: Small ones, about 4-6 inches deep, with good drainage holes.
- Well-draining potting mix: A good blend of peat moss, perlite, and a little sterilized compost works wonders. You want it to hold moisture but not get waterlogged.
- Rooting hormone powder (optional but recommended): This can give your cuttings a good head start.
- Plastic bags or a propagation dome: To create a humid environment.
- Spray bottle: For misting.
- Labeling stakes: So you don’t forget what you planted where!
Propagation Methods
Thelypteris gigantea is most commonly and successfully propagated through division. It’s the most reliable way to get a good-sized piece right from the start.
1. Division
This method involves carefully separating the established plant into smaller sections, each with its own roots and shoots.
- Gently remove the parent plant from its pot (if potted) or carefully dig around its base in the garden. Try to disturb the roots as little as possible.
- Gently shake off excess soil so you can clearly see the root structure.
- Look for natural divisions – sections where rhizomes (the underground stems) branch off, and where there are already one or more healthy fronds emerging.
- Using your clean pruning shears or knife, carefully separate these sections. You want to ensure each new division has a good portion of healthy roots attached. Don’t be afraid if you have to cut through a rhizome; just make sure both the piece you’re taking and the parent plant have roots.
- If the fronds seem a bit overwhelming for the root system, you can trim them back by about a third. This reduces water loss while the new division establishes itself.
- Pot each division into its own small pot filled with your well-draining potting mix. Make sure the top of the rhizome is just at or slightly below the soil surface.
- Water thoroughly until water drains from the bottom of the pot.
- Place the pots in a shaded, protected spot. To maintain high humidity for the first few weeks, you can cover each pot loosely with a clear plastic bag. Make sure the bag doesn’t touch the fronds; prop it up with stakes if needed.
- Mist the fronds daily to keep them hydrated.
The “Secret Sauce” (Pro Tips)
Here are a couple of things I’ve learned over the years that really boost my success with ferns like Thelypteris gigantea:
- Don’t overwater the divisions initially: While they need moisture to establish, soggy soil is the quickest way to rot away those precious new roots. Water well at first, then allow the top inch of soil to dry out a bit before watering again. It’s a delicate balance, but feeling the soil is key.
- Think about humidity, always: Ferns absolutely adore humidity. That plastic bag or propagation dome isn’t just for show; it creates a microclimate that significantly reduces stress on the new division and encourages root development. Keep it on until you see good new growth appearing.
- Consider bottom heat: If you have a heat mat, placing your potted divisions on it can really speed up the rooting process. Ferns love that gentle warmth from below, especially in cooler environments.
Aftercare & Troubleshooting
Once your Thelypteris gigantea divisions start to show new growth, you’re well on your way!
- Gradually introduce to less humidity: Once you see healthy new fronds unfurling, you can start to slowly acclimate them to lower humidity. Gradually open the plastic bag for longer periods each day, or lift the dome, over a week or two.
- Keep them out of direct sun: Continue to keep your new plants in bright, indirect light. Direct sunlight will scorch their delicate fronds.
- Watering is key: Water when the top inch of soil feels dry to the touch.
- Watch out for rot: The most common sign of failure is watching your new shoots turn mushy and brown, often starting from the base. This is usually a sign of overwatering or poor drainage. If you see this happening, carefully inspect the roots. If they are slimy and black, it’s likely rot. You might be able to salvage a healthy section if caught early.
A Encouraging Closing
Propagating Thelypteris gigantea is an adventure, and like any good adventure, there might be a few bumps along the way. But with each attempt, you learn more about these wonderful plants. Be patient, observe your little ones closely, and most importantly, enjoy the process of bringing more of these magnificent ferns into your life. Happy gardening!
Resource: