Oh, the Singleleaf Pinyon! You’ve got a good eye for beauty. Pinus monophylla is just a darling with its silvery-blue needles, all bundled together like tiny, soft charms. And its cones! They’re like little treasures holding those delicious pinyon nuts. Growing your own from scratch? That’s a truly special kind of satisfaction, watching something new unfurl from a tiny piece of a plant you love. Now, let’s be honest, propagating conifers like this isn’t always a walk in the park – it can be a bit of a challenge, especially for absolute beginners. But with a little know-how and patience, you can absolutely do it!
The Best Time to Start
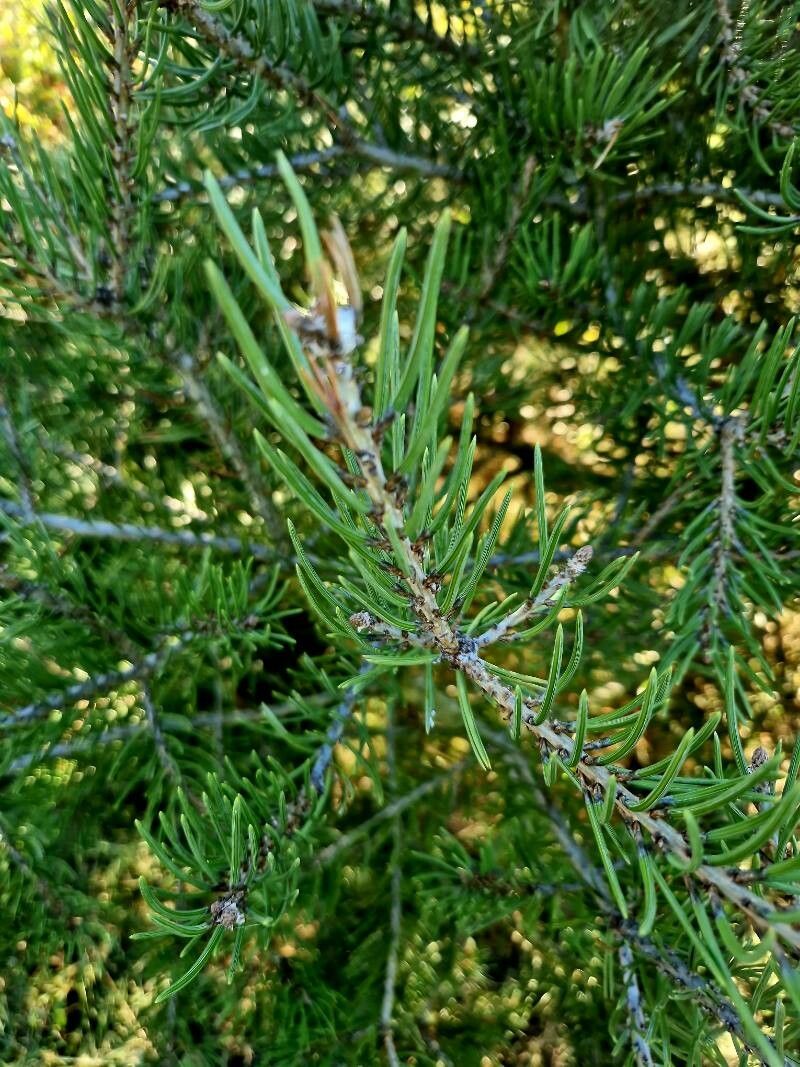
When it comes to snagging cuttings from your pinyon, I find late spring to early summer, just as the new growth is starting to firm up, is absolutely your golden window. You’re looking for what we call “semi-hardwood” cuttings. They’re not super soft and floppy like brand new shoots, but they’re not old and woody either. This stage gives them a good balance of flexibility and stored energy to really get rooting.
Supplies You’ll Need
Gathering your tools before you start makes everything so much smoother. Here’s what I usually have on hand:
- Sharp, clean pruning shears or a craft knife: For taking precise cuttings. Sterilize them with rubbing alcohol!
- Rooting hormone powder or gel: This is like a little booster shot for your cuttings. Look for one specifically for woody plants.
- Well-draining potting mix: A 50/50 blend of perlite and peat moss or coco coir works wonders. You want excellent aeration to prevent rot.
- Small pots or propagation trays: With drainage holes, of course.
- Plastic bags or a propagation dome: To create a humid environment.
- A fine misting nozzle: For gentle watering.
- A trowel or dibber: To make holes for your cuttings.
- Gravel or small stones: For the bottom of pots if you’re worried about drainage.
Propagation Methods
For Pinus monophylla, stem cuttings are your best bet. Division can be tricky with pines, and water propagation isn’t really ideal for them.
Taking Stem Cuttings:
- Select a healthy branch: Look for a stem that’s about pencil-thick and shows that slightly firm, semi-hardwood growth.
- Make a clean cut: Using your sharp shears or knife, take a cutting about 4-6 inches long. Try to make the cut just below a leaf node (where the leaves attach).
- Remove lower needles: Gently strip off the needles from the bottom 2-3 inches of the cutting. This is where the roots will emerge from. Be careful not to damage the bark.
- Apply rooting hormone: Dip the cut end into your rooting hormone, tapping off any excess. Make sure the hormone covers the area where you removed the needles.
- Prepare your pot: Fill your pot with your well-draining mix, moisten it slightly, and then use your dibber or trowel to make a hole in the center.
- Insert the cutting: Place the hormone-coated end of the cutting into the hole and gently firm the soil around it.
- Create humidity: Water the soil gently. Then, cover the pot with a plastic bag, propping it up with sticks so it doesn’t touch the needles, or place it under a propagation dome.
- Find a good spot: Place the pot in a bright location that gets indirect sunlight. Avoid direct sun, as it can scorch your delicate cuttings.
The “Secret Sauce” (Pro Tips)
Here are a couple of things I’ve learned over the years that can really give your cuttings an edge:
- Callusing is key: Before dipping in rooting hormone, some folks like to let the cut end of the cutting “callus over” for a day or two in a dry, airy spot. This can actually help prevent rot and encourage stronger root development for woody cuttings.
- Bottom heat makes a difference: If you can, put your pots on a heat mat, especially if your room is a bit cooler. This gentle warmth at the root zone encourages them to start growing roots much faster. It’s like giving them a little foot spa!
Aftercare & Troubleshooting
Once your cuttings have rooted – and this can take several weeks, sometimes even a few months – you’ll start to see new growth. You can gently tug on a cutting; if there’s resistance, you’ve got roots!
- Gradually acclimate: Once roots are established, slowly remove the plastic bag or dome over a week or so to let them get used to normal humidity.
- Water gently: Keep the soil consistently moist but not waterlogged. Overwatering is the number one enemy here!
- Watch for rot: If your cuttings start to turn black and mushy, that’s rot. It usually means too much moisture and not enough air circulation. Unfortunately, rotted cuttings are a lost cause, so remove them immediately.
- Patience is paramount: If you see no new growth, don’t despair! Some cuttings take their sweet time. Just keep them in the right conditions.
A Little Encouragement
There you have it! Propagating your Pinus monophylla is a journey, and like any good gardening adventure, it’s full of learning and discovery. Be patient with yourself and your little green hopefuls. The joy of nurturing a new tree from a tiny start is incredibly rewarding. Happy propagating!
Resource:
https://identify.plantnet.org/k-world-flora/species/Pinus%20monophylla%20Torr.%20&%20Frém./data