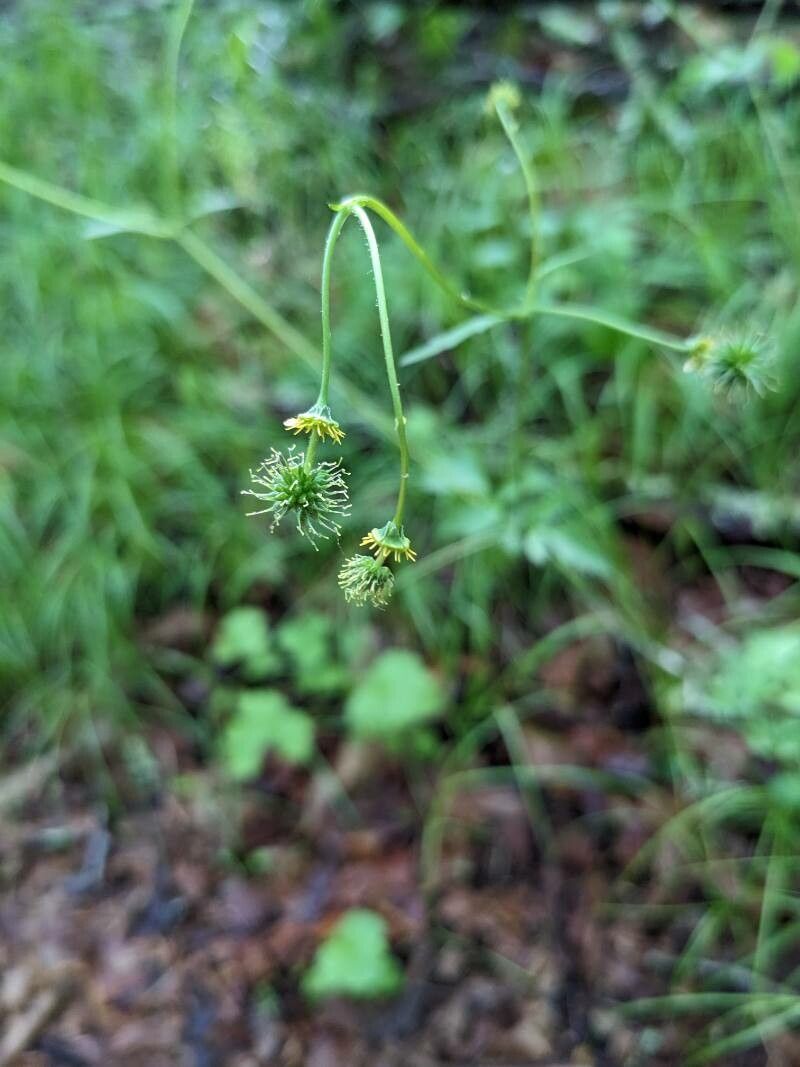
Oh, Geum vernum! You know, the one with those cheerful, often nodding yellow flowers that pop up when your garden really needs a lift. I’ve always loved them for their simple beauty and their ability to bring such delight to the early spring landscape. There’s something incredibly satisfying about multiplying these little pockets of joy, and the best part? You don’t need a fancy degree or a state-of-the-art greenhouse to do it. For a beginner, propagating Geum vernum is a wonderfully accessible gateway into the world of plant multiplication. It’s not overly finicky, and with a little attention, you’ll be rewarded with more of those sunny blooms to share or enjoy yourself.
The Best Time to Start
My go-to time for Geum vernum is late spring to early summer. This is when the plant is typically finishing up its main bloom cycle and has a good amount of healthy, new growth. You want to catch it when it’s vigorous and has plenty of energy to put into establishing new roots. Trying to propagate from older, woodier stems just doesn’t yield the same results.
Supplies You’ll Need
Here’s what I usually gather when I’m ready to get propagating:
- Sharp pruning shears or clean scissors: For making those crucial, clean cuts.
- Potting mix: A good quality, well-draining seed starting mix is ideal. You can also use a blend of peat moss and perlite.
- Small pots or trays: Clean ones, please! Small plastic pots or even repurposed food-grade containers with drainage holes work perfectly.
- Rooting hormone (optional but helpful): This is a powder or gel that encourages root development.
- Watering can or spray bottle: For gentle watering.
- Plastic bags or a propagation dome: To create a humid environment.
- Labels and a permanent marker: To keep track of what’s what!
Propagation Methods
Geum vernum is pretty forgiving, and I’ve had great luck using a couple of methods.
1. Stem Cuttings: This is my favorite for Geum.
- Select your stems: Look for healthy, non-flowering shoots that are about 3-4 inches long. Gently snap or cut them from the parent plant, making the cut just below a leaf node (where a leaf attaches to the stem).
- Prepare the cuttings: Remove the lower leaves from the cutting, leaving just a couple of sets at the top. This prevents them from rotting when buried.
- Apply rooting hormone (if using): Dip the cut end of each stem into the rooting hormone, tapping off any excess.
- Plant your cuttings: Make a small hole in your prepared potting mix with your finger or a pencil. Insert the cut end of the stem, making sure the node where you removed leaves is buried. Firm the soil gently around the base.
- Water gently: Moisten the soil thoroughly but avoid waterlogging. A spray bottle is great for this initially.
- Create humidity: Cover the pots with a clear plastic bag, or place them under a propagation dome. Just make sure the leaves aren’t touching the plastic. Open the bags daily for a few minutes to allow for air circulation.
2. Division: This is often the easiest for Geum vernum, especially in early spring before growth really takes off.
- Dig up the plant: Carefully dig up the entire clump of your Geum vernum.
- Shake off excess soil: Gently remove some of the soil from the roots so you can see the structure of the plant.
- Separate the divisions: Look for natural breaks in the root system or areas where shoots are emerging from the crown. Use your hands or a clean trowel to gently pull or cut the plant into smaller sections. Each section should have some roots and at least one healthy shoot.
- Replant immediately: Plant the divisions directly into their new homes, whether that’s pots or back into the garden. Water them in well.
The “Secret Sauce” (Pro Tips)
- Bottom heat is your friend: If you’re using stem cuttings and struggling with root development, try placing your pots on a heat mat designed for plants. Geums enjoy a little warmth at their base to encourage faster rooting.
- Don’t be afraid to experiment with timing: While late spring is my favorite, I’ve had success with early fall cuttings too, especially if the weather stays mild. Just know that they might take a little longer to root.
- Keep them out of direct sun: Once your cuttings are planted and covered, place them in a bright spot, but out of harsh, direct sunlight. Too much sun can scorch those delicate new shoots and dry them out too quickly.
Aftercare & Troubleshooting
Once you see new leaves emerging or feel a bit of resistance when you gently tug on a cutting, that’s a good sign roots are forming! Gradually acclimate your new plants to normal conditions by opening the plastic bags or dome for longer periods each day. Once they seem robust, you can remove the cover entirely. Continue to keep the soil consistently moist but not soggy.
The most common issue you’ll encounter is rot. If your cuttings look mushy or dark and slimy, it’s usually a sign of too much moisture and not enough air circulation. Prune away any affected parts immediately and try to increase air flow. Overwatering is the usual culprit here, so be mindful of that. Yellowing leaves can sometimes mean they’re not getting enough light, or they might be a little stressed from the transplanting process.
A Encouraging Closing
So there you have it! Propagating Geum vernum is really a lovely, rewarding process. Don’t get discouraged if your first few attempts aren’t perfect. Gardening is all about learning and observing. Be patient with your new little plants, give them a little TLC, and before you know it, you’ll have a whole troop of these sunny beauties to brighten your garden. Happy propagating!
Resource:
https://identify.plantnet.org/k-world-flora/species/Geum%20vernum%20(Raf.)%20Torr.%20&%20A.Gray/data