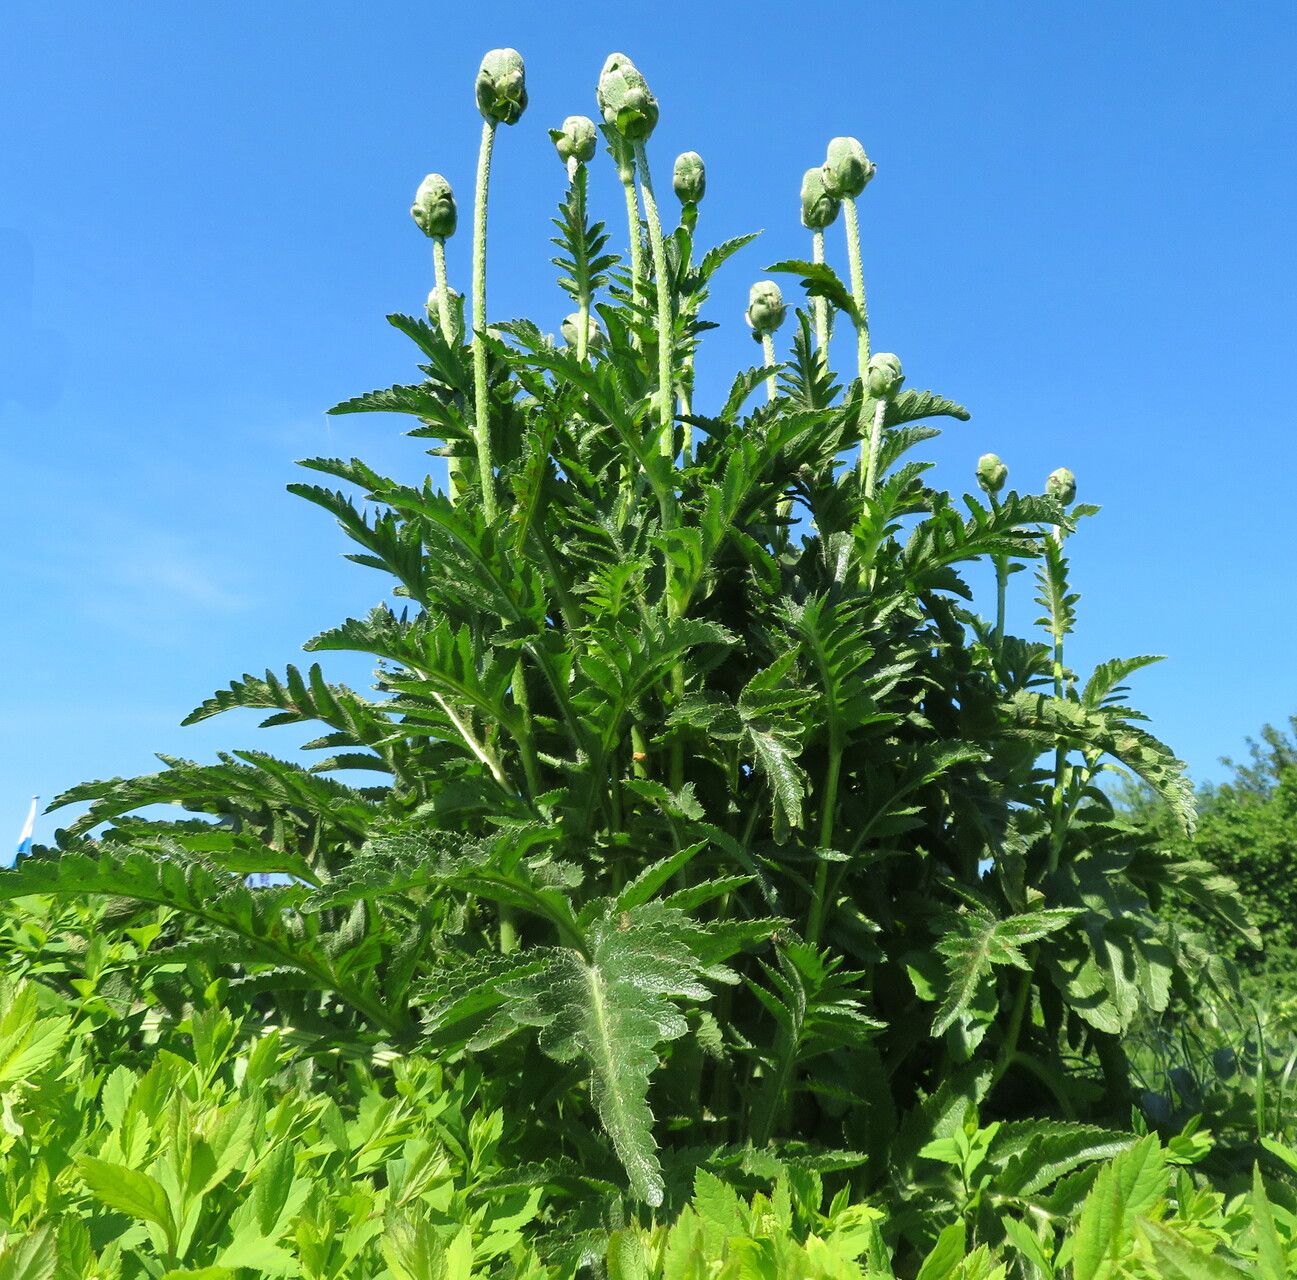
Hello, fellow garden enthusiasts! It’s so wonderful to connect with you today. I’m thrilled to share my passion for a truly stunning bloom: Papaver bracteatum, or the Iranian Poppy. If you haven’t met this beauty, imagine large, vibrant scarlet flowers, often with that characteristic deep black blotch at the base, standing tall and proud. They add such a dramatic flair to any border, and honestly, being able to grow more of them yourself is incredibly satisfying.
Now, the million-dollar question: is it easy for beginners? I’d say Papaver bracteatum is a moderately challenging plant to propagate. It’s not as foolproof as, say, a spider plant, but with a little care and attention, you’ll be rewarded with success. The journey is part of the magic, really.
The Best Time to Start
For the highest success rate with Papaver bracteatum, I always recommend working with dormant roots in late winter or very early spring. This is typically before the first flush of new growth really takes off. Think of it as catching the plant when it’s quietly gathering its strength. Waiting until after the plant has flowered and is heading towards dormancy in summer is also an option, but my personal preference leans towards that pre-spring awakening.
Supplies You’ll Need
Gathering your tools beforehand is always a good idea. Here’s what I keep on hand:
- Sharp pruning shears or a clean knife: For making clean cuts.
- Well-draining potting mix: A seed starting mix or a blend of peat moss, perlite, and a little sand works wonders. Avoid anything that holds too much moisture.
- Small pots or trays: Clean and with drainage holes, of course!
- Rooting hormone (optional but recommended): A powder or gel can give your cuttings a helpful boost.
- Labels and a marker: So you know what you’ve planted where!
- A watering can with a fine rose: To water gently.
- A propagation mat or warm windowsill: For that gentle bottom heat.
Propagation Methods
While Papaver bracteatum can be a bit fussy, the most reliable method I’ve found is division of its root system. Seeds can be tricky to germinate and often require specific stratification, so let’s focus on what most gardeners find more achievable.
Root Division:
- Prepare for Digging: As mentioned, the best time is when the plant is dormant, usually late winter or early spring. Gently dig up the entire plant with a fork or spade, being careful not to damage the main root ball too much.
- Clean the Roots: Gently shake off excess soil. You can even rinse them lightly under cool water if needed to get a better look at the root structure.
- Identify Division Points: Look for areas where the root system naturally splits or where you can see distinct buds or points of potential new growth. You want each section to have at least one healthy eye or bud and a good portion of root attached.
- Make the Cut: Using your sharp shears or knife, carefully divide the root ball. Make clean cuts. If the roots are very thick, you might need a bit of force, but try to be precise.
- Prepare for Planting: Trim away any damaged or mushy roots. You can apply a bit of rooting hormone to the cut surfaces if you’re using it.
The “Secret Sauce” (Pro Tips)
Here are a couple of things I’ve learned over the years that really make a difference:
- Don’t Overwater Initially: This is crucial! After dividing and replanting, water thoroughly once to settle the soil. Then, resist the urge to water again until the soil surface feels dry to the touch. Papaver bracteatum roots are prone to rot if they sit in soggy conditions, especially when they’re trying to establish.
- Embrace Bottom Heat: For the quickest and most robust root development, I find placing the potted divisions on a propagation mat set to a consistent 65-70°F (18-21°C) makes a noticeable difference. It encourages those roots to wake up and get growing.
Aftercare & Troubleshooting
Once your divided roots are replanted, keep them in a bright spot but out of direct, scorching sun. Water them as I mentioned – let the soil dry out a bit between waterings. You’ll know they’re settling in when you start to see new leafy growth emerge from the top.
The most common sign of failure will be rot. If the soil stays constantly wet, or if you see parts of the root turning black and mushy, that’s a red flag. Sadly, at that point, it’s usually too late to save that particular division. Sometimes, if you catch it early, you can try gently drying out the roots and repotting in fresh, dry soil, but prevention is key here.
A Encouraging Closing
Growing plants is a journey of learning and patience, and propagating Papaver bracteatum is no different. Don’t be discouraged if not every division takes. Celebrate the successes, learn from any setbacks, and most importantly, enjoy the process of nurturing these beautiful poppies into being. Happy gardening, everyone!
Resource:
https://identify.plantnet.org/k-world-flora/species/Papaver%20bracteatum%20Lindl./data