Bringing More Eastern Gamagrass to Your Garden: A Guide to Propagating Tripsacum dactyloides
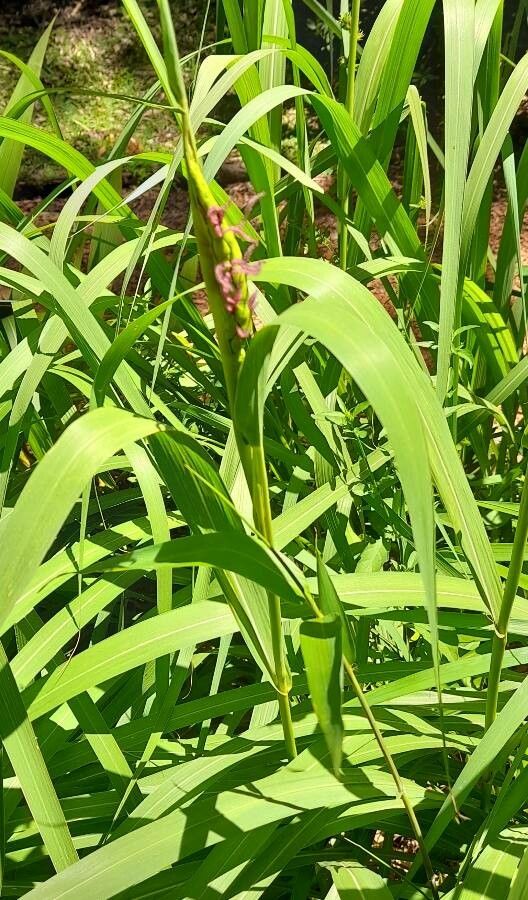
Ah, Tripsacum dactyloides, or Eastern Gamagrass, as it’s affectionately known. If you’ve ever admired those tall, graceful clumps of grass with their dramatic seed heads that look like miniature corn cobs, you know exactly why this native charmer is worth getting to know better. It’s a fantastic choice for adding structure and pollinator support to the garden, especially in wetter areas. And the best part? You can easily multiply your own plants! For a beginner, I’d say propagating division is your absolute best bet here – it’s very forgiving.
When to Get Your Hands Dirty
The absolute sweet spot for propagating Eastern Gamagrass is late spring to early summer, right when the plant is actively growing but before the serious heat of midsummer sets in. You want to catch it in a vigorous growth phase. Doing it in early spring, as soon as the ground is workable, is also a great option for divisions.
What You’ll Need
Gathering your supplies beforehand makes the whole process so much smoother. Here’s what I usually have on hand:
- Sharp trowel or spade: For digging and dividing.
- Pruning shears or a sharp knife: To clean up roots or trim foliage.
- Watering can: For a gentle, consistent watering.
- A good quality compost or garden soil: To replant your divisions.
- Compost bin or wheelbarrow: For teasing apart clumps.
- Optional: Strong twine or bungee cords: To tie back foliage if it gets unwieldy.
Making More Gamagrass: The Magic of Division
For Tripsacum dactyloides, division is truly the king of propagation methods. It’s simple, effective, and gives your new plants a strong start.
- Prepare the Mother Plant: In late spring or early summer, water your existing clump thoroughly a day or two before you plan to divide. This makes it easier to work with.
- Dig It Up: Carefully insert your trowel or spade around the perimeter of the clump, digging deep enough to go under the majority of the roots. Gently rock the tool back and forth to loosen the mass. You might need to dig on a few sides to fully free it.
- Divide the Clump: Once the clump is out of the ground, you can either use your spade to slice through it, or you can often gently pull the root ball apart with your hands. Look for sections that have healthy roots and at least a few shoots. If the root ball is dense, a sharp spade or even a serrated knife can be your friend. The key is to avoid tearing the roots excessively; aim for clean breaks.
- Replant Immediately: As soon as you have your divisions, replant them in their new spots or pot them up. Dig a hole that’s large enough to accommodate the root system of your division. Plant it at the same depth it was growing before.
- Water Well: Give your newly planted divisions a generous drink of water. This helps settle the soil and reduces transplant shock.
My “Secret Sauce” for Success
Over the years, a few little tricks have really upped my success rate with divisions:
- Don’t be afraid to be a bit ruthless: Sometimes, very old clumps can be tough to break apart. If you have a really dense section that’s not budging, a sharp spade is your best bet. Just be sure to make a clean cut.
- Trim the foliage of your divisions: New transplants have to establish their root systems before they can support a lot of leafy growth. I’ll often trim back the leaves of the divisions by about a third. This reduces water loss through transpiration and allows the plant to focus its energy on root development.
- Give them a little TLC: If you can, add a handful of compost to the planting hole. Eastern Gamagrass loves rich soil, and this gives your new plants a nutrient boost right from the start.
Aftercare and What to Watch For
Keep an eye on your newly planted divisions, especially during the first few weeks.
- Consistent Moisture: They’ll need consistent moisture, not soggy bottoms, but the soil should not be allowed to dry out completely. This is especially true as they settle in.
- Signs of Greening Up: The best sign of success is seeing new shoot growth appear. This usually happens within a couple of weeks to a month, depending on the weather.
- Signs of Trouble: If you see yellowing leaves on new growth, it could mean it’s getting too much or too little water. If a division just seems to wilt and not recover, and the roots look mushy and discolored, that’s a sign of rot, usually from overwatering. In that case, you might try to gently lift it, trim away any rotten roots, and replant in slightly drier soil, watering more judiciously.
Happy Growing!
Propagating Eastern Gamagrass is such a satisfying way to expand your native plant collection. Don’t get discouraged if one or two don’t take right away; gardening is always a journey. Be patient, enjoy the process of nurturing new life, and soon you’ll have more of this beautiful grass to share with your garden and friends. Happy planting!
Resource:
https://identify.plantnet.org/k-world-flora/species/Tripsacum%20dactyloides%20(L.)%20L./data