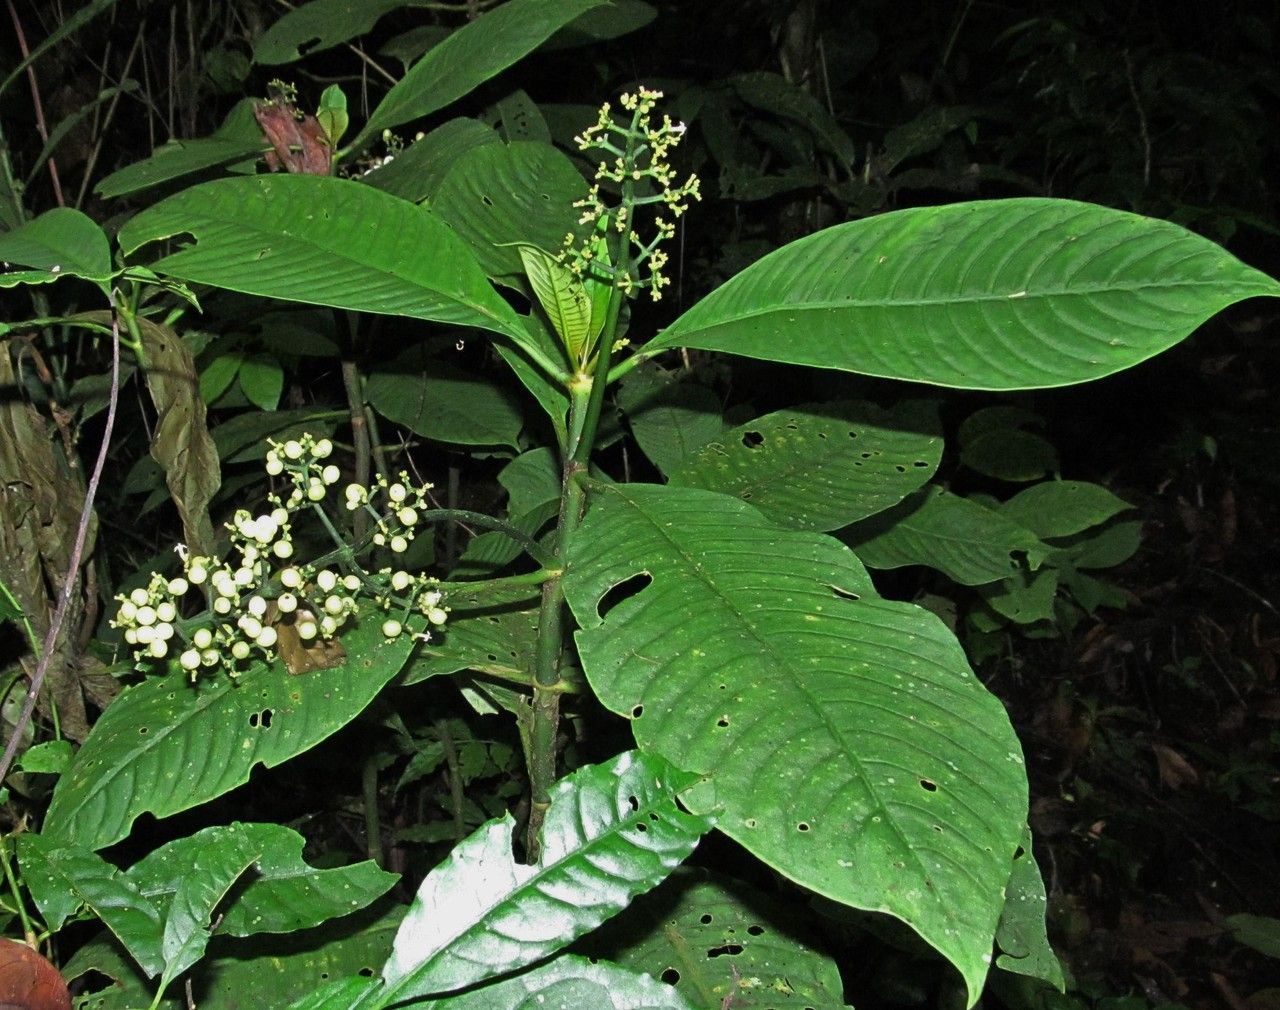
Hey there, fellow plant lovers! I’m so excited to chat with you today about a truly special plant: Notopleura aggregata. If you’ve ever seen this beauty gracing a garden or a friend’s home, you know its charm. Its lush foliage and, depending on the variety, delightful little blooms are just a joy to behold. And the best part? Propagating it yourself is incredibly rewarding. It’s like creating a little piece of your garden’s magic to share or expand with. Now, I wouldn’t call Notopleura aggregata a tricky plant, but it does have its little quirks. A beginner can absolutely succeed, but paying attention to a few key details will make all the difference.
The Best Time to Start
The sweet spot for propagating Notopleura aggregata is during its active growing season. Think late spring through early summer. This is when the plant is putting on new growth, which means it has plenty of energy to dedicate to forming roots. Starting at this time gives your new propagates the longest stretch of good weather to establish themselves before things cool down.
Supplies You’ll Need
Gathering your tools beforehand makes the whole process smoother. Here’s what I usually have on hand:
- Sharp Pruning Shears or a Clean Knife: For making clean cuts.
- Rooting Hormone (Optional but Recommended): A little boost can speed things up. Look for one formulated for stem cuttings.
- Well-Draining Potting Mix: A blend of equal parts peat moss or coco coir, perlite, and a bit of seed-starting mix works wonderfully.
- Small Pots or Seed Trays: With drainage holes, of course!
- Clear Plastic Bags or Propagation Domes: To create a humid environment.
- Watering Can or Spray Bottle: For gentle watering.
- Labels: To keep track of your new plants!
Propagation Methods
Let’s get our hands dirty! I find propagating Notopleura aggregata is best done through stem cuttings. It’s straightforward and usually yields great results.
Propagating by Stem Cuttings:
- Select Your Stem: Look for a healthy, non-flowering stem on your mature plant. A good cutting will be about 4-6 inches long and have at least two sets of leaves. Make your cut just below a leaf node (where a leaf attaches to the stem). This is where the magic happens for root formation.
- Prepare the Cutting: Gently remove the lower leaves from the cutting, leaving just the top couple of sets of leaves. If the remaining leaves are quite large, you can trim them in half to reduce water loss.
- Apply Rooting Hormone (Optional): Dip the cut end of the stem into your rooting hormone, shaking off any excess.
- Plant Your Cutting: Fill your small pots with your prepared potting mix. Make a small hole in the center with your finger or a pencil. Gently insert the cut end of the stem into the hole, ensuring the leaf nodes that were removed are below the soil surface.
- Firm the Soil: Lightly firm the soil around the stem to ensure good contact.
- Water Gently: Water the soil thoroughly but gently until water drains from the bottom.
- Create Humidity: Cover the pot loosely with a clear plastic bag or a propagation dome. This will trap moisture and create a humid microclimate, which is crucial for preventing the cuttings from drying out.
The “Secret Sauce” (Pro Tips)
Here are a couple of little tricks that have really helped me over the years:
- Don’t Let Leaves Touch the Water: If you happen to be experimenting with water propagation (which I sometimes do for Notopleura if I’m feeling brave!), always ensure the leaves of your cutting are not submerged in the water. Only the stem should be in the water. Leaves sitting in water tend to rot quickly and can take your whole cutting down with them.
- Bottom Heat is Your Friend: If you can, give your cuttings a little warmth from below. Using a heating mat specifically designed for plant propagation can significantly speed up root development. It mimics the warm soil conditions that the plant naturally prefers. Just don’t let the heat get too intense!
Aftercare & Troubleshooting
Once your cuttings are planted under their cozy domes, place them in a spot with bright, indirect light. Avoid direct sun, which can scorch those tender new leaves. Keep the soil consistently moist but not waterlogged. You want it to feel like a wrung-out sponge.
You’ll know your cuttings are rooting when you see new leaf growth, or if you gently tug on the cutting and feel some resistance. This usually takes anywhere from 4-8 weeks. Once they’ve got a good root system, you can gradually acclimate them to normal room conditions by slowly increasing ventilation over a few days.
The most common issue you’ll face is rot. If a cutting turns black and mushy at the base, it’s likely too wet and not getting enough air circulation. If you see this happening, remove the affected cutting immediately and check the moisture levels of your other cuttings. Sometimes, a bit of fungal powder can help, but often it’s about adjusting watering and humidity.
A Encouraging Closing
Propagating plants is such a wonderful way to connect with nature and deepen your understanding of their life cycles. Notopleura aggregata is a plant that’s worth the effort, and you’ll be so proud when you see those first tiny roots appear. Be patient with yourself and your new little plant babies. Enjoy the journey, and before you know it, you’ll have a whole collection! Happy propagating!
Resource: