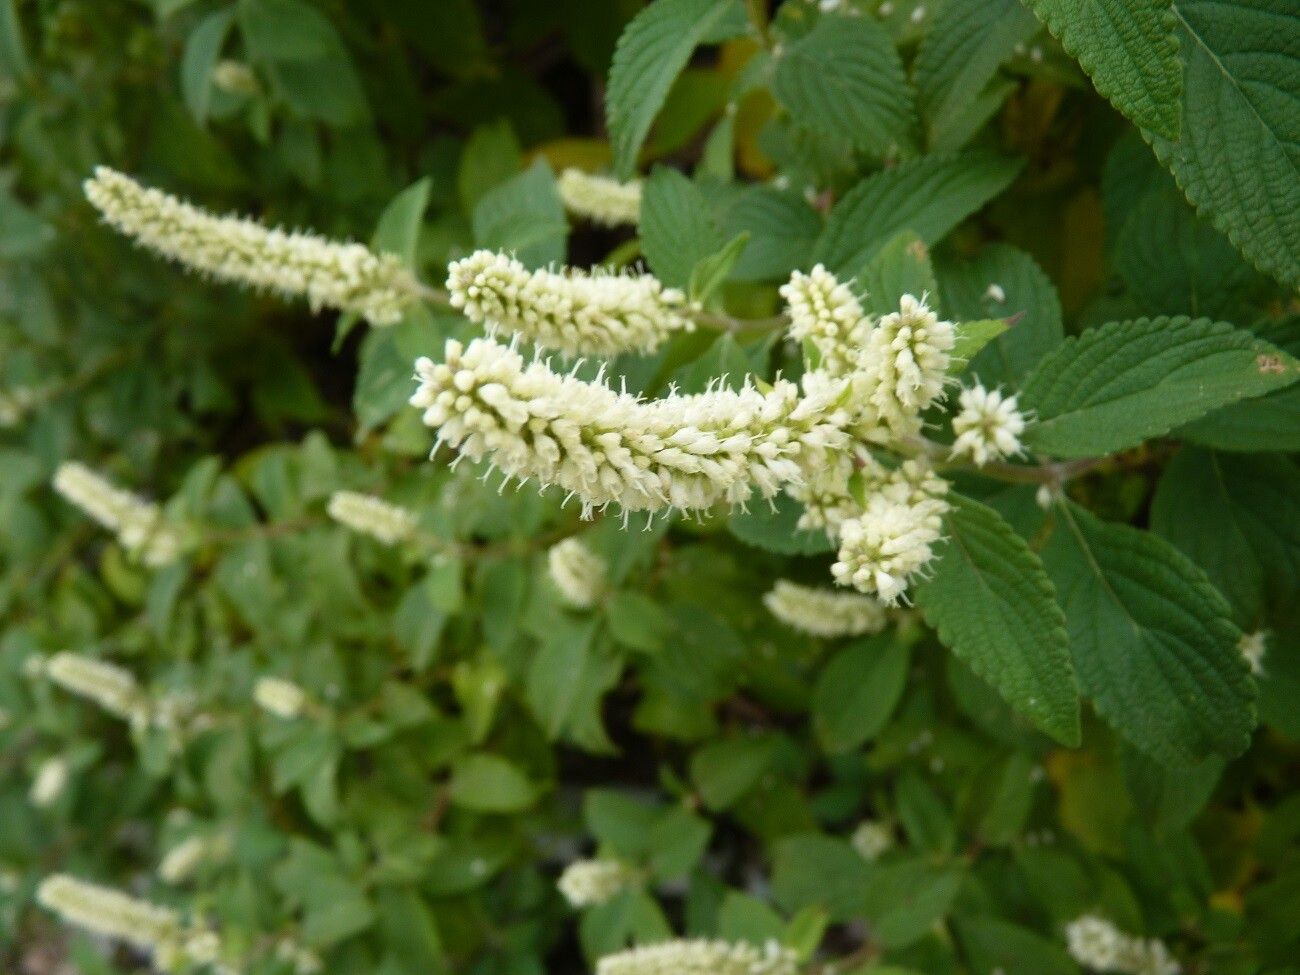
Hello there, fellow plant lovers! It’s so lovely to have you join me for a chat about one of my favorite garden treasures: Elsholtzia fruticosa. If you’re drawn to plants that offer a delightful fragrance and a bush of delicate, tiny flowers, you’re going to adore this one. Its soft, velvety leaves release a wonderful scent when brushed, and it hums with life thanks to the bees and butterflies it attracts.
Now, about propagating Elsholtzia fruticosa. I’ve found it to be quite amenable, which is wonderful news for those of you just dipping your toes into the world of plant propagation. You’ll be rewarded with new plants to share or to fill your garden with even more of this charming shrub. Don’t be shy; it’s a joy to work with!
The Best Time to Start
For Elsholtzia fruticosa, the absolute sweet spot for taking cuttings is in late spring to early summer. This is typically when the plant is in active growth, and those new, semi-hardened stems have just the right amount of flexibility and vigor to root successfully. You’re looking for stems that have stopped being super soft and floppy but aren’t yet woody and hard.
Supplies You’ll Need
Gathering your materials beforehand makes the whole process so much smoother. Here’s what I always have on hand:
- Sharp pruning shears or a craft knife – clean is key!
- A good quality seed-starting mix or a blend of peat moss and perlite (about 50/50).
- A tray or pot with drainage holes.
- Rooting hormone (optional, but it can give things a boost).
- A plastic bag or a propagator lid to create a humid environment.
- A spray bottle filled with water.
- A dibber or a pencil for making planting holes.
Propagation Methods
Let’s get our hands dirty! Stem cuttings are my go-to for Elsholtzia fruticosa, and I’ll walk you through it.
- Select Your Cuttings: Head out to your Elsholtzia fruticosa plant. Look for healthy stems about 4-6 inches long. You want to snip just below a leaf node (where a leaf attaches to the stem).
- Prepare the Cuttings: Gently remove the lower leaves from the cutting. You only want to leave a few leaves at the very top to help with photosynthesis. If the remaining leaves are very large, you can even pinch them in half to reduce water loss.
- Apply Rooting Hormone (If Using): Dip the cut end of the stem into your rooting hormone. Tap off any excess.
- Plant Your Cuttings: Fill your pot or tray with your prepared soil mix. Moisten the soil thoroughly so it’s damp but not soggy. Use your dibber or pencil to create holes in the soil. Carefully insert the cut end of each stem into a hole, making sure the leaf nodes are buried. Gently firm the soil around the base of each cutting.
- Create a Humid Environment: Water the soil again gently with your spray bottle. Cover the tray or pot with a clear plastic bag or a propagator lid. This traps moisture and keeps humidity high, which is crucial for cuttings to root. Make sure the leaves don’t touch the plastic if possible – if they do, you can prop up the bag with a few sticks.
The “Secret Sauce” (Pro Tips)
I’ve learned a few little tricks over the years that can really make a difference.
- Bottom Heat is Your Friend: If you have the ability, placing your propagating tray on a gentle heat mat can significantly speed up the rooting process. It’s like giving those developing roots a cozy little incubator.
- Don’t Drown Your Cuttings: While humidity is vital, avoid overwatering the soil. Soggy soil can lead to rot. I like to check the soil moisture by gently pressing my finger into it. If it feels dry about an inch down, it’s time to add a little water.
- Patience with the Plastic: After you’ve covered your cuttings, resist the urge to lift the lid constantly. Every time you open it, you lose precious humidity. Only do so for watering or to check for excessive condensation that might indicate too much moisture.
Aftercare & Troubleshooting
Once you see signs of new growth, like tiny leaves appearing, or if you gently tug on a cutting and feel resistance, it’s a good sign that roots are forming!
At this stage, you can begin to gradually acclimate your new plants to drier air. Start by opening the plastic bag or prop lid for a few hours each day. Once they seem happy with this, you can remove the cover completely. Continue to keep the soil consistently moist but not waterlogged.
If your cuttings turn yellow and mushy, or simply shrivel up and die, it’s usually a sign of root rot due to overwatering, or they may have simply dried out too much. Don’t be discouraged if some don’t make it – it happens to the best of us! You can often tell if rot has set in; the stem will feel soft and discolored.
A Little Encouragement
So there you have it! Propagating Elsholtzia fruticosa is a truly rewarding endeavor. Enjoy the process of nurturing these new little lives. Be patient, watch for those tiny signs of life, and revel in the abundance you’ll create. Happy propagating!
Resource:
https://identify.plantnet.org/k-world-flora/species/Elsholtzia%20fruticosa%20(D.Don)%20Rehder/data