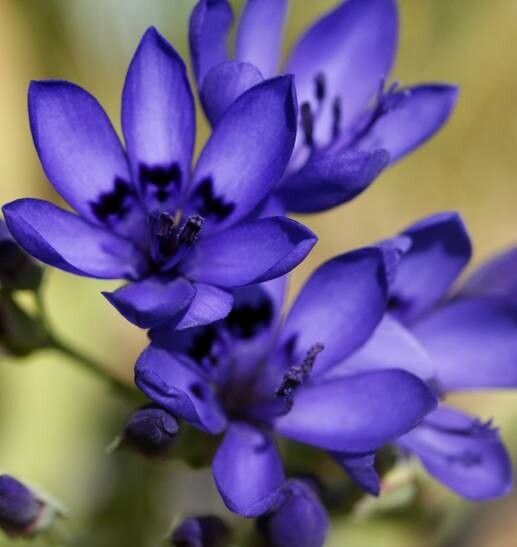
Hello, fellow plant enthusiasts! I’m so excited to chat with you today about a truly captivating plant: Codonorhiza azurea. You might know it as the “Blue Wisp” or sometimes “Azure Coral Vine,” and for good reason. Its delicate, cascading stems adorned with the most enchanting sky-blue, bell-shaped flowers are just breathtaking. If you’ve ever had the pleasure of seeing one in bloom, you probably understand the urge to have more. And the good news? Propagating Codonorhiza azurea is a wonderfully rewarding endeavor, even if it takes a little patient attention. For beginners, I’d say it leans towards the “moderately easy” side, but with the right approach, you’ll be sharing cuttings in no time.
The Best Time to Start
For the highest success rate with Codonorhiza azurea, I always recommend starting in the spring, just as the plant is waking up from its winter rest. You want to catch it in active growth. Look for stems that are firm and vigorous, not old and woody, nor too soft and new. This is when the plant has the most energy to put into developing new roots.
Supplies You’ll Need
Gathering your tools beforehand makes the whole process so much smoother. Here’s what I usually have on hand:
- Sharp pruning shears or a clean knife: For making clean cuts.
- Rooting hormone (optional but helpful): A powder or gel to encourage root development.
- Well-draining potting mix: A good blend for cuttings is usually equal parts peat moss or coco coir and perlite or coarse sand. I sometimes add a bit of orchid bark for aeration.
- Small pots or trays: Clean containers with drainage holes are essential.
- Clear plastic bags or a propagation dome: To create a humid environment.
- Spray bottle: For misting the cuttings.
- Labels and a marker: To keep track of what you’ve propagated.
- A warm, bright location: With indirect sunlight.
Propagation Methods: Stem Cuttings
This is my go-to method for Codonorhiza azurea. It’s straightforward and has a great success rate.
- Take Your Cuttings: Select a healthy stem from your established plant. Using your sharp shears or knife, cut a piece about 4-6 inches long. Make your cut just below a leaf node (where a leaf attaches to the stem). This is where roots are most likely to form.
- Prepare the Cuttings: Gently remove the lower leaves from the cutting, leaving only the top two or three sets of leaves. If the leaves are large, you can even cut them in half horizontally to reduce water loss.
- Apply Rooting Hormone (Optional): If you’re using rooting hormone, dip the cut end of the stem into the powder or gel. Give it a gentle tap to remove any excess.
- Plant the Cuttings: Fill your pots or trays with your prepared, moistened potting mix. Make a small hole with your finger or a pencil, and insert the cut end of the stem about an inch deep into the soil. Firm the soil gently around the stem.
- Create a Humid Environment: Water the soil lightly until it’s evenly moist. Then, cover the pot with a clear plastic bag or place it under a propagation dome. This traps humidity, which is crucial for the cuttings to root. Make sure the leaves don’t touch the plastic.
- Provide the Right Conditions: Place the pots in a warm location that receives bright, indirect sunlight. Avoid direct sun, as it can scorch the delicate cuttings.
Propagation Methods: Water Propagation
While I prefer soil for Codonorhiza azurea, some gardeners have success with water propagation, especially for taking a quick “insurance” cutting.
- Prepare the Cuttings: Follow steps 1 and 2 above for taking and preparing your cuttings.
- Place in Water: Fill a clean jar or glass with fresh water. Place the cuttings in the water, ensuring that the leaf nodes are submerged, but crucially, no leaves are touching the water’s surface. Leaves submerged in water will rot and hinder rooting.
- Change Water Regularly: It’s essential to change the water every few days to keep it fresh and oxygenated.
- Provide the Right Conditions: Like soil cuttings, place the jar in a warm spot with bright, indirect light.
- Transplant When Ready: Once you see substantial root growth (usually at least an inch long), it’s time to transfer the rooted cuttings to soil. Gently plant them in your well-draining potting mix as described in step 4 for stem cuttings.
The “Secret Sauce” (Pro Tips)
After years of coaxing plants into new life, I’ve learned a few tricks that can really make a difference:
- The Gentle Misting: Instead of watering the cuttings heavily, I prefer to mist them lightly with my spray bottle every day or two, especially if they’re not under a dome. This keeps the leaves hydrated without waterlogging the soil, which is a common cause of rot.
- Bottom Heat is Your Friend: This is a game-changer, especially in cooler springs. Placing your pots on a seedling heat mat provides consistent warmth to the base of the cuttings. Codonorhiza azurea absolutely loves a warm foot, as it encourages root development much faster.
- Air Circulation is Key: Even with humidity, you need occasional airflow. If you’re using a plastic bag, open it up for a few minutes each day to let fresh air in. This helps prevent fungal issues.
Aftercare & Troubleshooting
Once you start seeing new growth or the cuttings feel resistant when gently tugged (a sign of roots!), it’s time to transition them.
- Gradual Acclimation: Slowly reduce the humidity by opening the bag or propagation dome a little more each day over a week.
- Watering: Water your new little plants when the top inch of soil feels dry. Avoid overwatering, as this is the most common mistake and can lead to root rot.
- Light: Continue to provide bright, indirect light. As they grow stronger, you can gradually introduce them to more direct morning sun.
- Troubleshooting: The most common issue you’ll face is rot. If a cutting turns black and mushy, it’s usually a sign of too much moisture and not enough airflow. Unfortunately, a rotted cutting cannot be saved. Another sign of failure is if the cuttings wilt and become limp without recovering. This might mean they didn’t root and have dried out.
A Final Encouraging Thought
Propagating plants can feel a bit like magic, but it’s really just science and a little bit of patience. Don’t be discouraged if not every cutting takes. It happens to all of us! Keep trying, observe your plants, and enjoy the wonderful process of creating more beauty for your garden or to share with friends. Happy propagating!
Resource: